How to Make Farmhouse Table Legs
Adam Koons
Affiliate Disclosure: Thank you supporting us by visiting our site and posts. This website contains affiliate links that are ads recommended to you, that we can earn a small payout on. We only use Amazon Associates and Google Adsense. By clicking on these ads, making a purchase, or taking other action, we can earn a little extra money to fund future projects.
A nice set of wooden farmhouse table legs can be pricey to order on the internet. I like making my own furniture, but I love making my own furniture when I can do it extremely cost effectively.
I often frequent garage sales, architectural salvage shops, and watch Facebook marketplace and craigslist actively. There are always newel posts, porch posts, and balusters available. Every time I see something reasonably priced, I buy to repurpose into furniture.
A while ago, I found 2 posts that would be perfect for a farmhouse table. Here is how to take a decorative post and make farmhouse table legs.
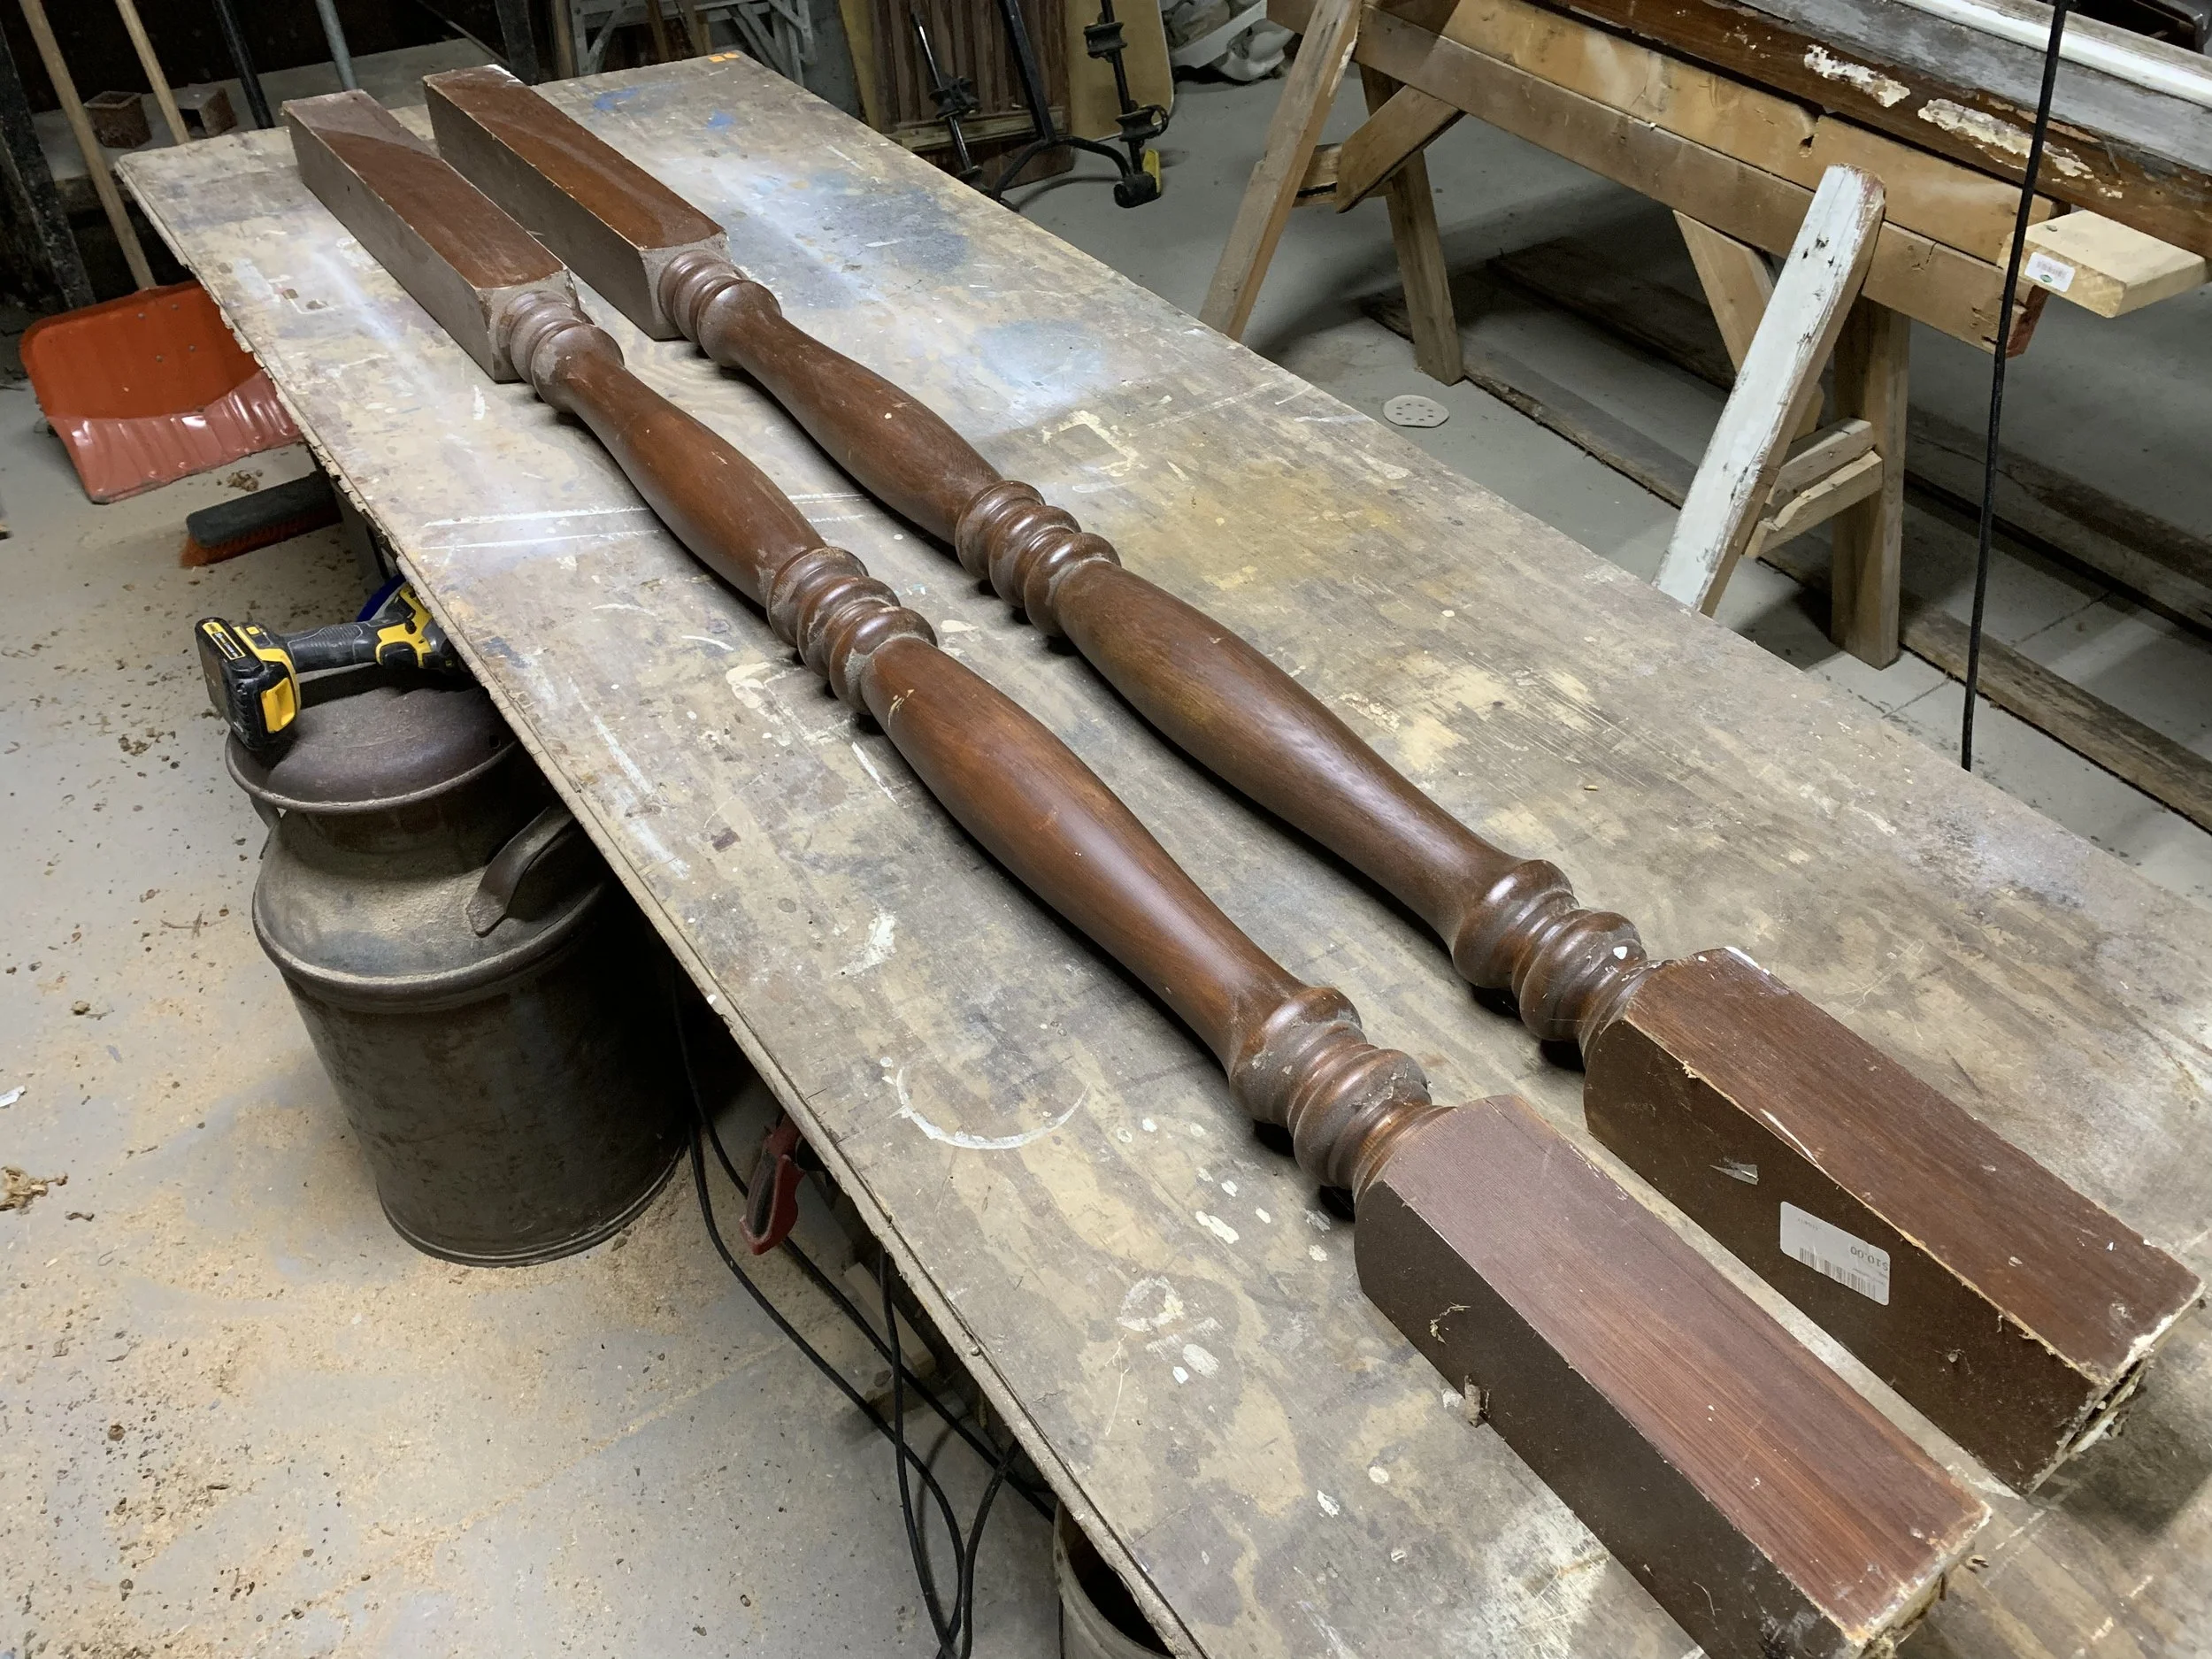
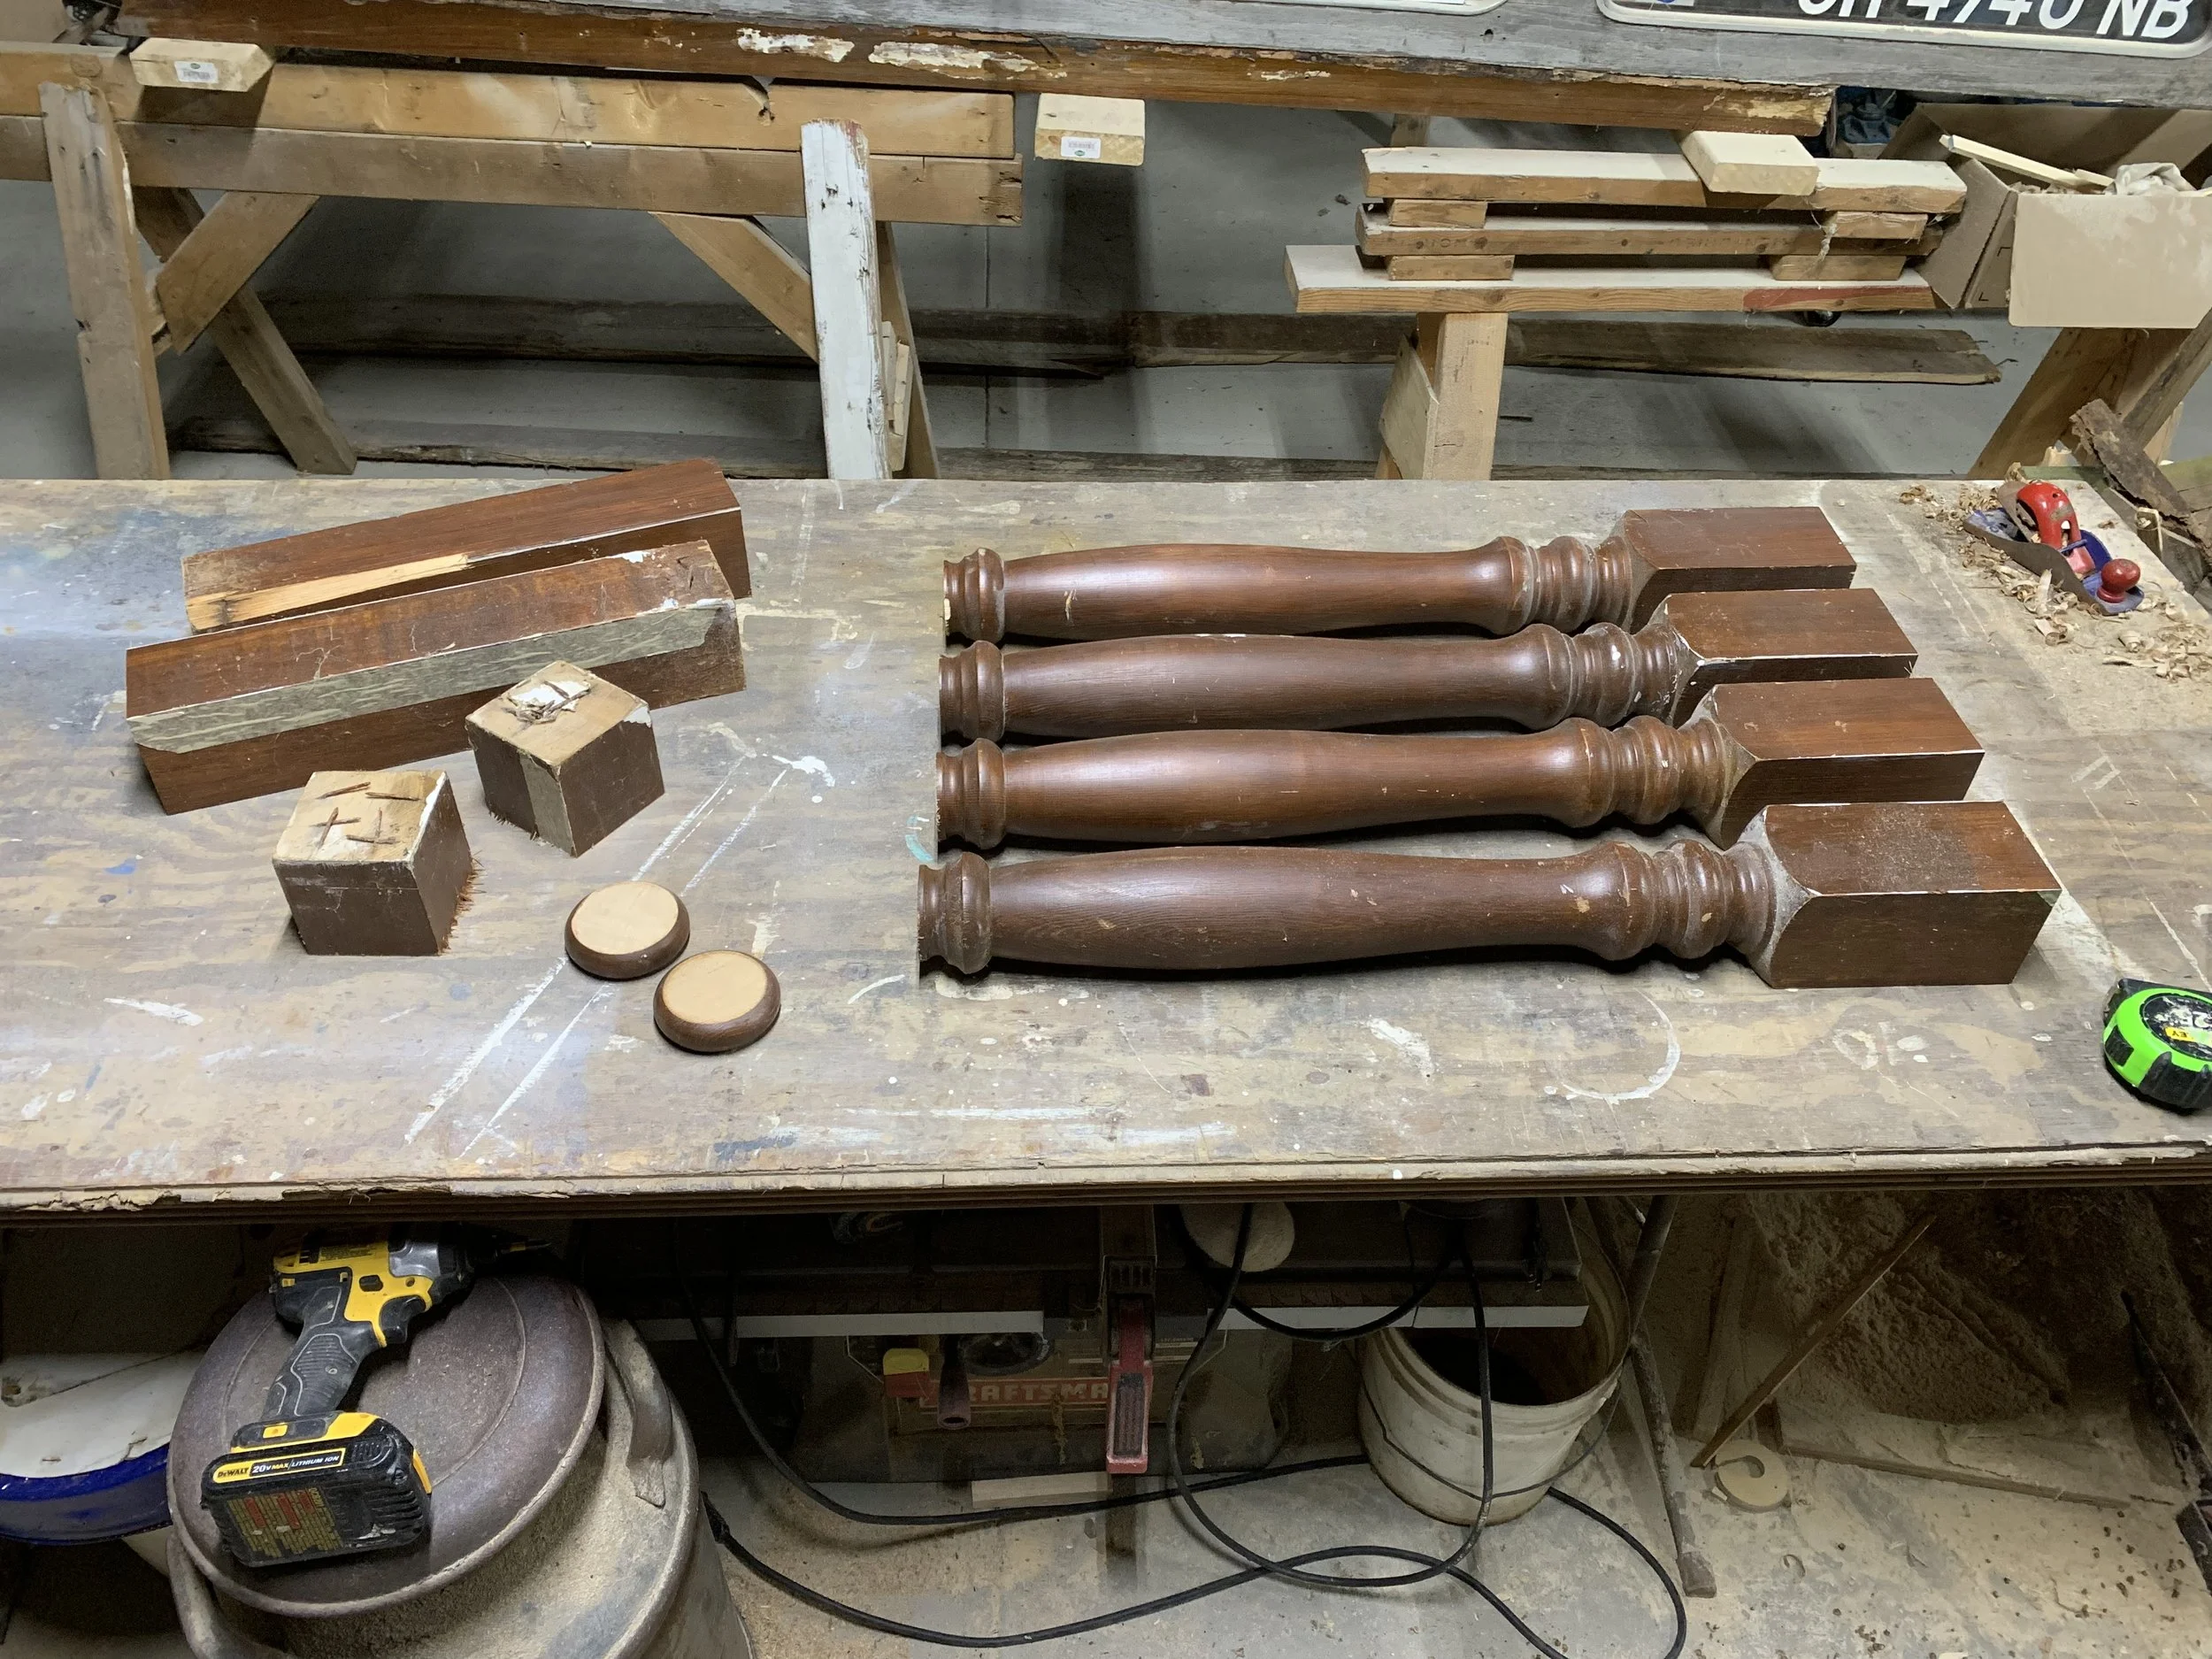
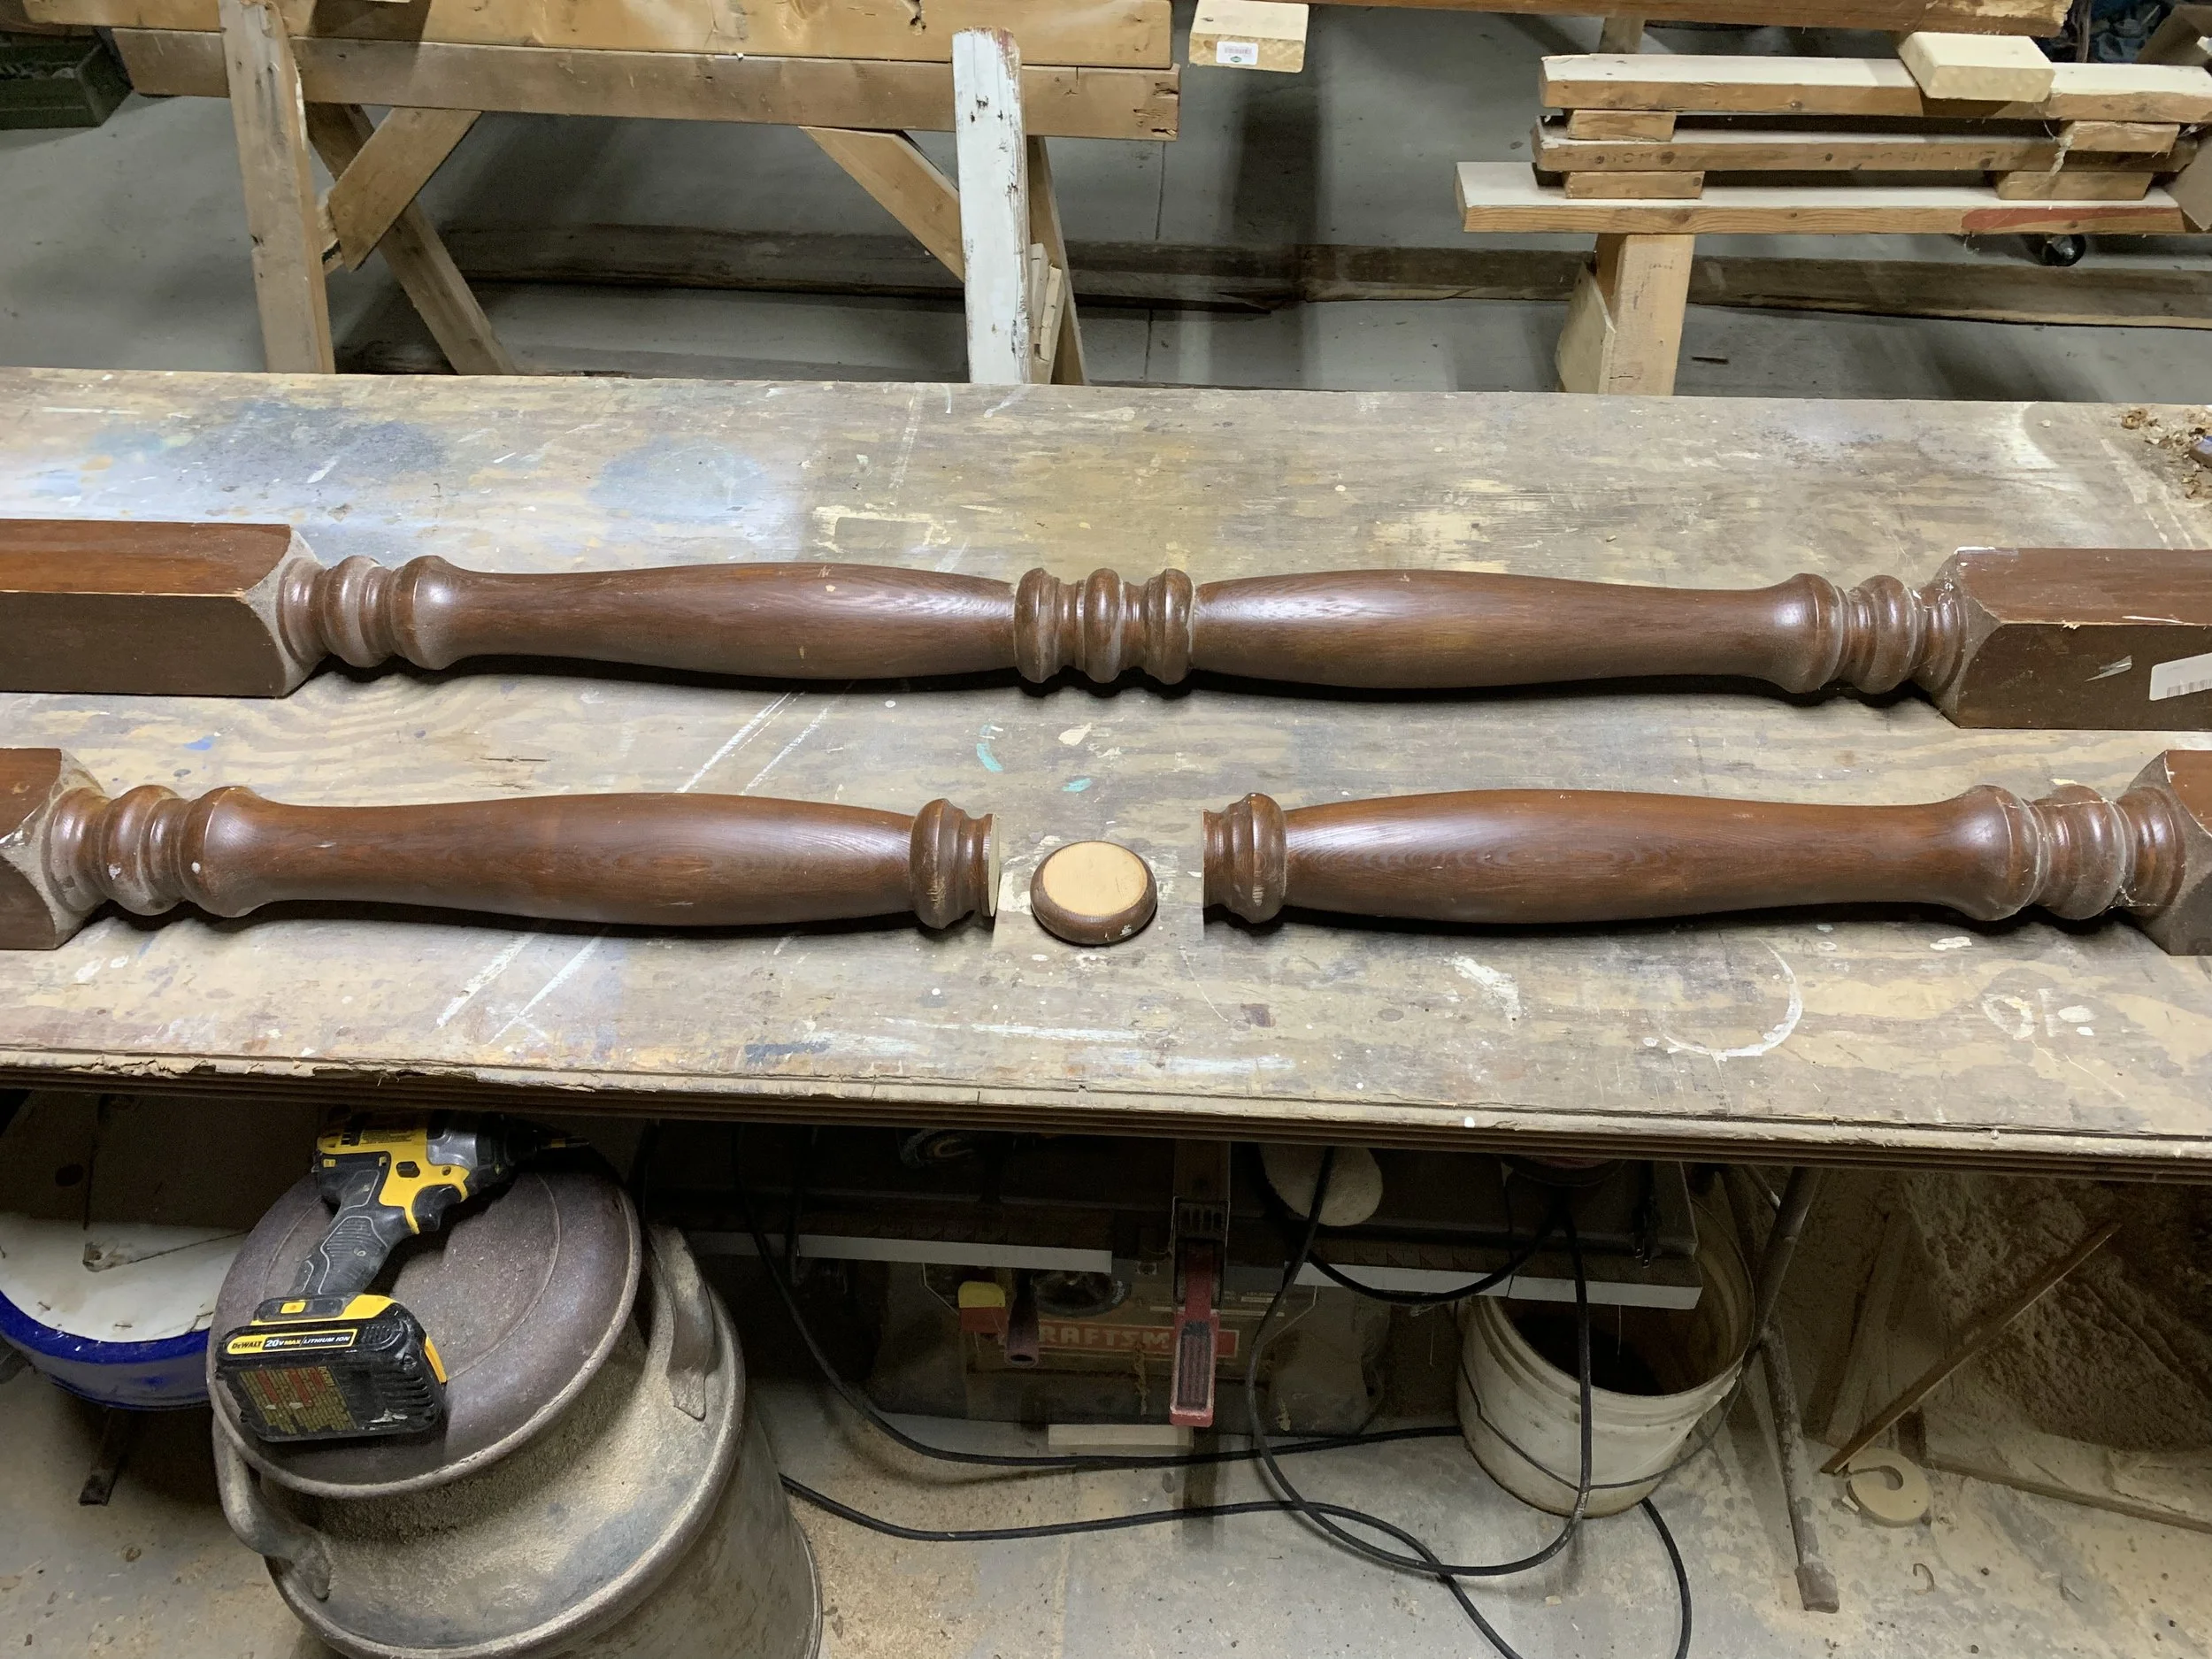
I started with posts that are symmetrical in design. These posts had different size square areas, but the overall design was an exact match in the center.
Most table legs are 29” tall.
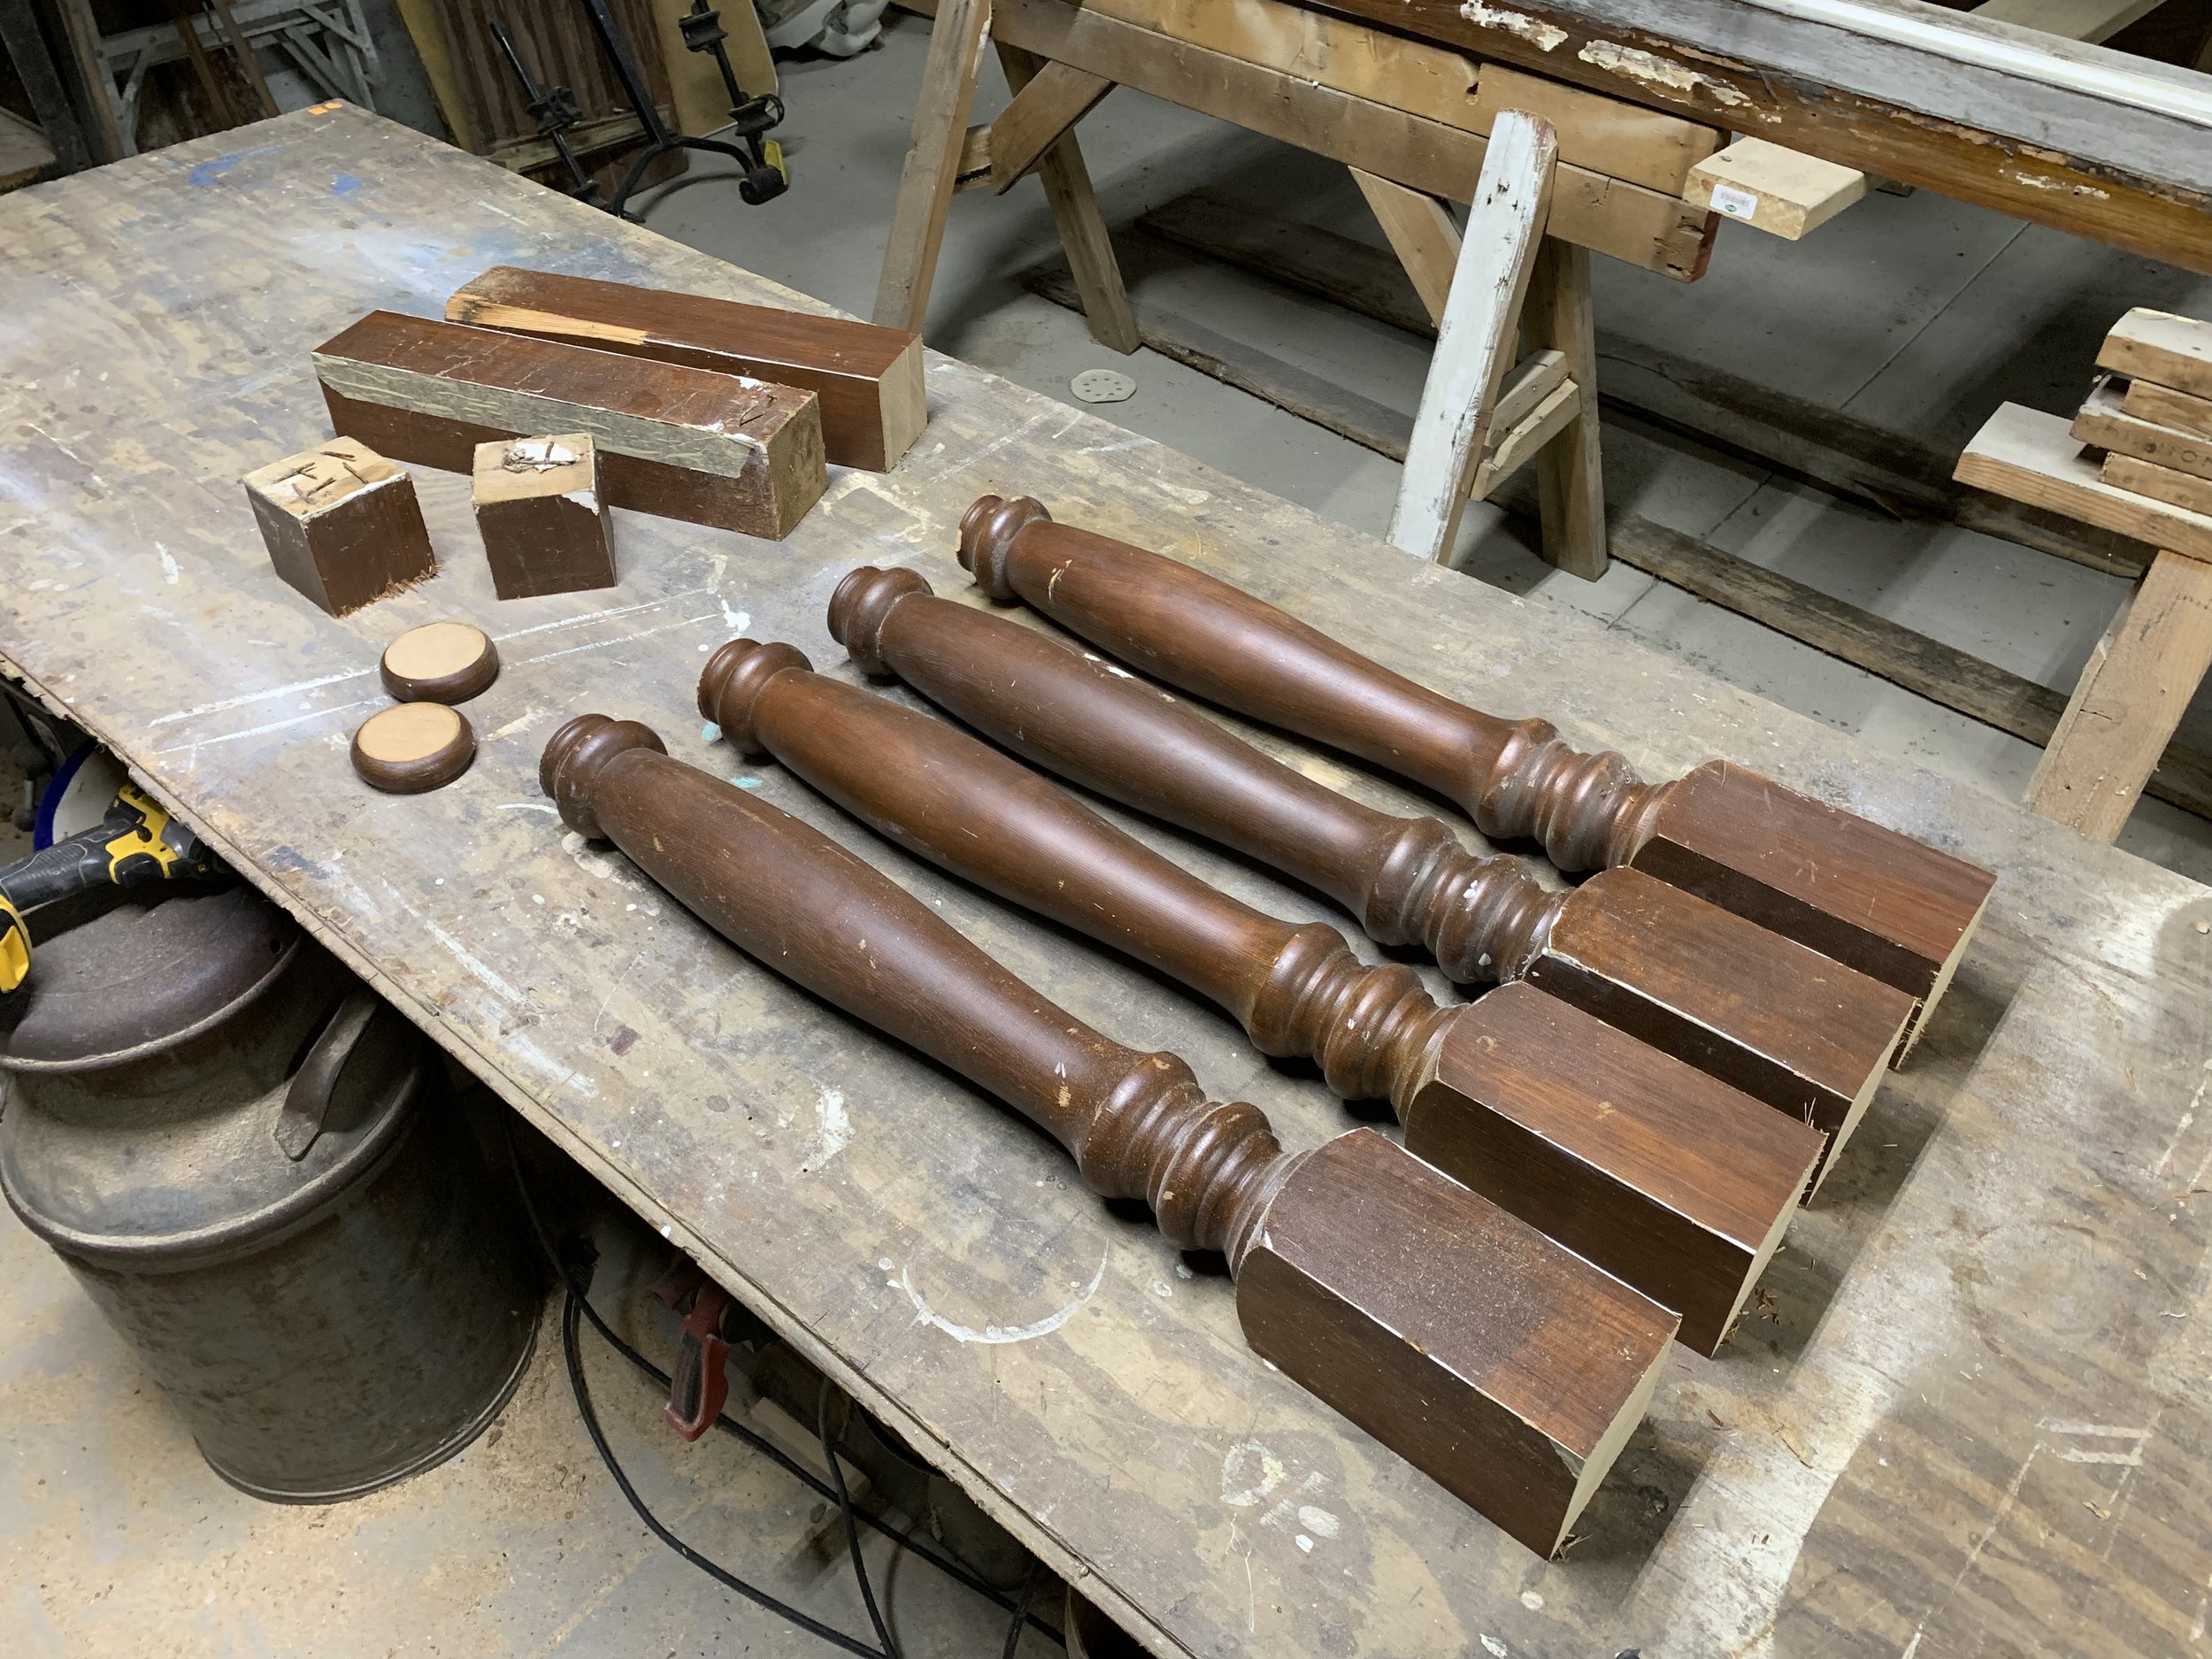
First find what 29” you would like to be the leg portion of the post - then make a cuts! I made the first cut in the center to make the bottom of the leg. This gives a reference point to then make the height of the leg to whatever you desire.
Building The Farmhouse Table
Once you have all the legs cut, then make a table apron for whatever size you would like your table to be. I used glue and pocket screws to attache the legs to the apron. The downside to this style is that you cannot disconnect the legs from the apron, but the upside is a strong joint.
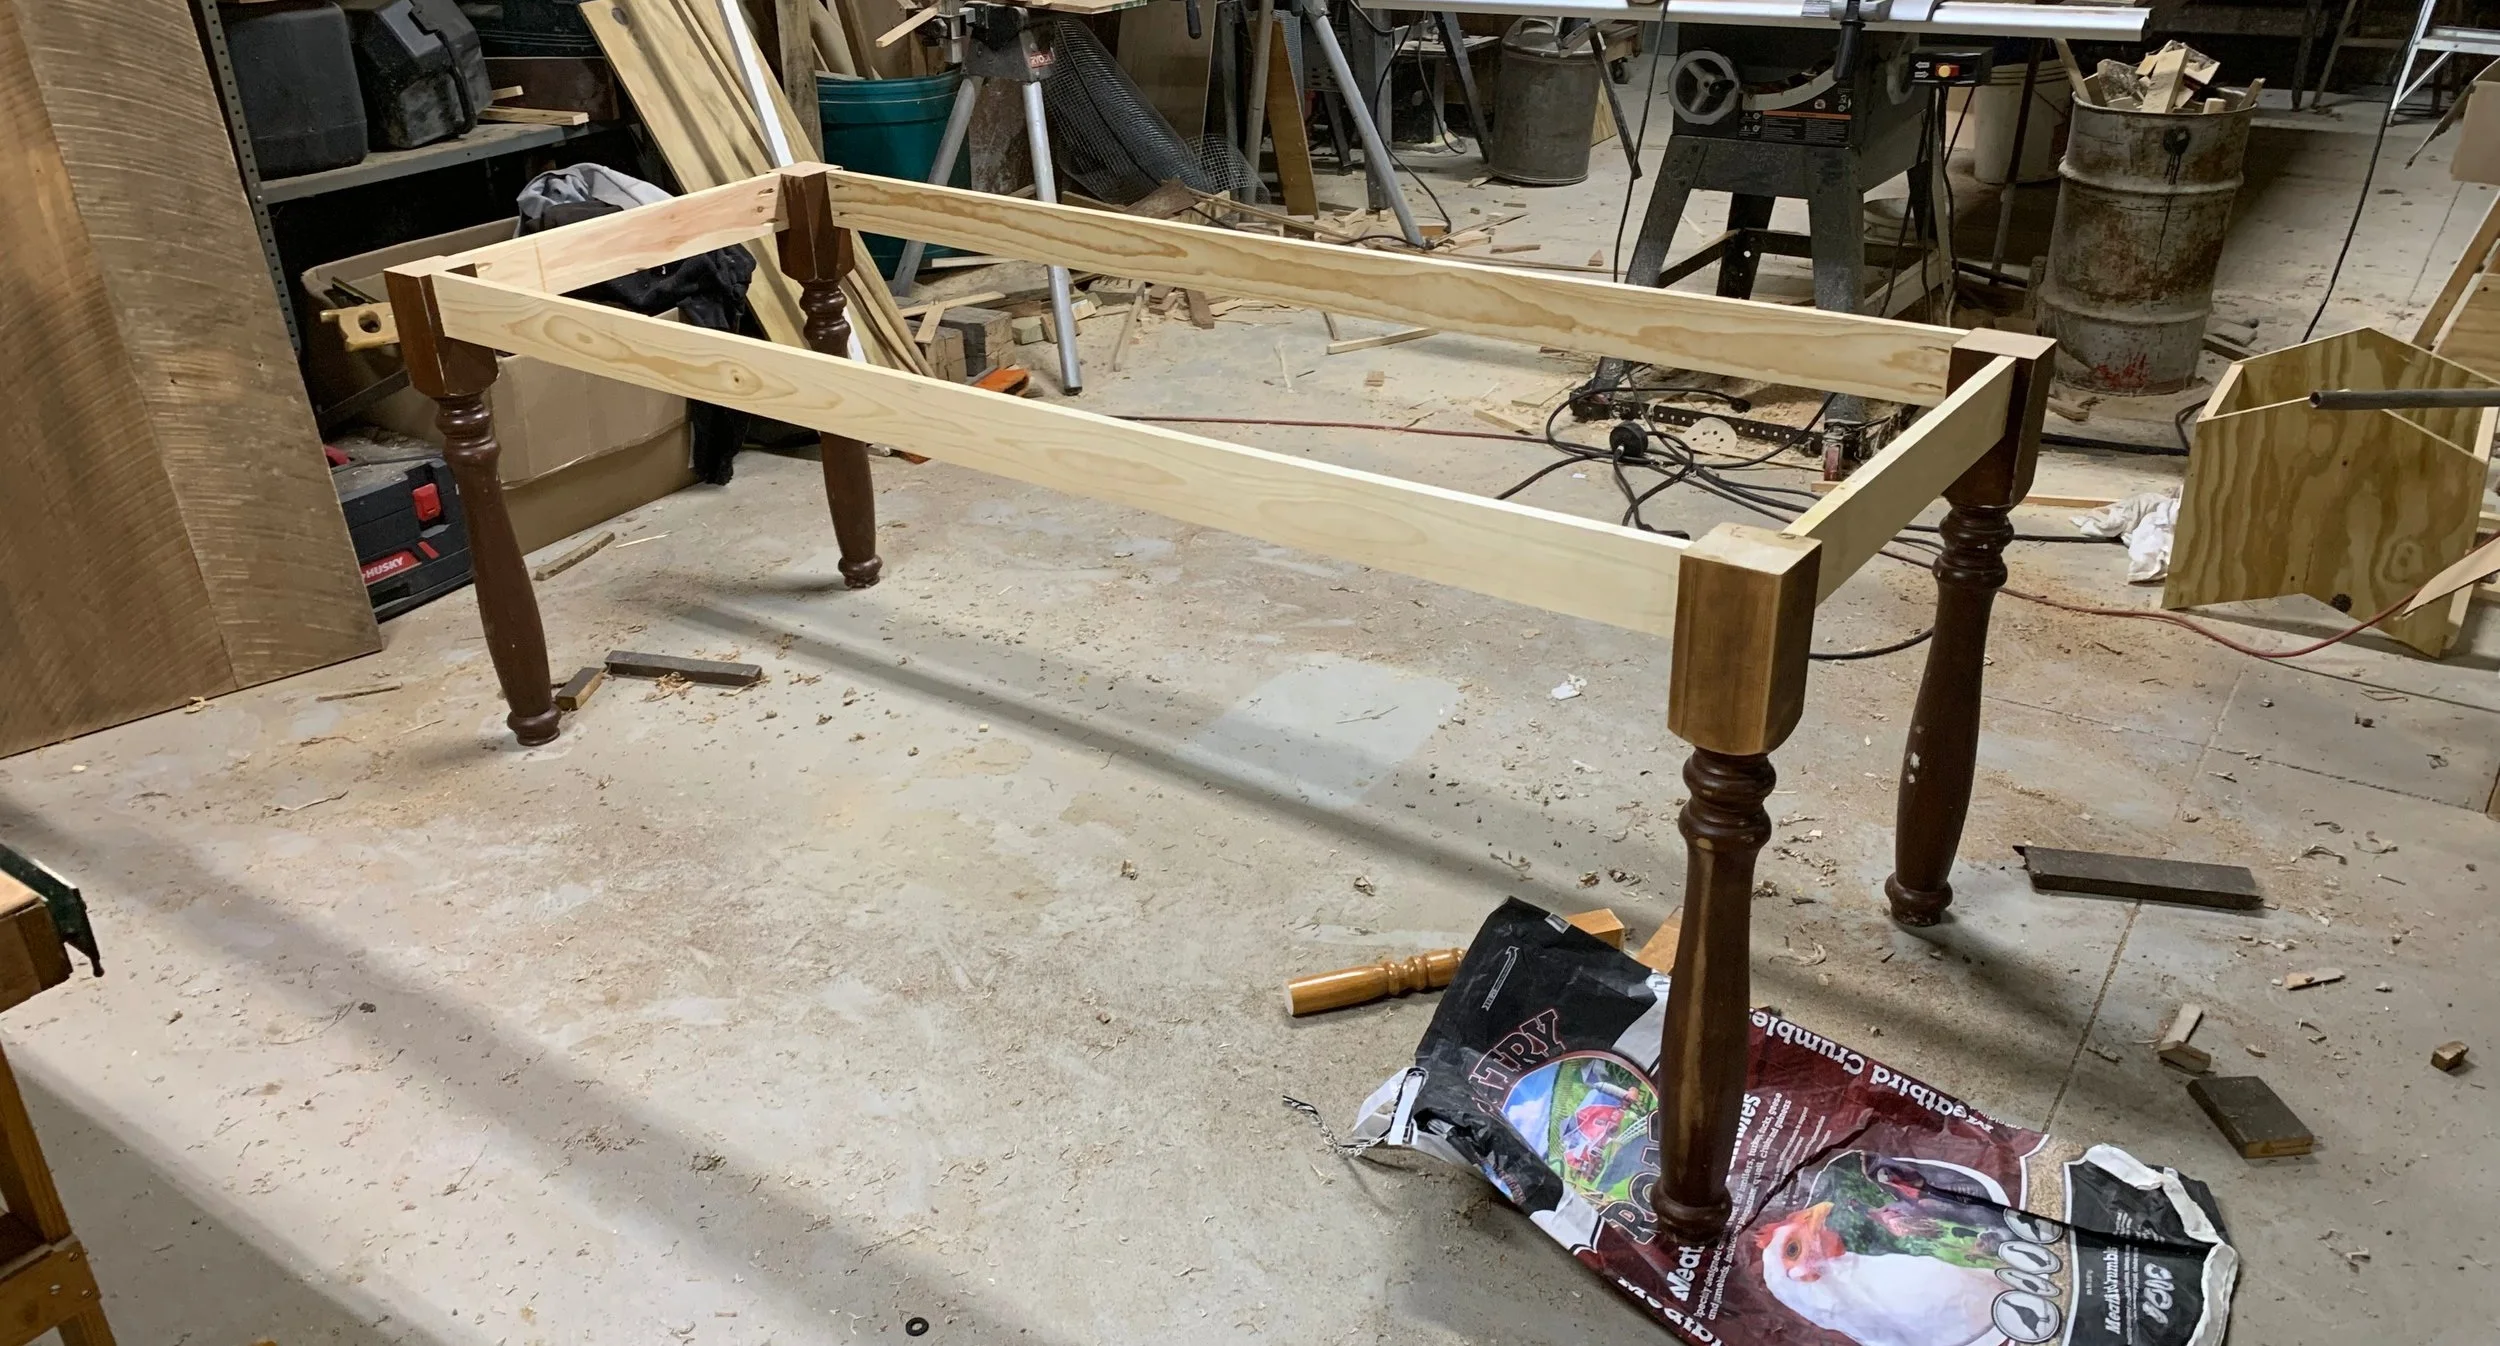
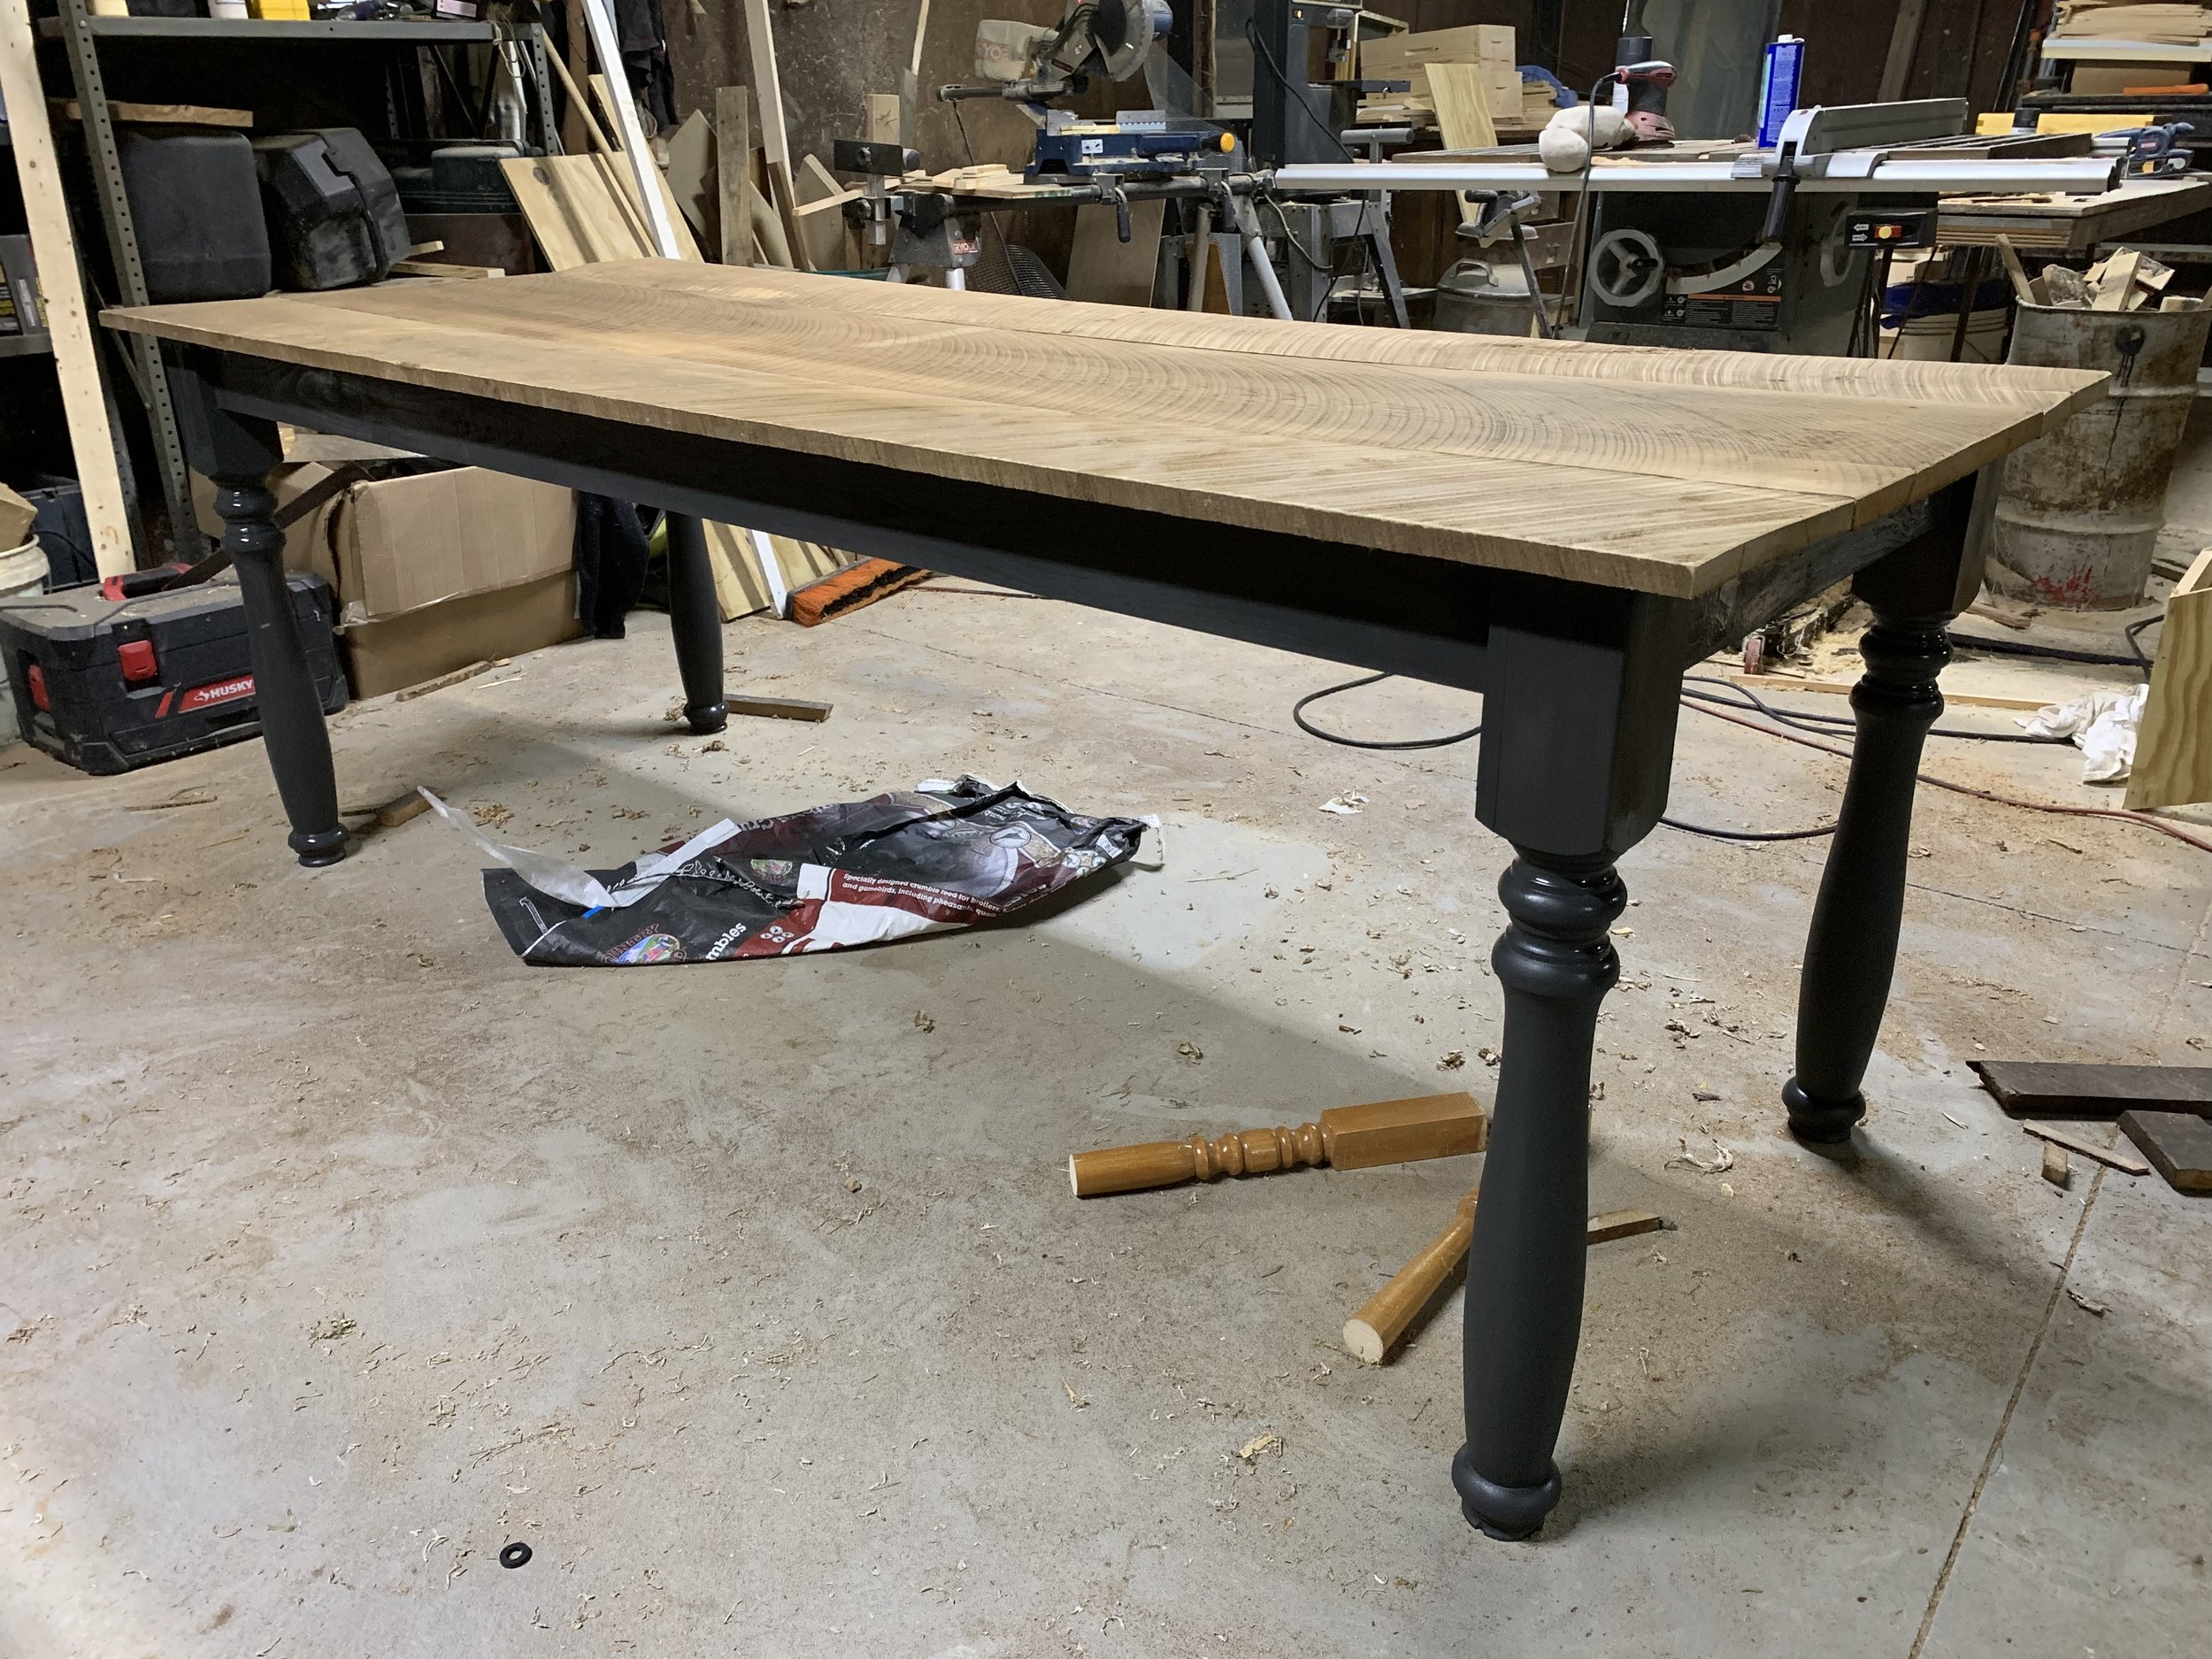
I added 2 braces across the table for added strength and additional places to attache the top to. Once I had all the base made, I painted this table with a charcoal spray paint.

Finally, it was time to add the top. For this top, I used rough cut barn wood that I lightly sanded. I kept a lot of the character, and didn’t plane everything smooth. This left the top a little uneven in places, but highlighted the character of the wood.
Epoxy is great for filling in cracks and old nail holes. I used Total Boat epoxy, mixed with a little sawdust to fill in all the imperfections and as a fillet at the joints.
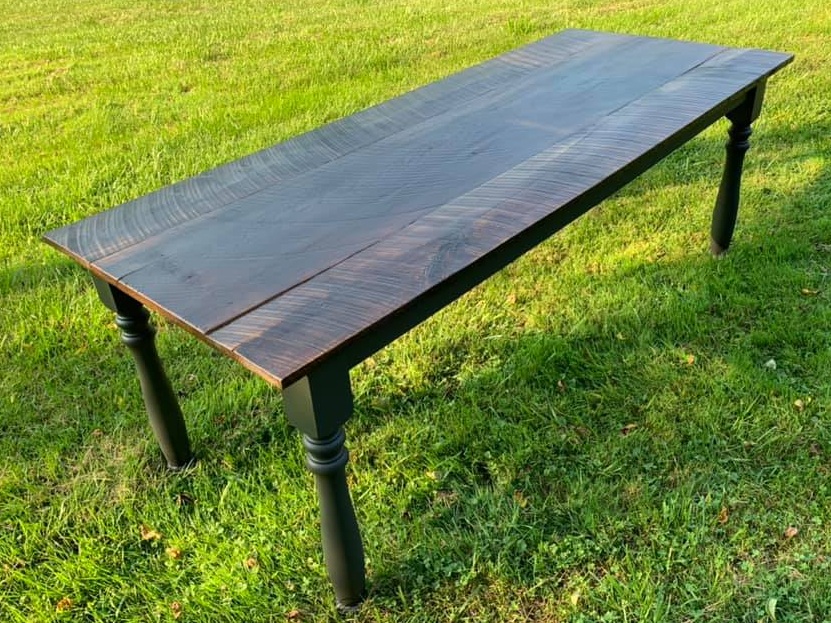
For finish, the table top got a coat of Total Boat penetrating epoxy, and then 2 coats of Satin Polyurethane. The barn wood soaks up a lot of product, and a good penetrating epoxy will help achieve an even final finish.

All in this table was CHEAP to make. The posts were $10 each at a salvage store. The apron cost about $10 in lumber. The barn wood, epoxy, varnish, screws, glue was all on hand from other projects. It took about 8 hours to make over the week and we had a complete farmhouse table on the cheap!


Check out our other post on building a Farmhouse table.
See where to buy legs already made.