How to make Mountain Shelves with Snow Caps
Adam Koons
Affiliate Disclosure: Thank you supporting us by visiting our site and posts. This website contains affiliate links that are ads recommended to you, that we can earn a small payout on. We only use Amazon Associates and Google Adsense. By clicking on these ads, making a purchase, or taking other action, we can earn a little extra money to fund future projects.
Building triangle mountain shelves is a super simple project to do in an afternoon. There are lots of designs out there, and it is easy to make for a beginner with a miter saw. They are perfect for a nursery or the adventure themed playroom!
Before we get into the build tutorial, let’s have a quick geometry flash back about triangles. For triangle shelves, there are 2 popular styles, an Equilateral triangle and an Isosceles triangle . Basically, an isosceles triangle has 2 sides that are the same, and an equilateral triangle has all three sides the same.

In my opinion, the equilateral triangle is the perfect triangle for modern geometric shelves, and can work well with other shapes. For mountain shelves, I prefer an isosceles triangle which is more like a “peak”. We will focus on the isosceles triangle in this tutorial. If you are looking for the equilateral triangle, basically cut all the angles at 33 degrees.
Now onto why you came here…..
Cutting Mountain Shelves
Using a miter saw, set the angle of the cut to 22.5 degrees. This angle will be the angle for ALL the cuts!
Next you will need to make a right angle guide that can clamp onto the saw to make a cut 90 degrees to the saw fence. I used some scrap wood that I had laying around and screwed it all together.

Angle set to 22.5 degrees
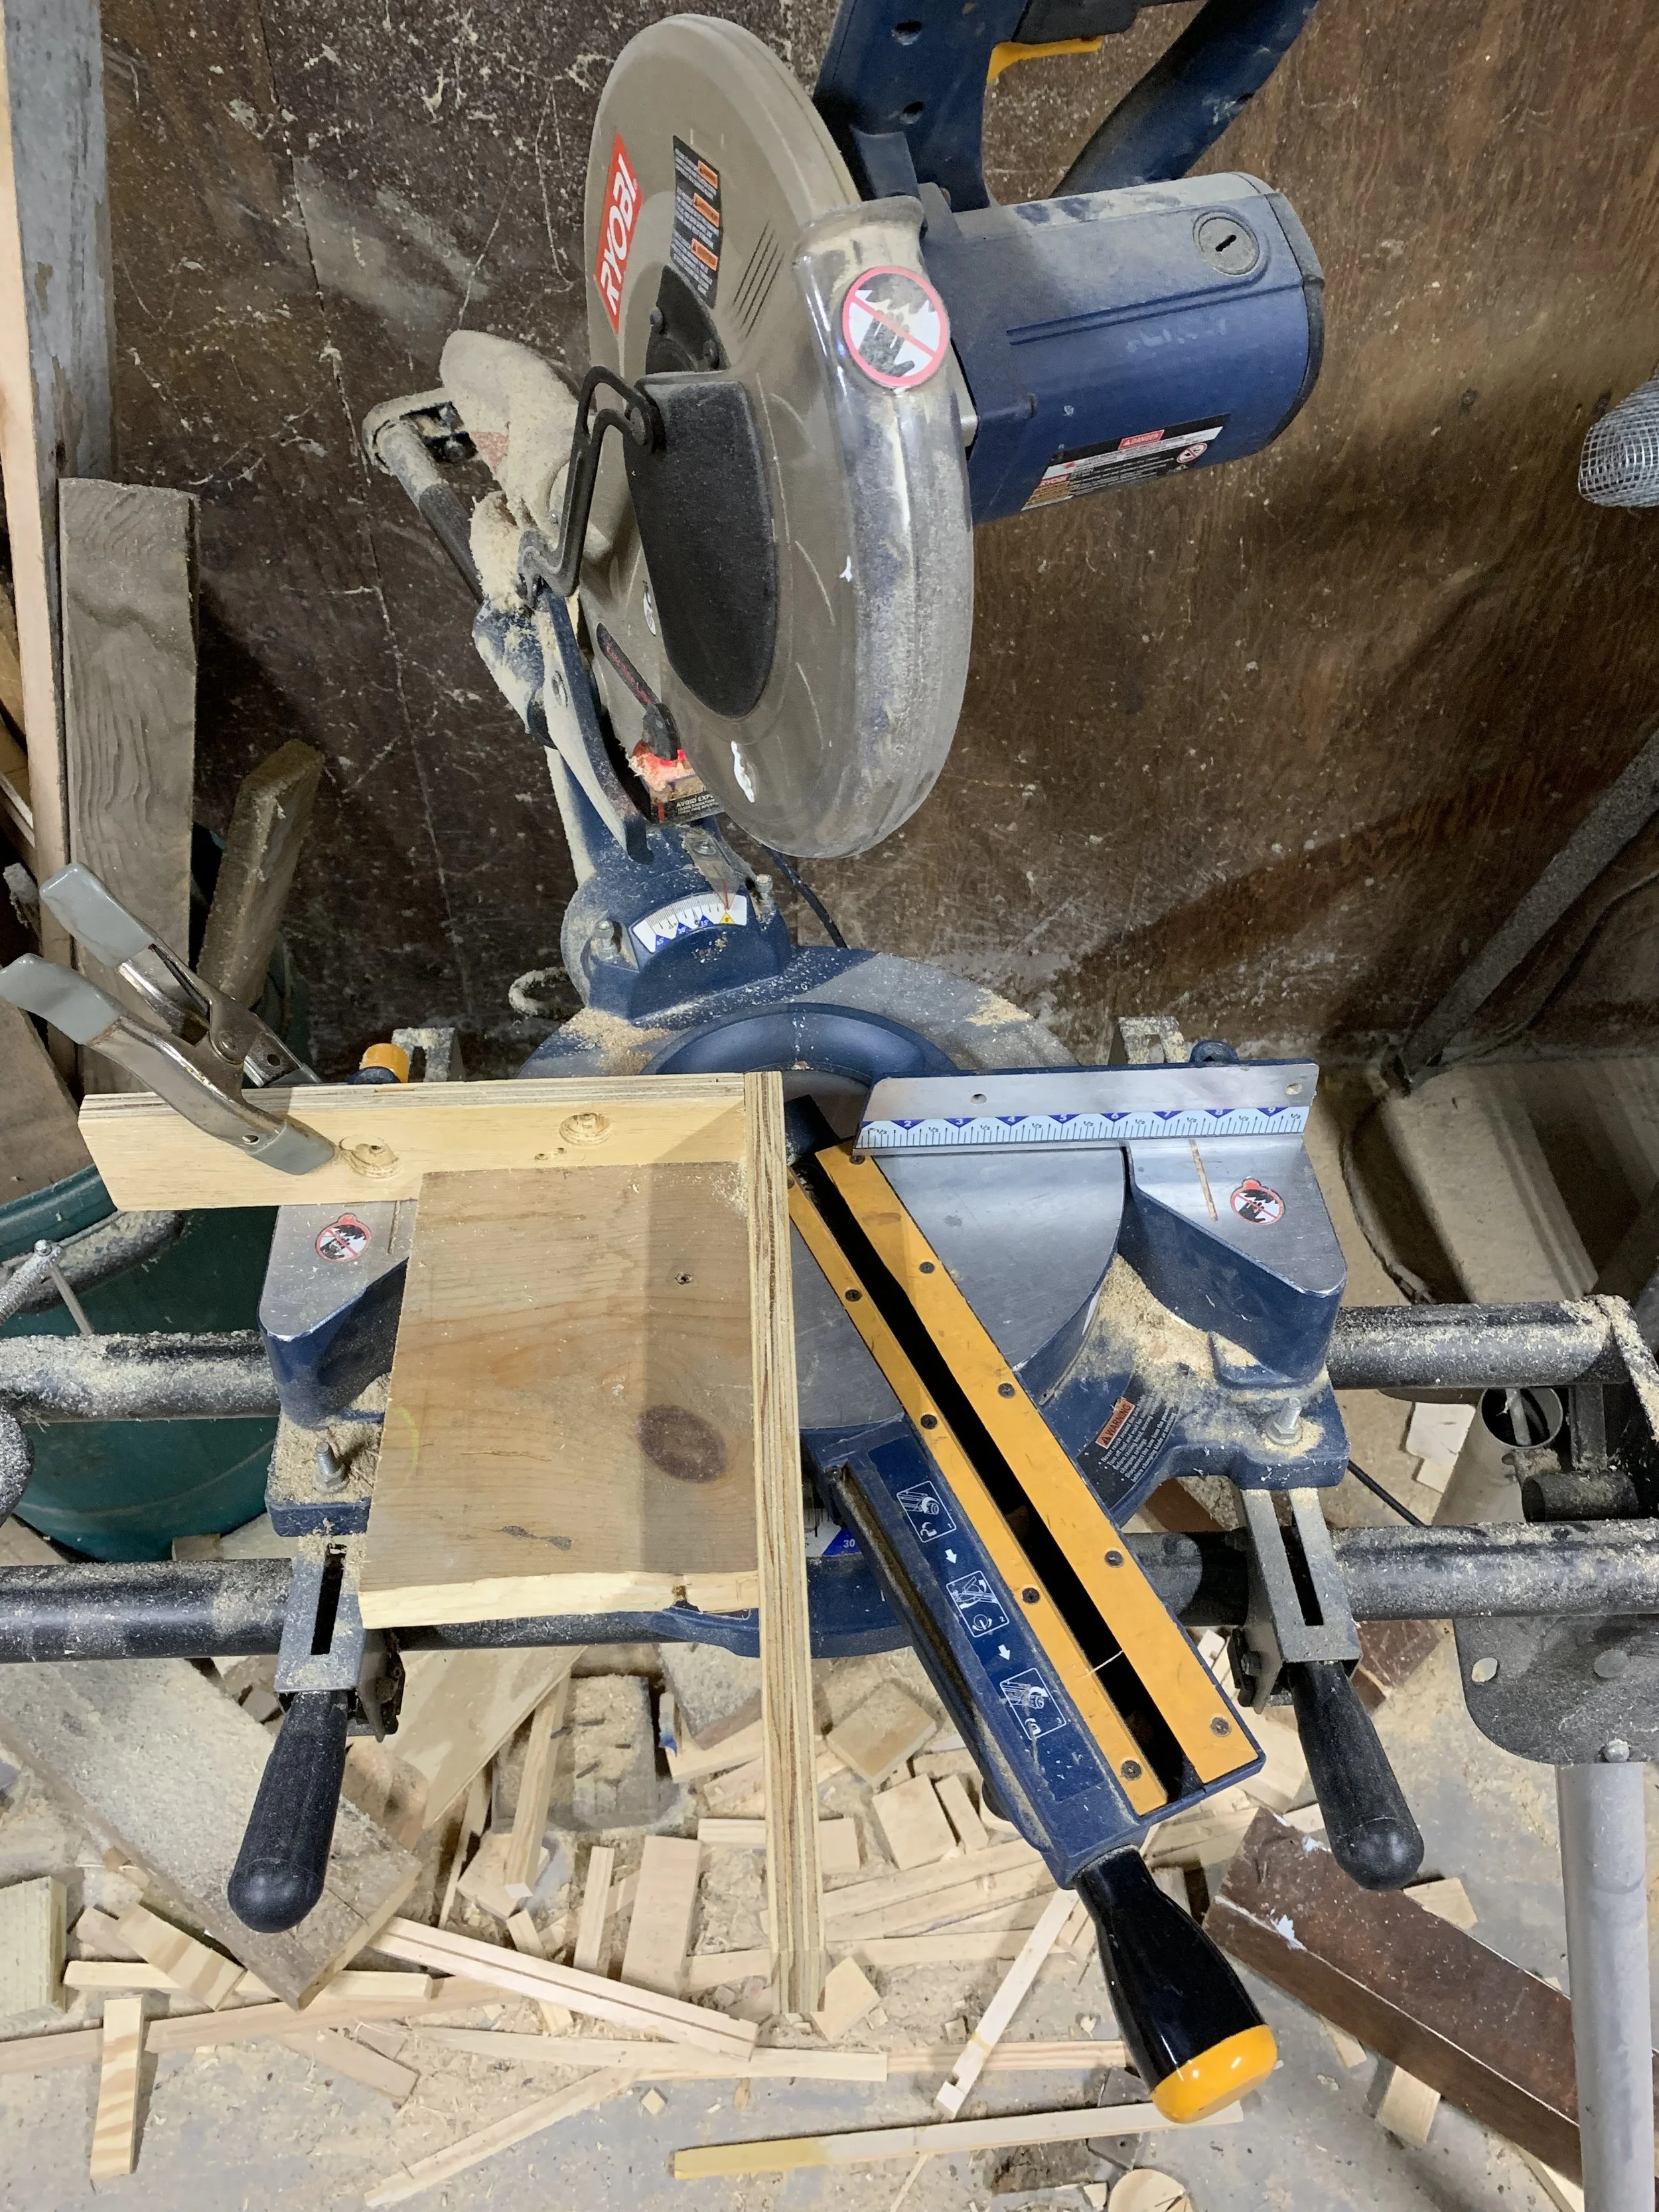
Triangle Shelf Jig - clamped to the miter saw
The first cut to make is the one using the jig. Make the cut placing your piece up against the fence to make a steep angled cut. This cut will make the joint at the “peak” of your mountain shelf. You will need 2 pieces with this angle, and it is easy to cut on each end of your board.

Cutting the mountain shelf “peak” joint.
Next, remove the jig and cut the joint that will create the base of the mountain. This should be the same 22.5 degree angle, but cut at 22.5 degrees using the standard saw fence. I cut the length of the sides to 17” from point to point, with the angles in opposite directions.

Cutting the base of the shelf.
Finally, cut the bottom board of the shelf to fit inside the 2 side pieces. These are also cut at 22.5 degrees in opposite directions. The total length of this piece should be approximately 11.5” wide. I like to cut this piece a little long on the first one, and then cut it to the exact size before nailing it together.
How to Assemble Mountain Shelves
To assemble the shelf pieces, I used Titebond II and finish nails to hold it together. I found that it is easier to get the nails started by drilling a pilot hole, but if you have a nail gun, that would be the easiest solution.
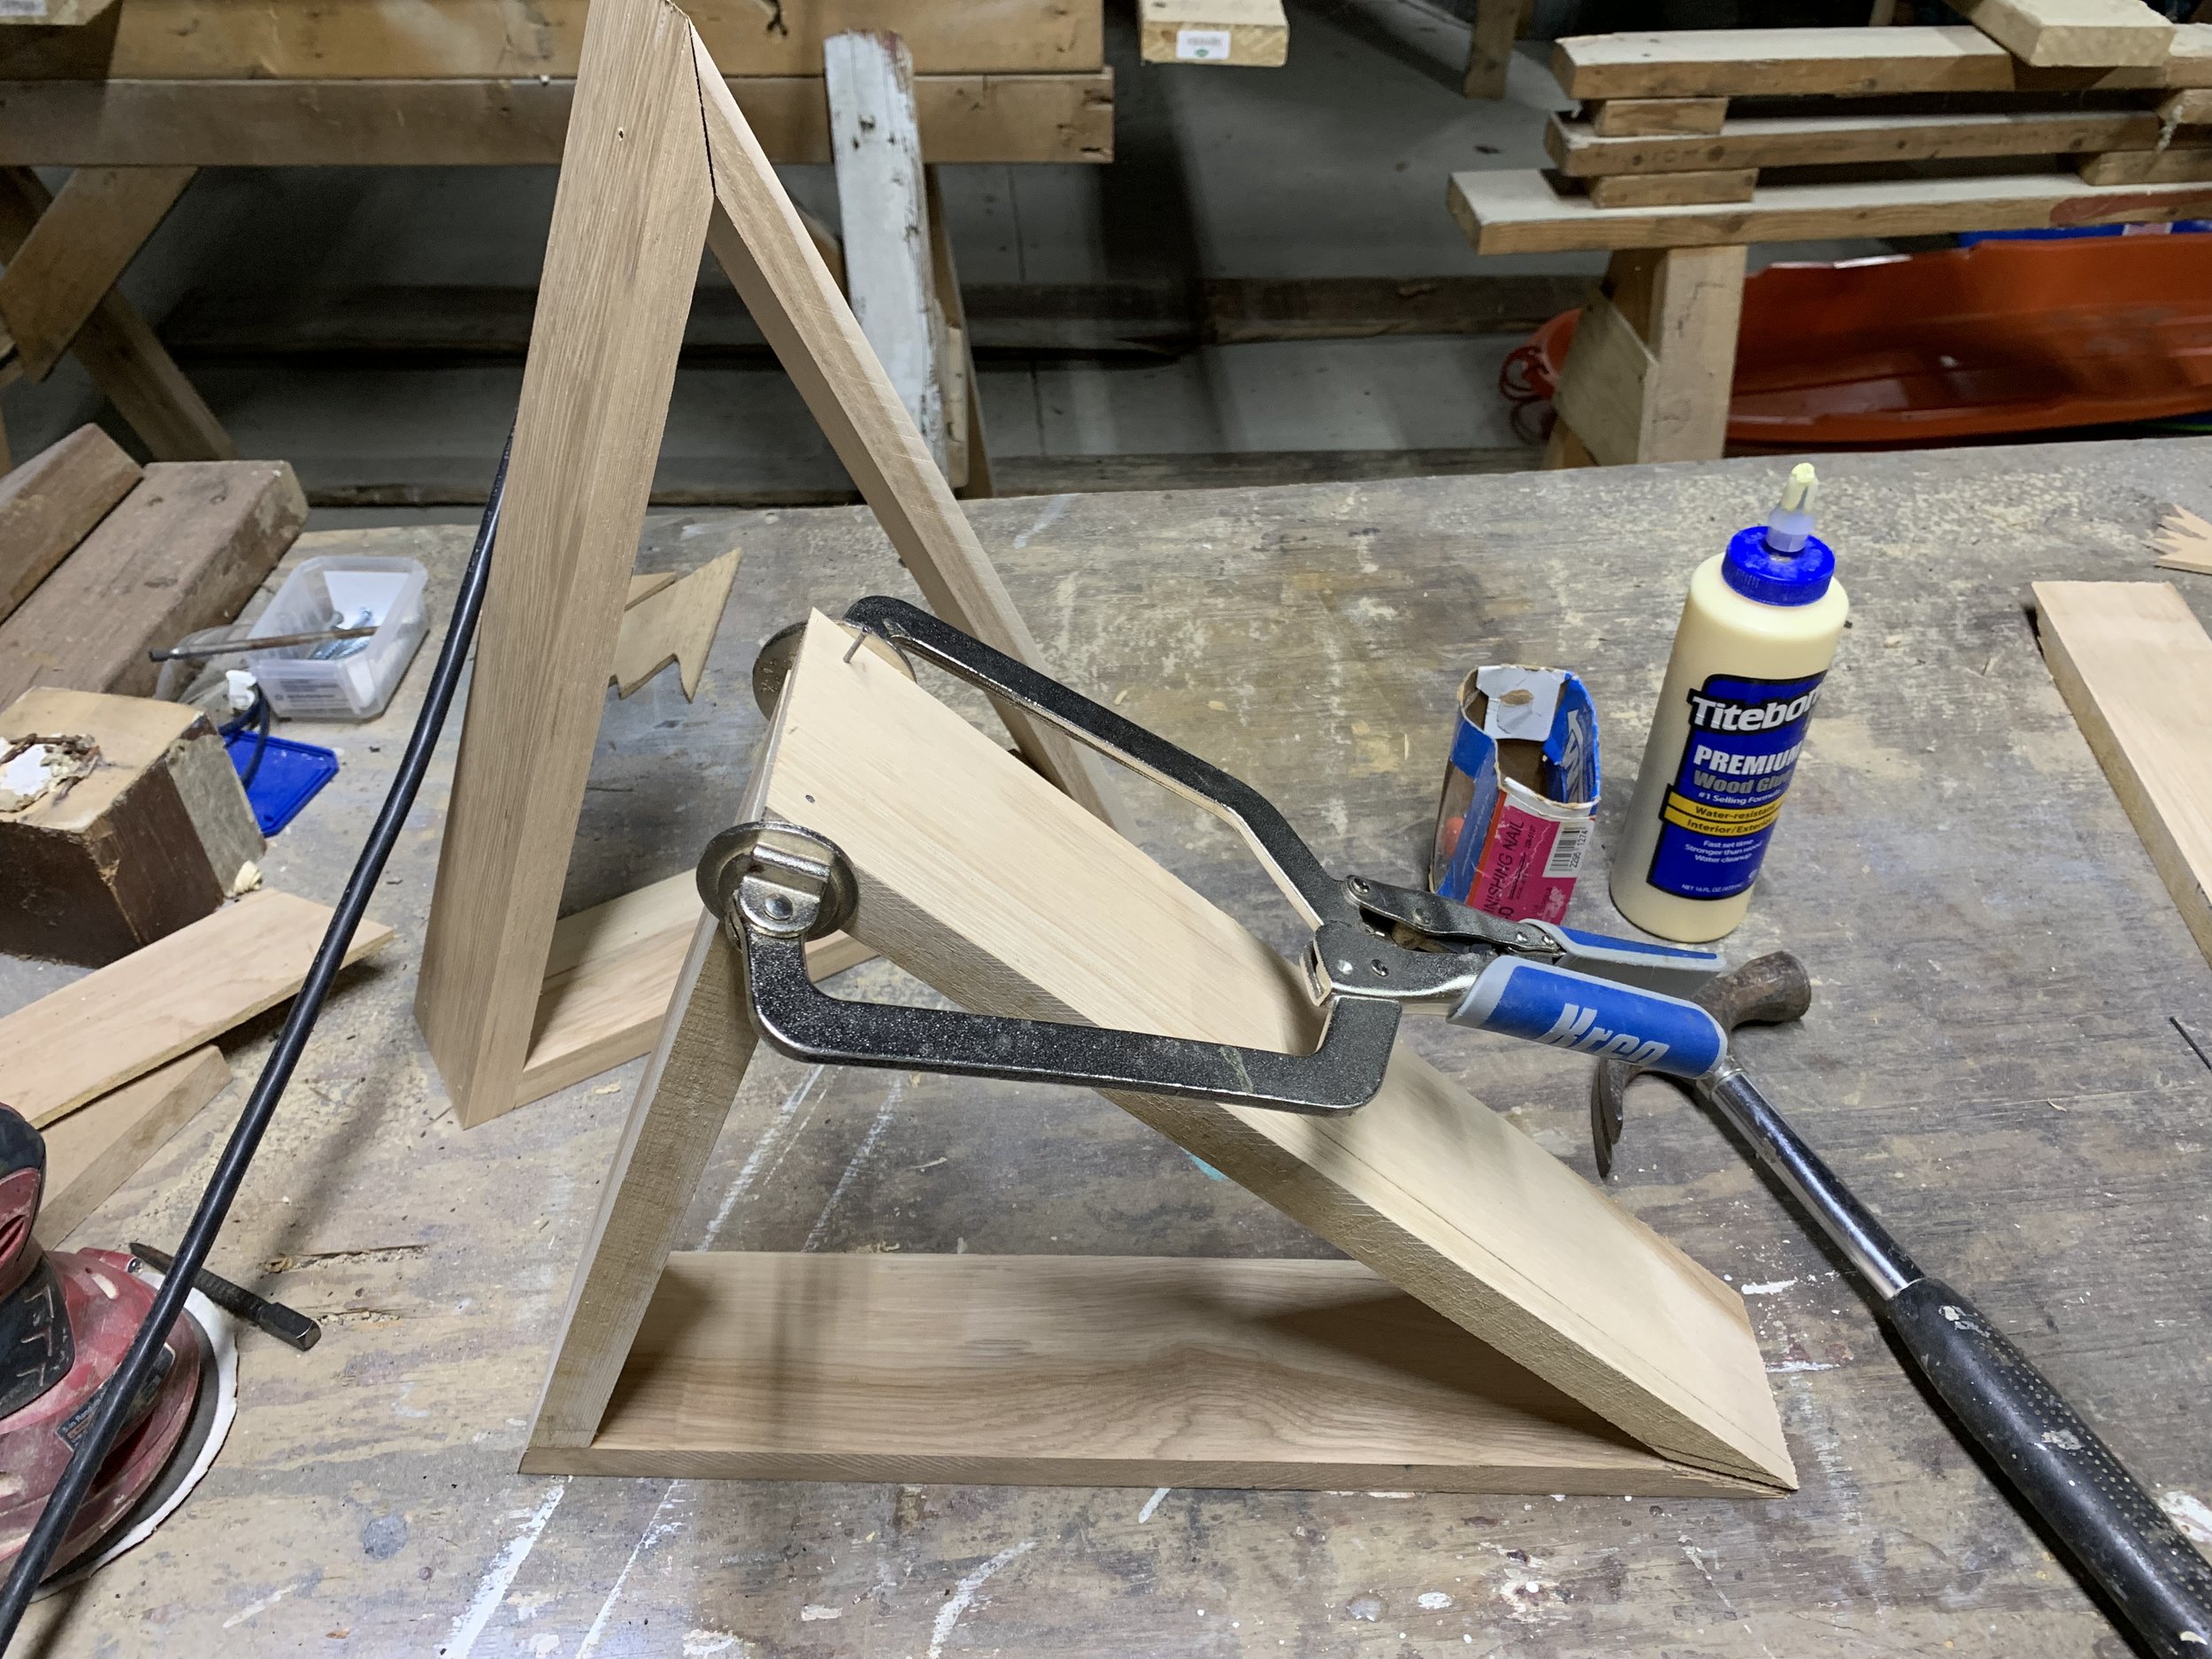
A Clamp will help hold the pieces in place while nailing them.
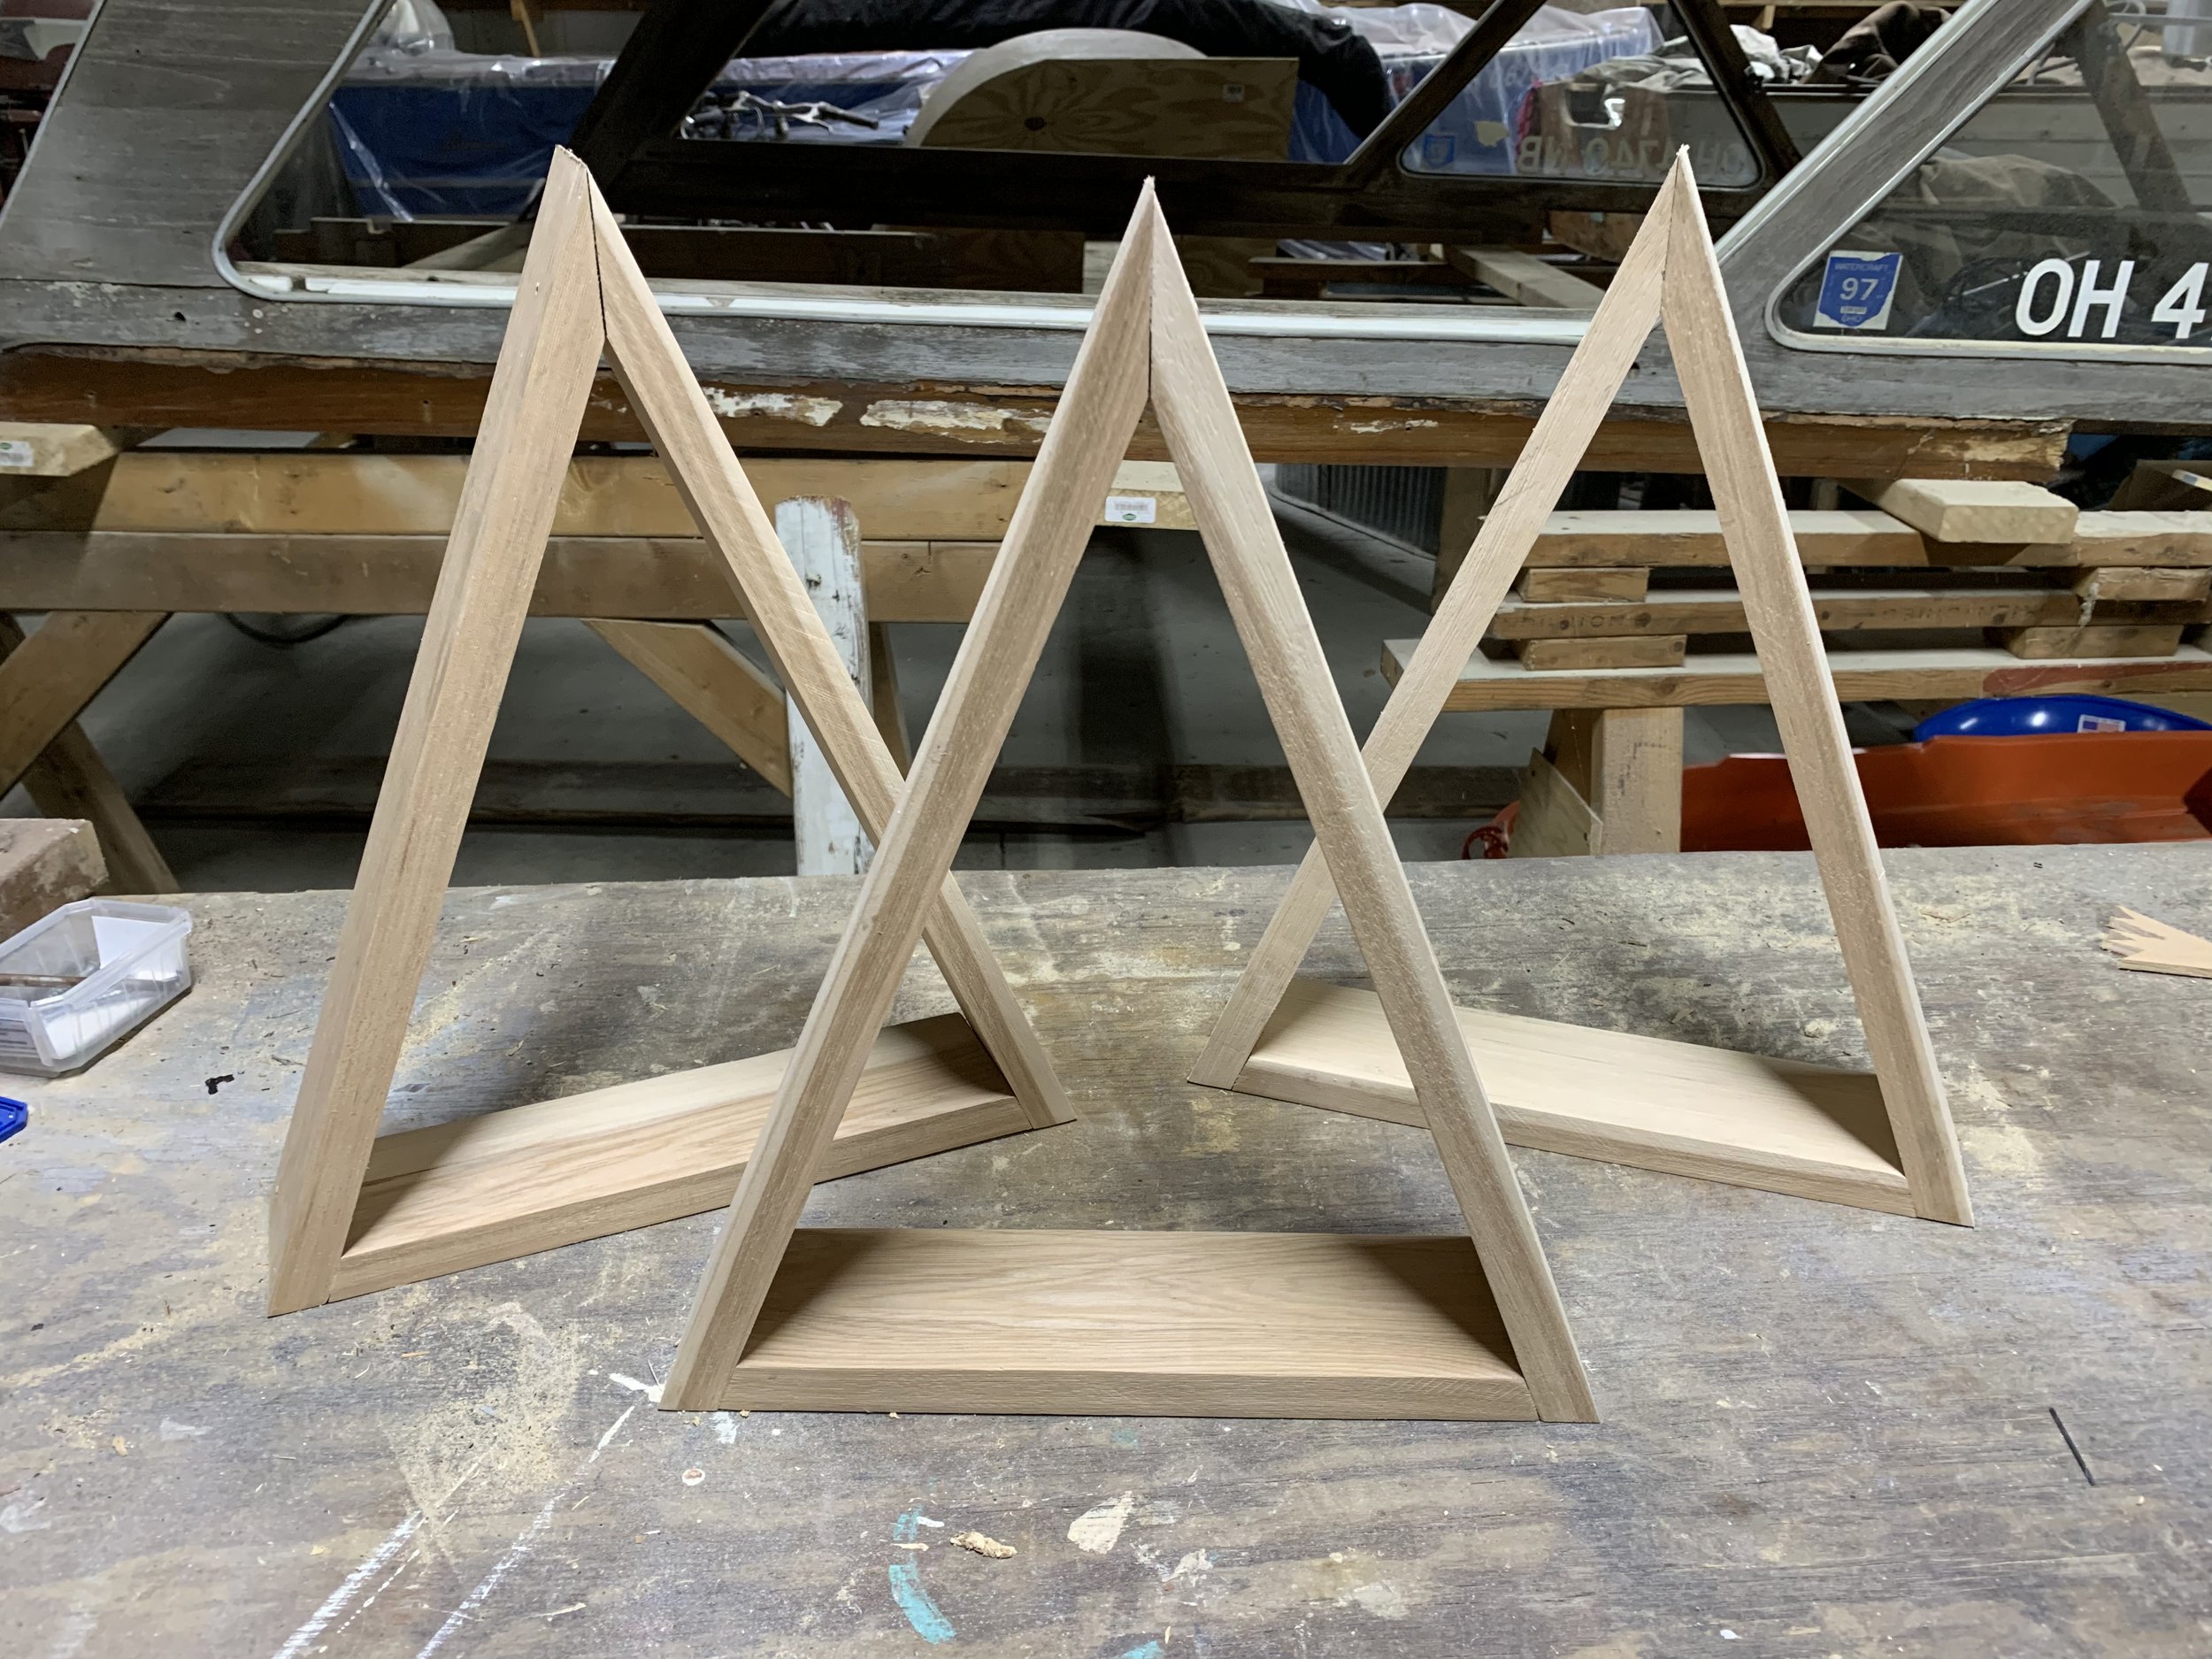
Triangle shelve assembled - ready for finishing.
How to Add the Snow Cap to the Mountain Shelves
For the snow cap, I used 1/4” plywood. First I cut a piece to approximately 5” wide on the table saw. Then I cut triangles off of it at 22.5 degrees. This ensures the perfect alignment with the shelves.
Then I drew on a design to look like snow and cut the pieces out on the band saw. The snow could be easily cut with a hand saw as well.
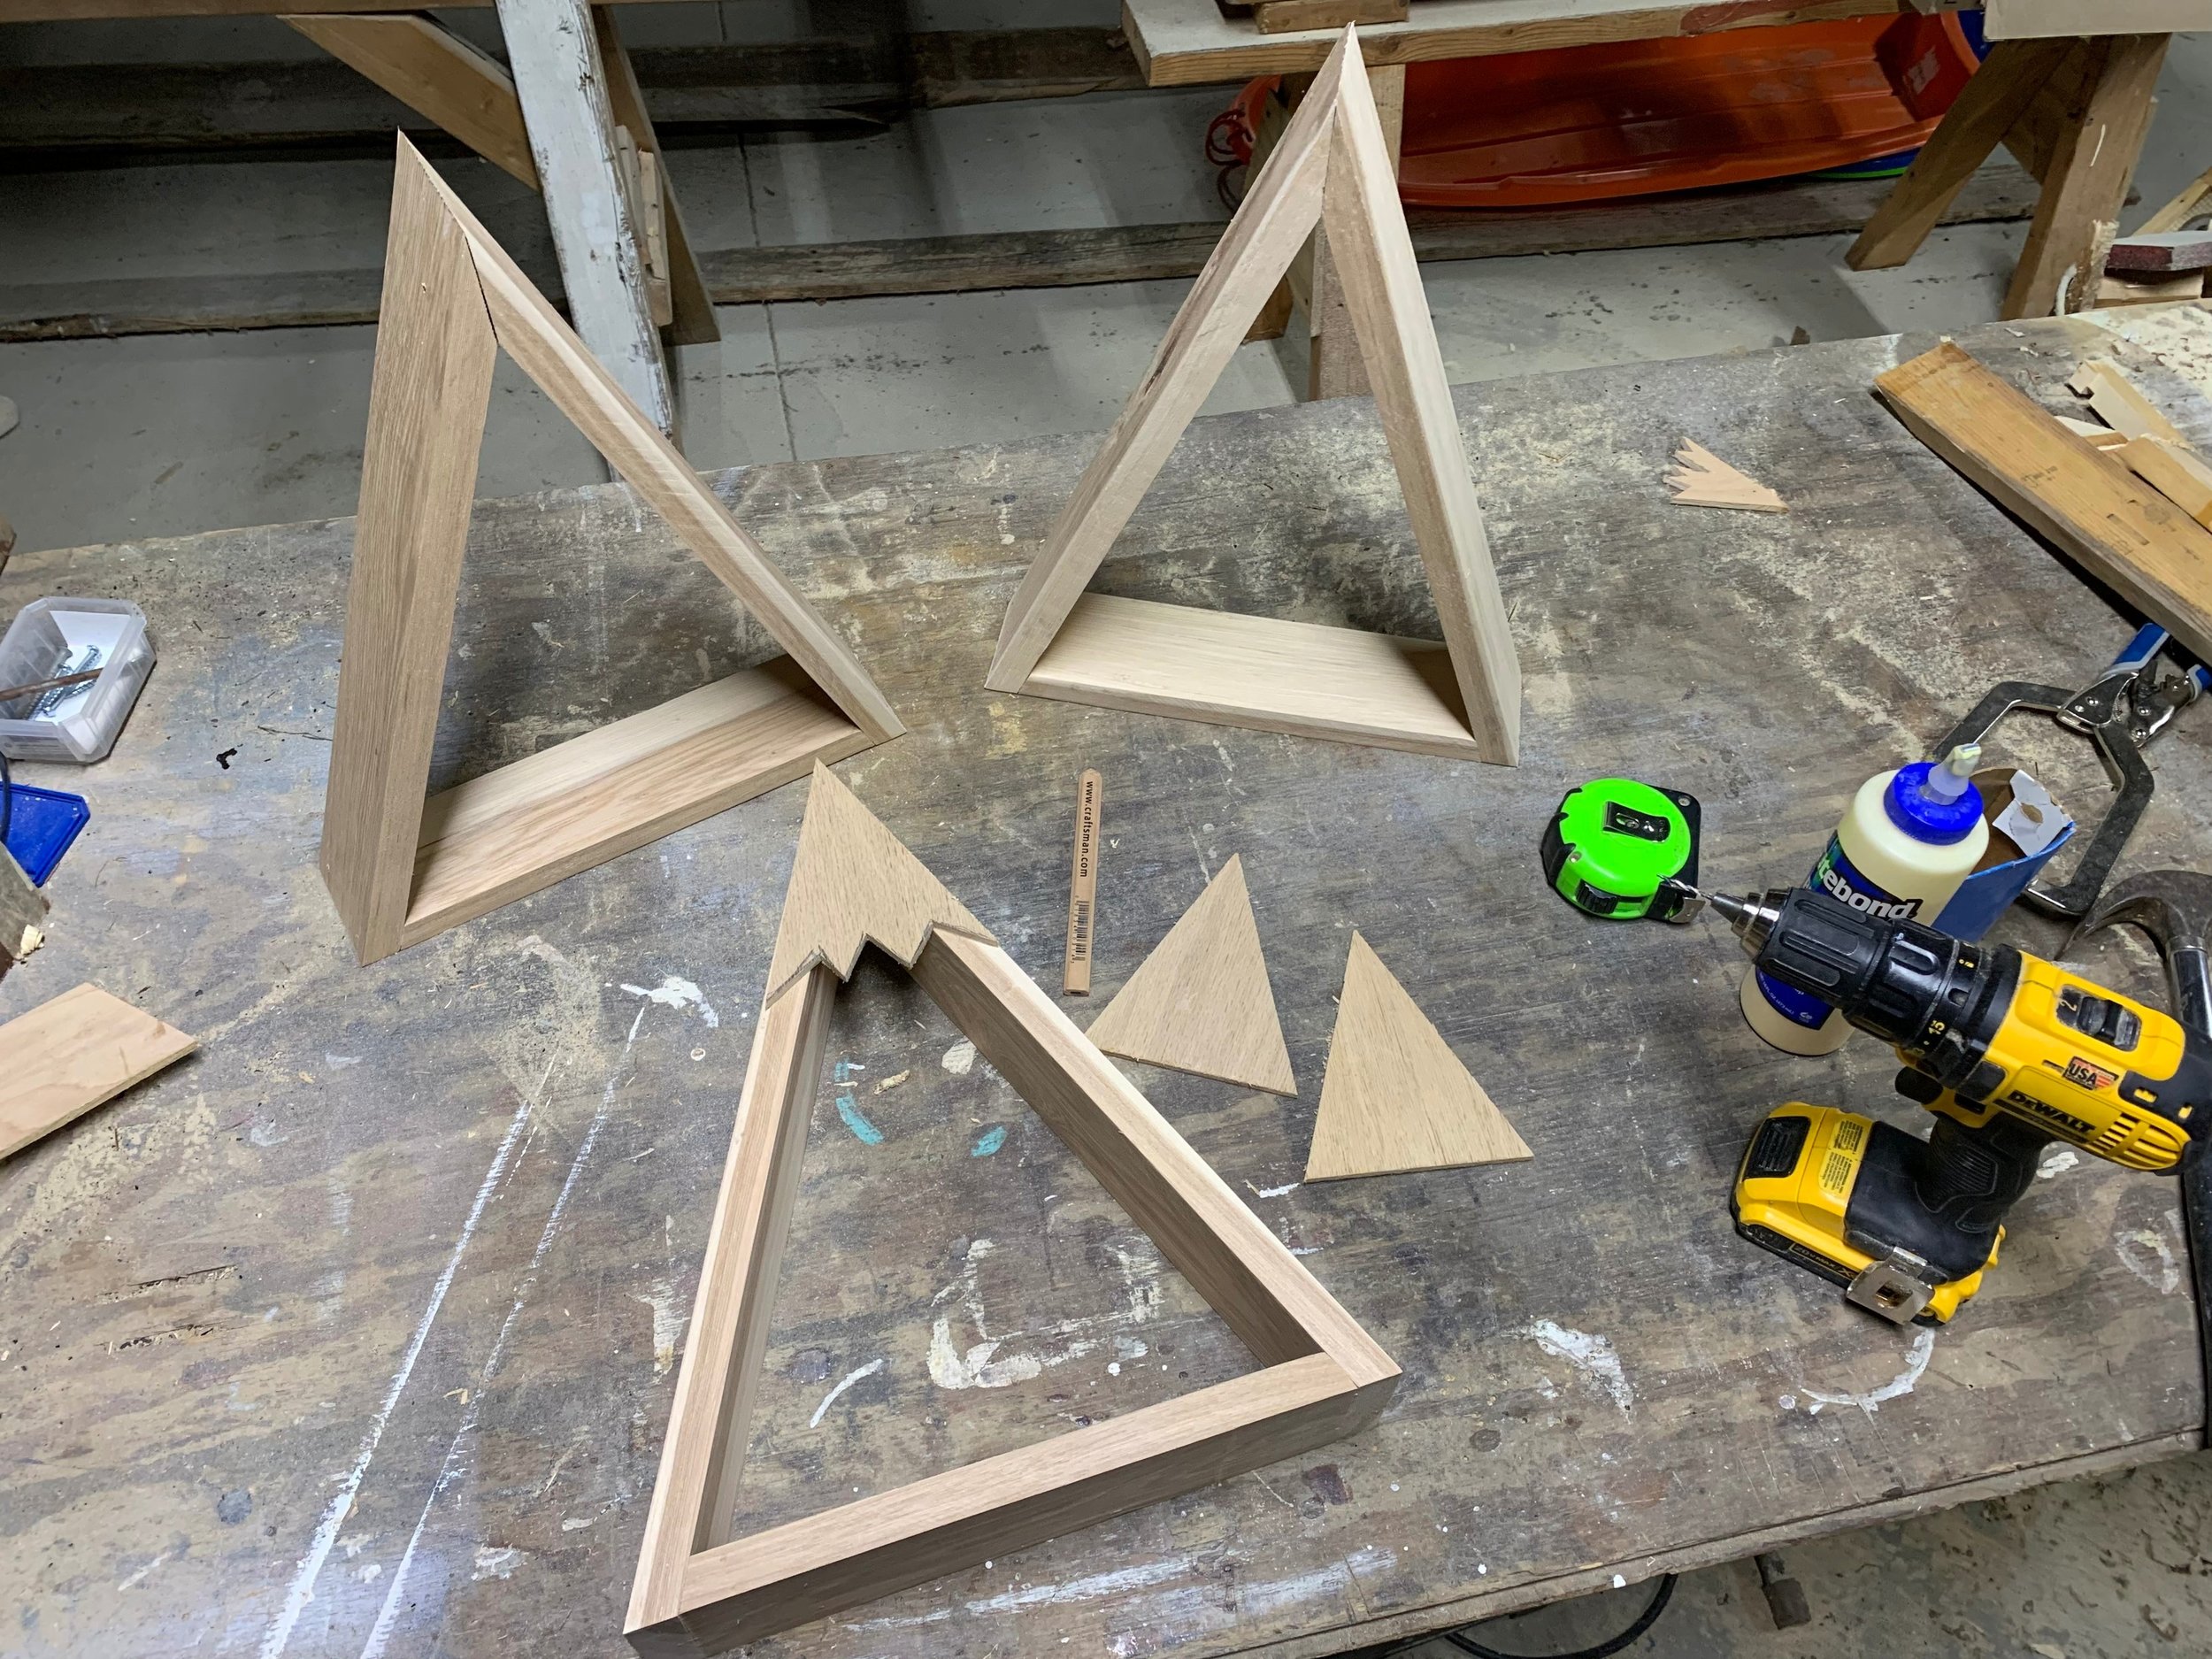
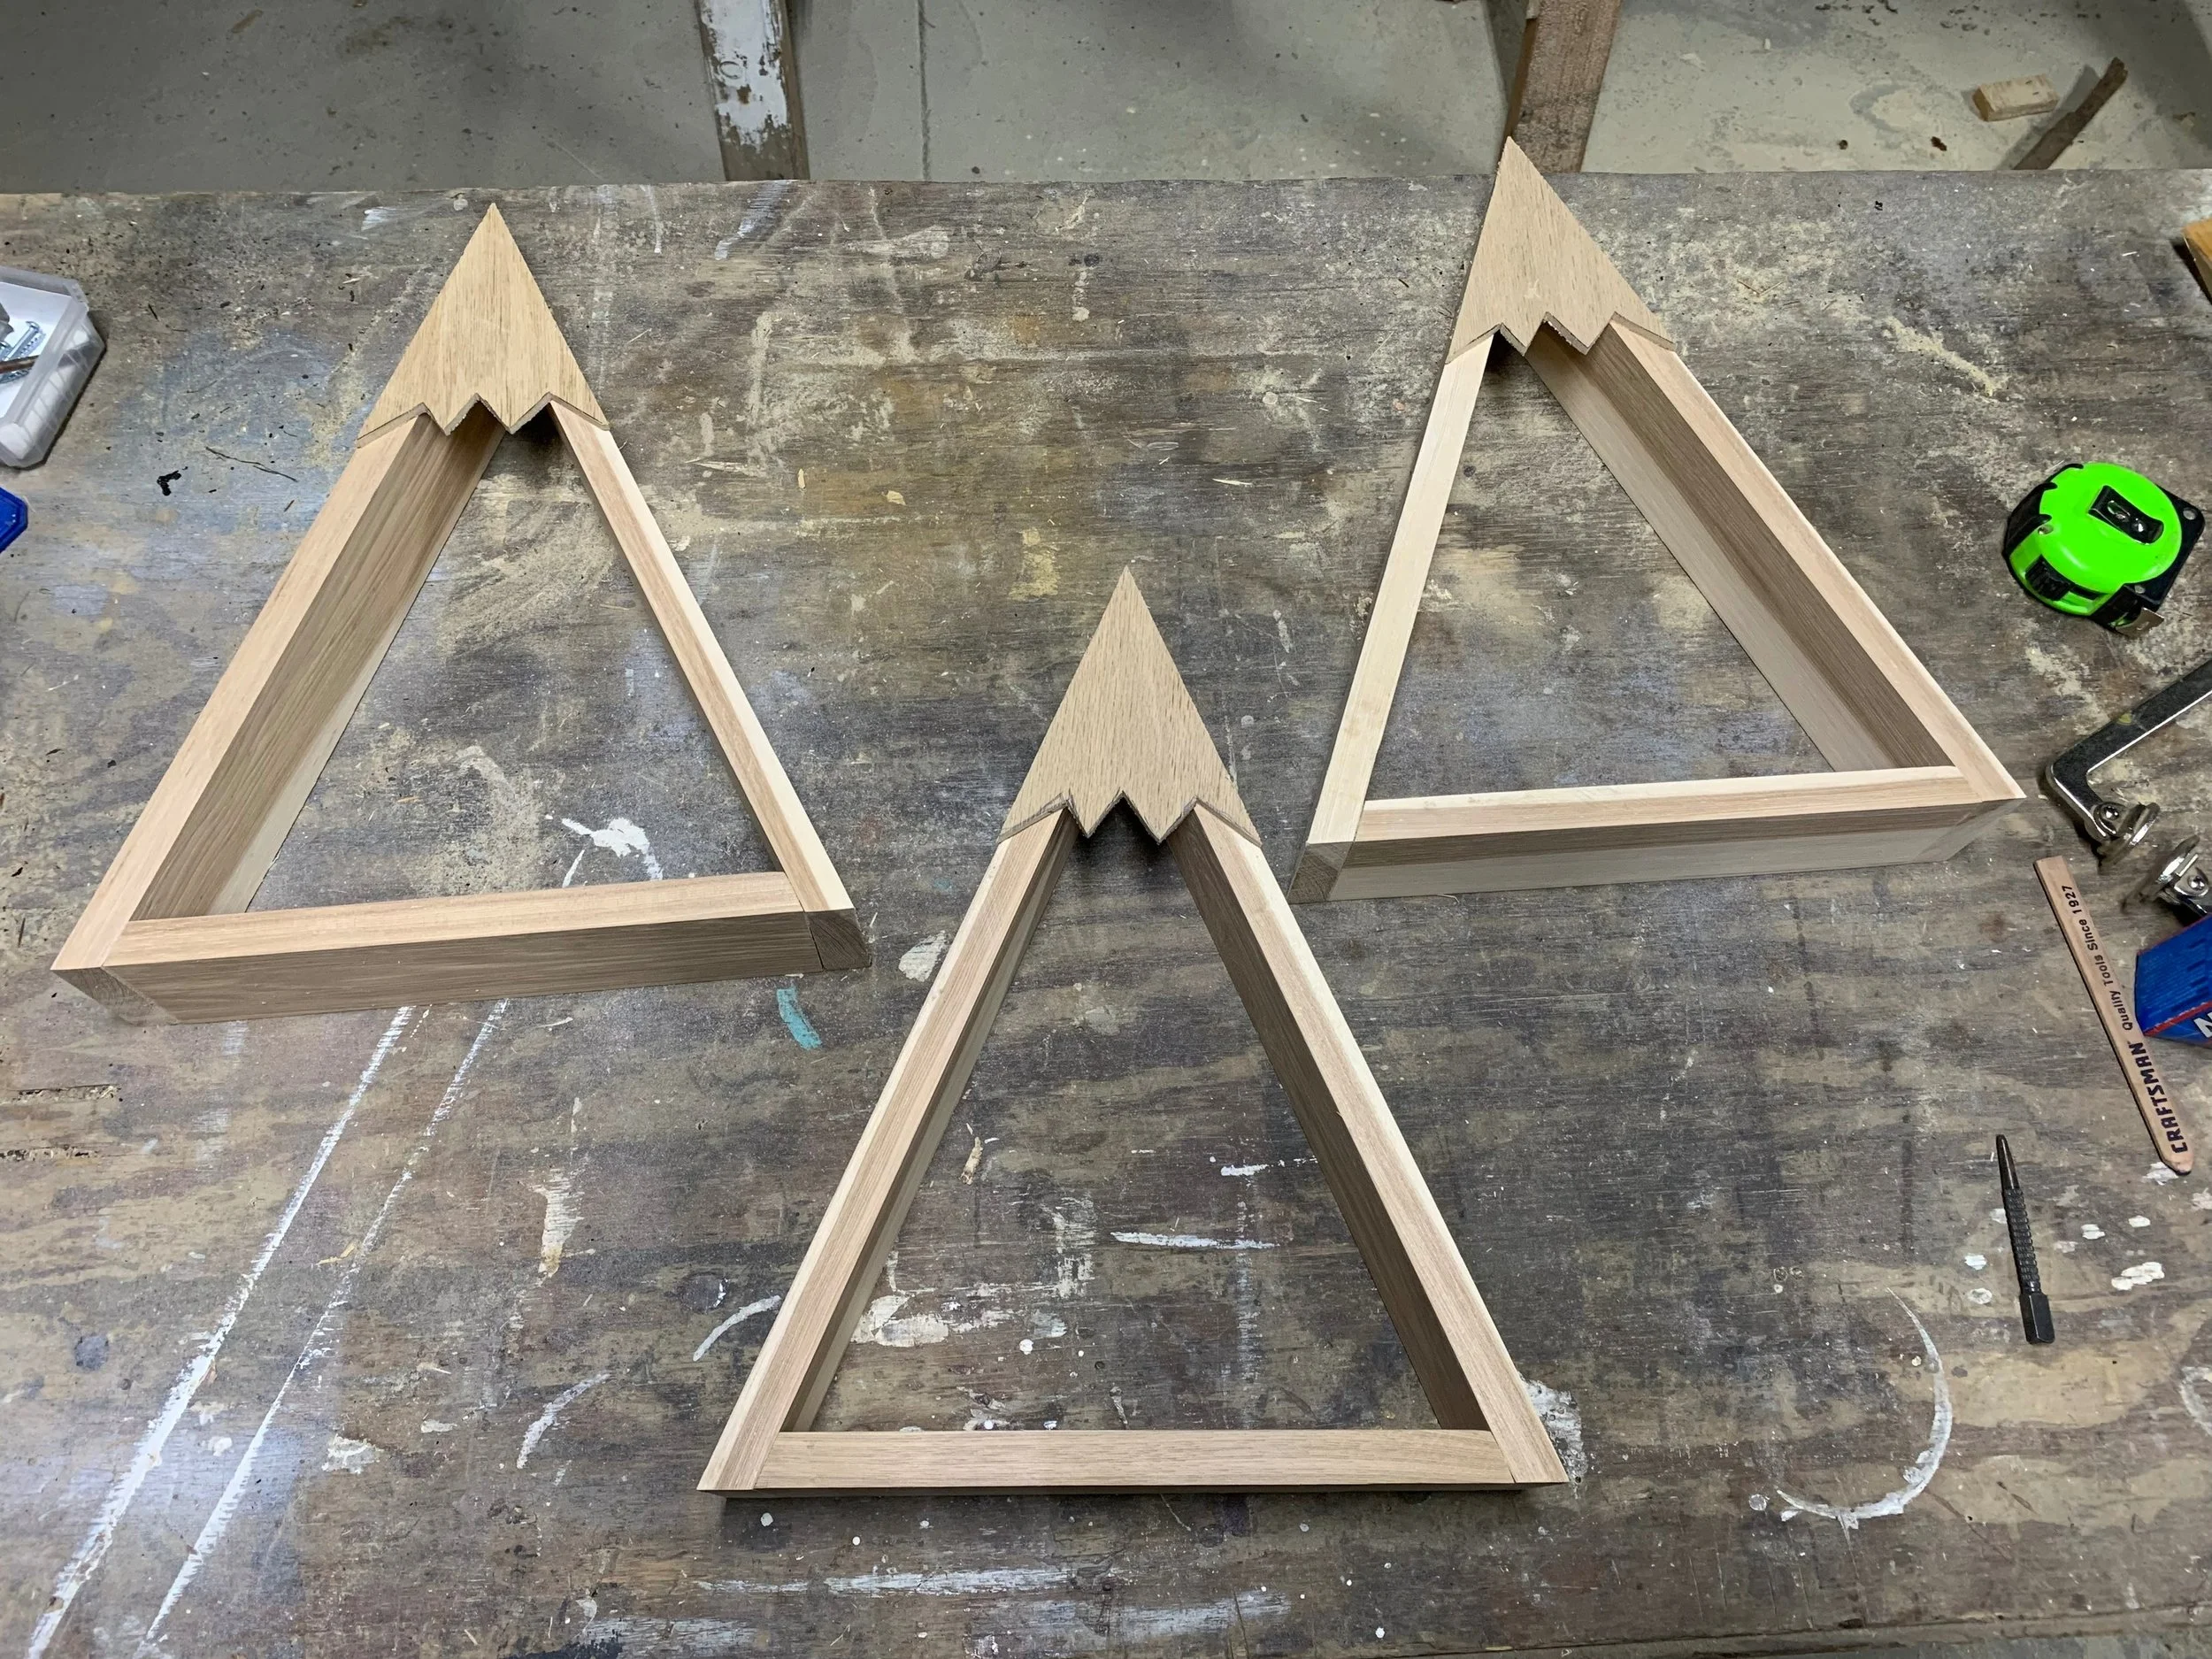

Cutting out the snow caps.
Finishing the Mountain Shelves
The last step is to finish the shelves to your desired style. These shelves were made from solid hickory and varnished with satin polyurethane. The Snow caps were spray painted bright white in satin. However you might want to add paint to the inside, stain the wood, or get wild with a combination of paint and stains.
To hang them, simply place a nail or a screw in the wall and hang it from the peak. If you are going to put heavy trinkets inside, be sure to use and anchor or make sure your screw/nail is into a stud.

Snow Capped Mountain Shelves - perfect in an Adventure Nursery
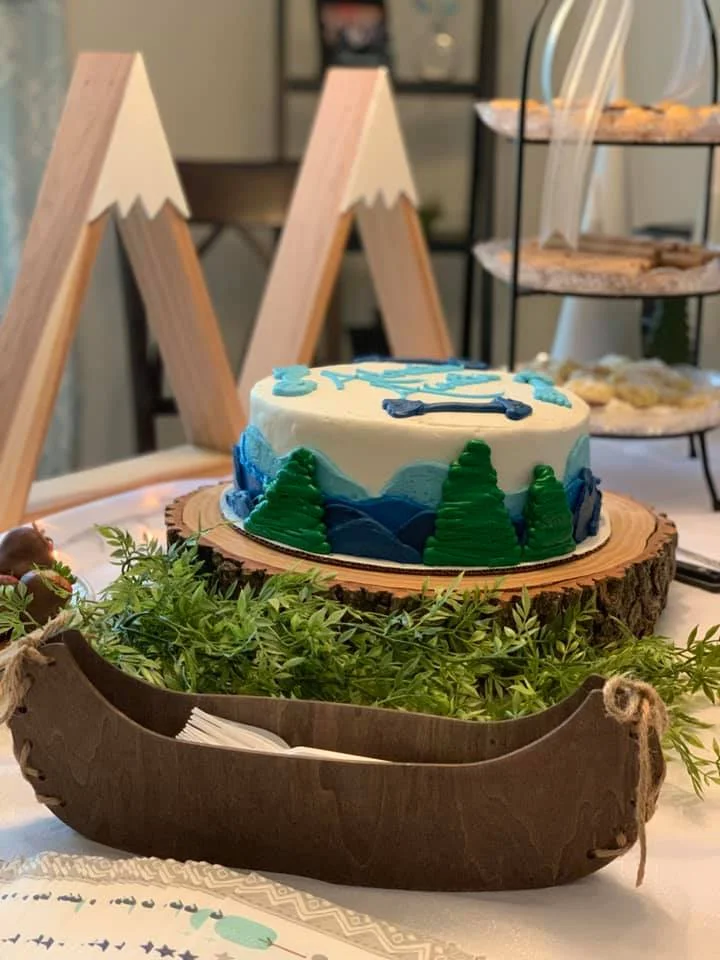
They make good table decor for the Adventure Theme baby shower, then are a gift for the nursery.
Check out our current projects on Instagram!