
How To Finish A Basement On A Budget
Adam Koons
Affiliate Disclosure: Thank you supporting us by visiting our site and posts. This website contains affiliate links that are ads recommended to you, that we can earn a small payout on. We only use Amazon Associates and Google Adsense. By clicking on these ads, making a purchase, or taking other action, we can earn a little extra money to fund future projects.
Finishing a basement is one of the best ways to build equity in your home and capture more livable square footage. Renovations are not our typical style of project, but it was a fun challenge to tackle and the result is a room for more space for my family to enjoy.
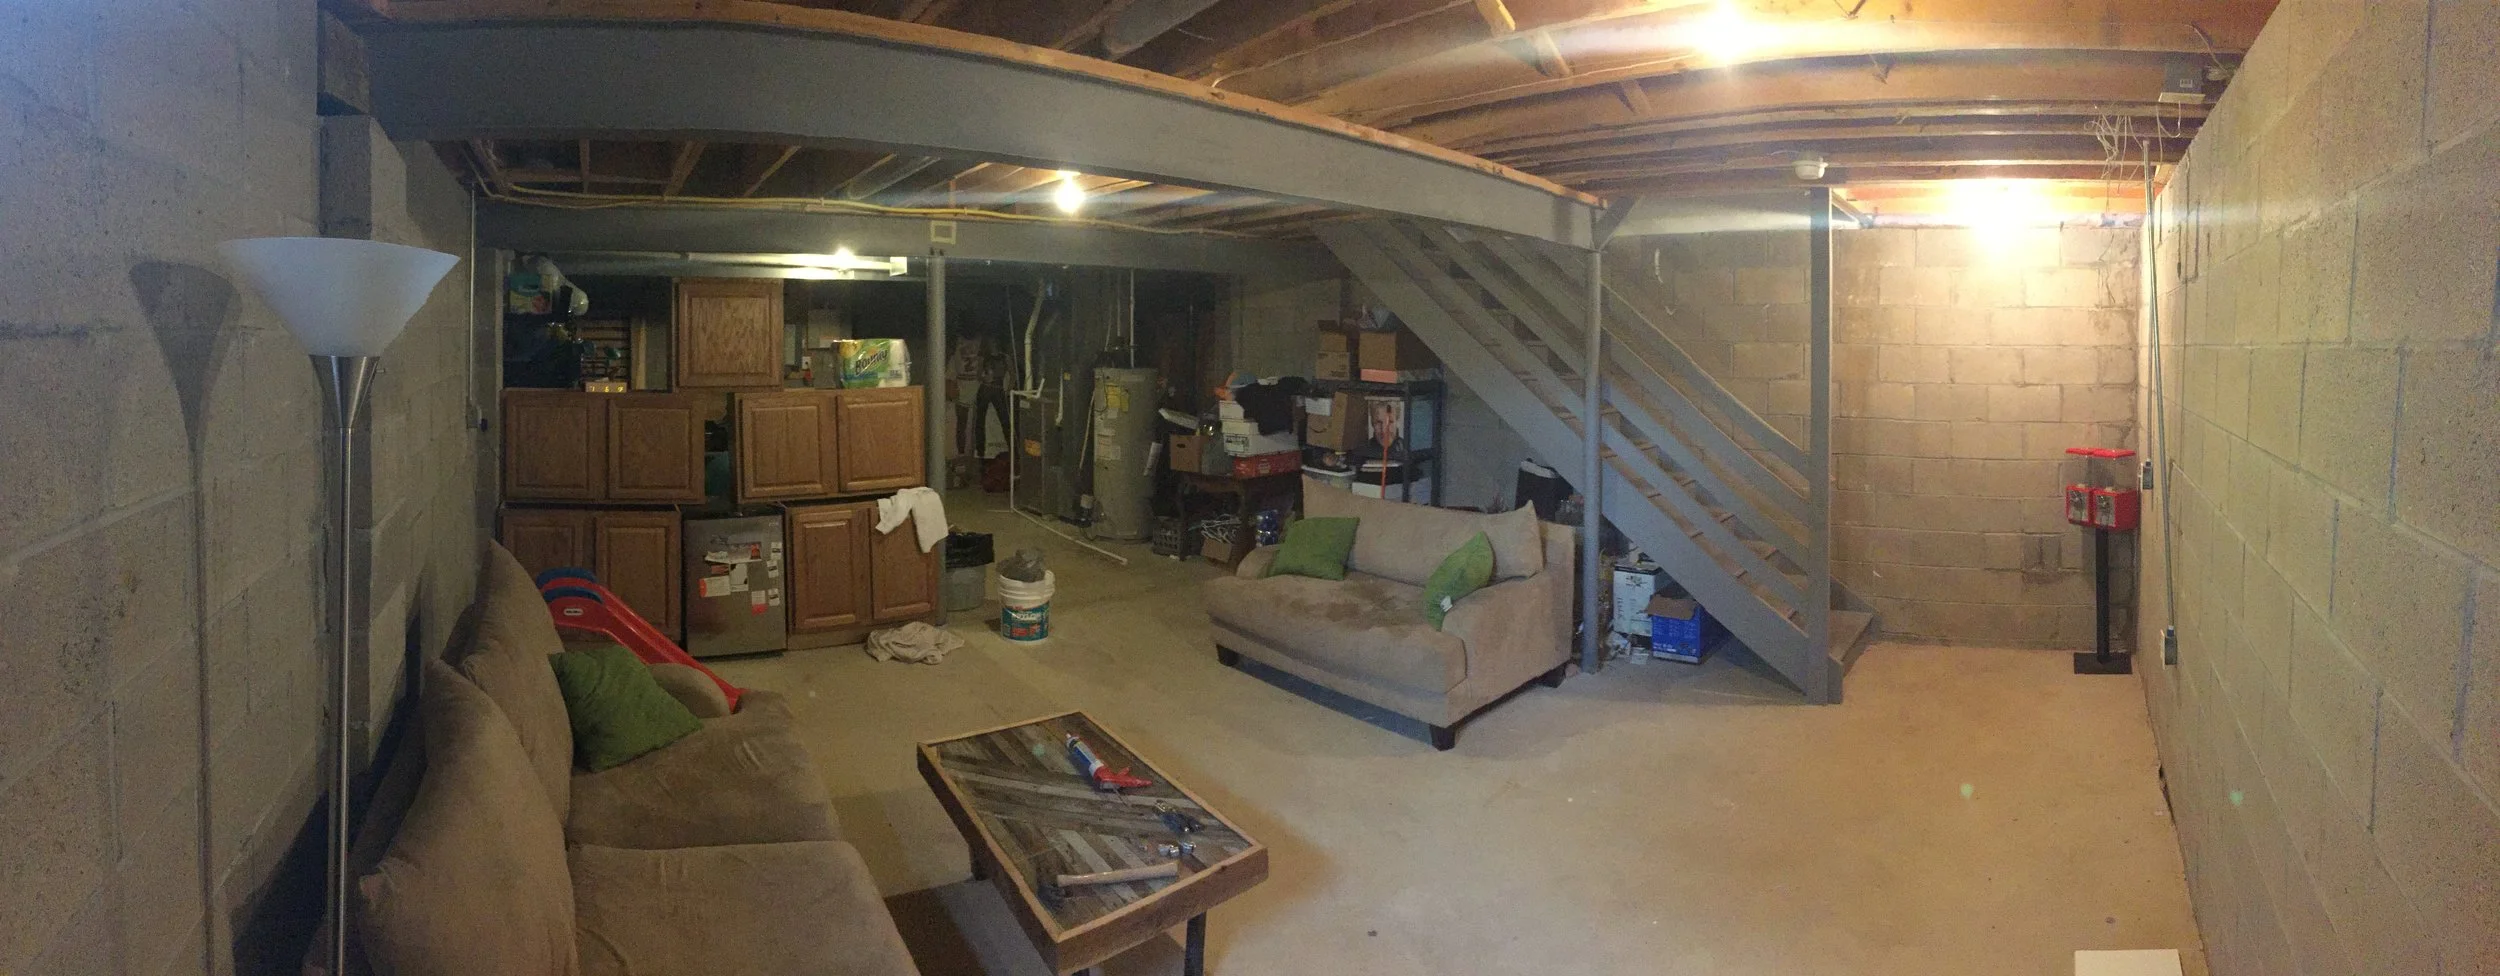
Our house is a "standard" suburb home that was built in the early 2000s. We have a partial basement with a crawl space, and block walls. All our junk (the stuff we have to save because we might need it someday) and home mechanical systems live down there.
Our plan was to finish off a bonus room that would be used as a play room, and second living room, as cost effectively as possible. We did almost all the work ourselves, and made smart budget choices in selecting materials. The idea was to finish half of our space, and leave the second half for storage and easy accessibility to the mechanical systems, should they need repaired or replaced in the future. Note - This is not the fastest way to finish a basement.
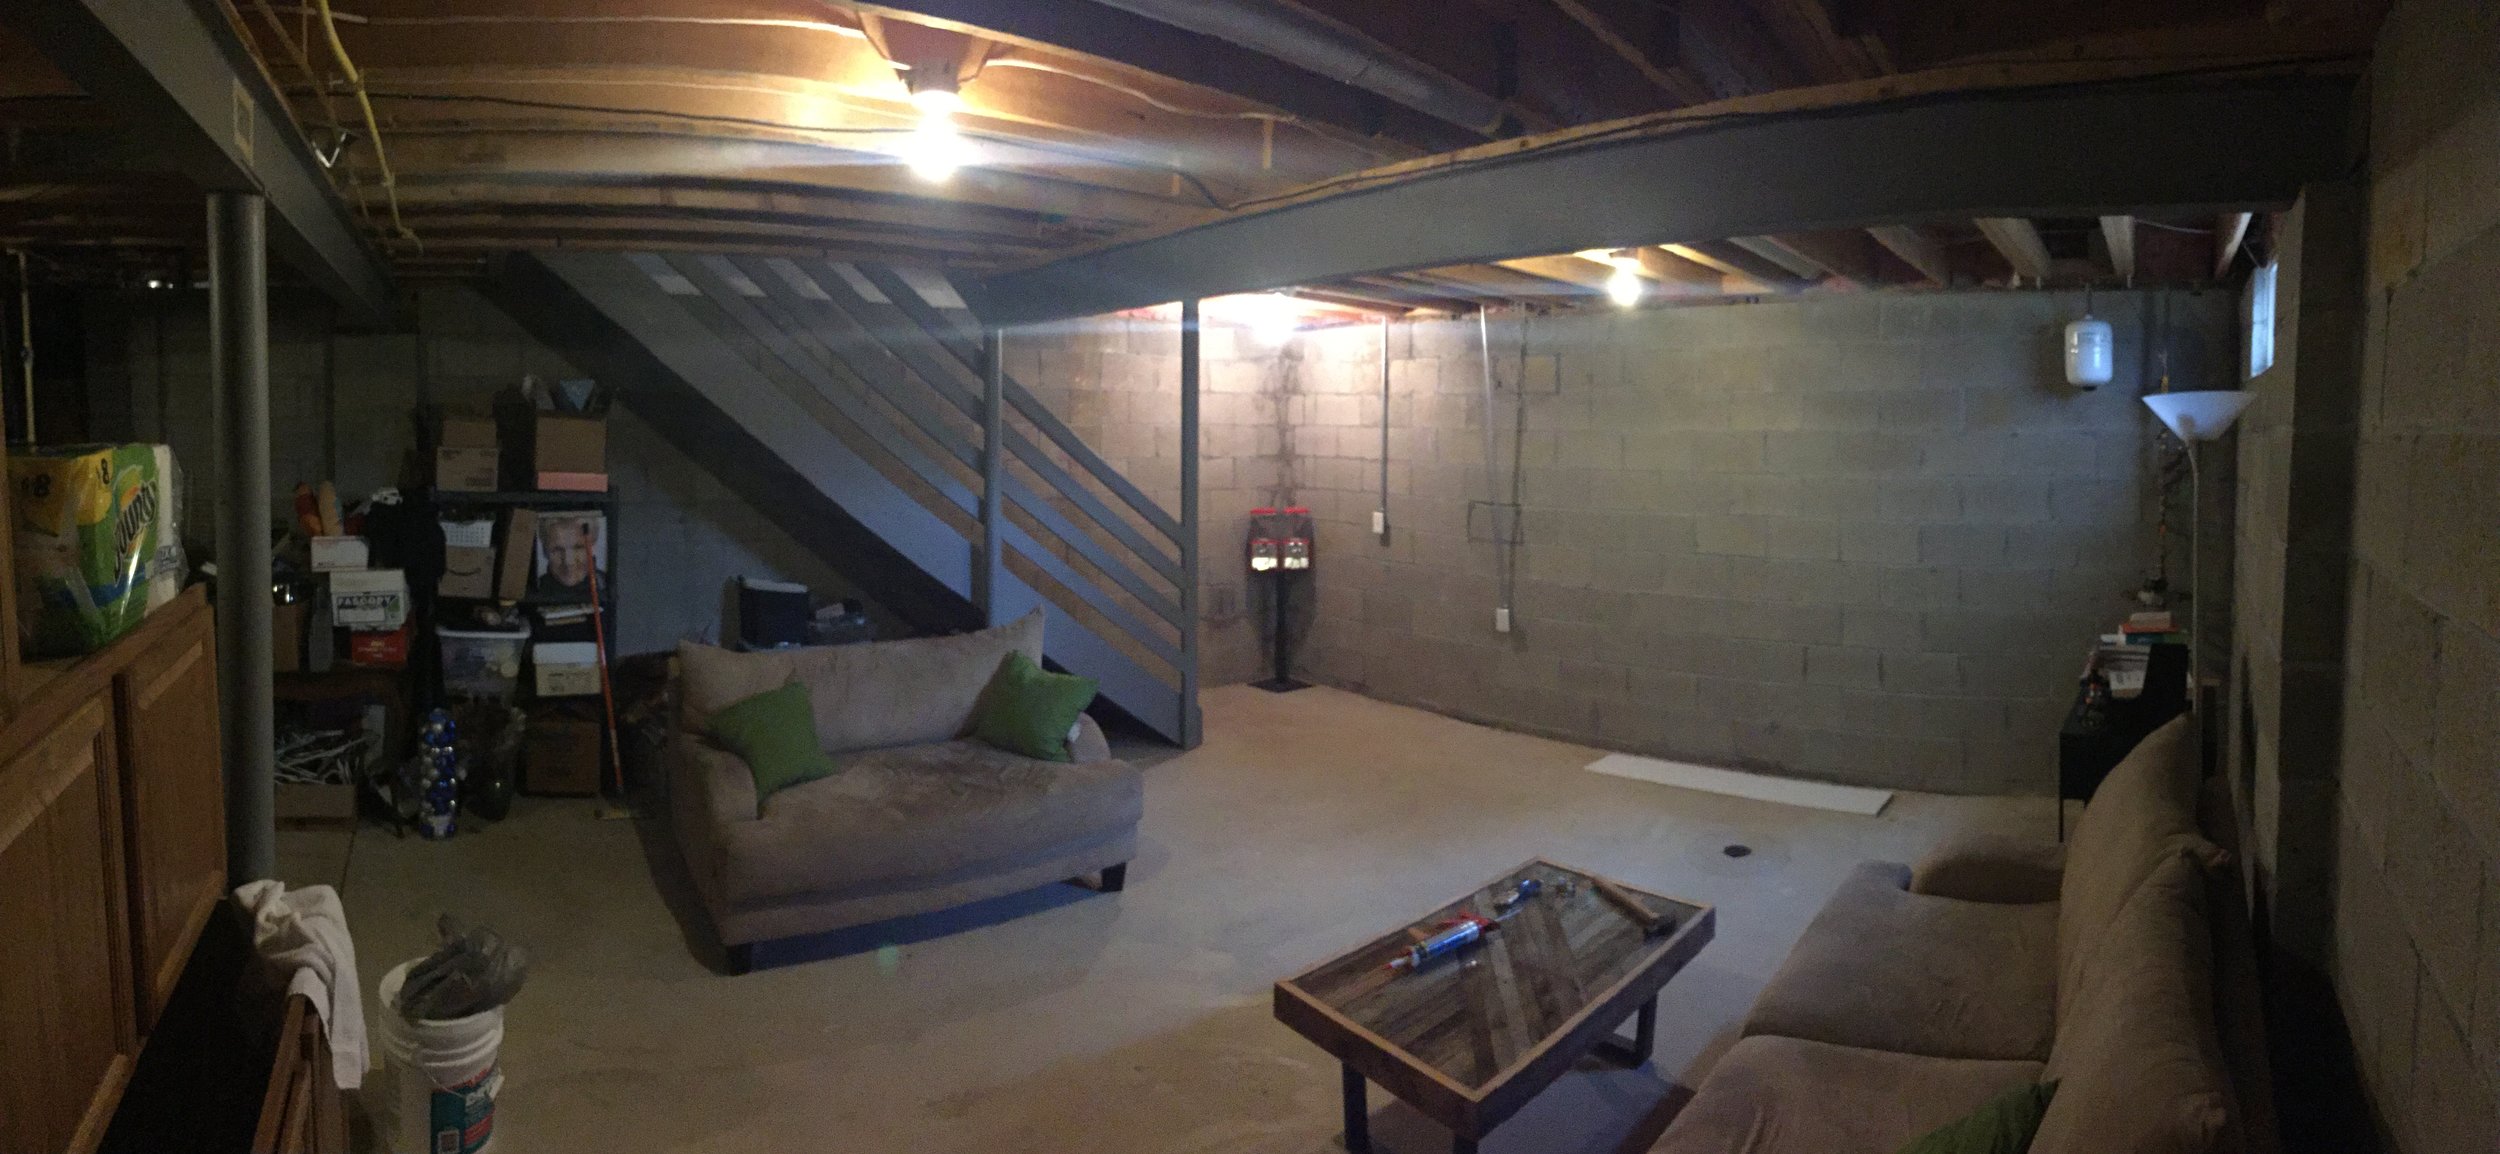
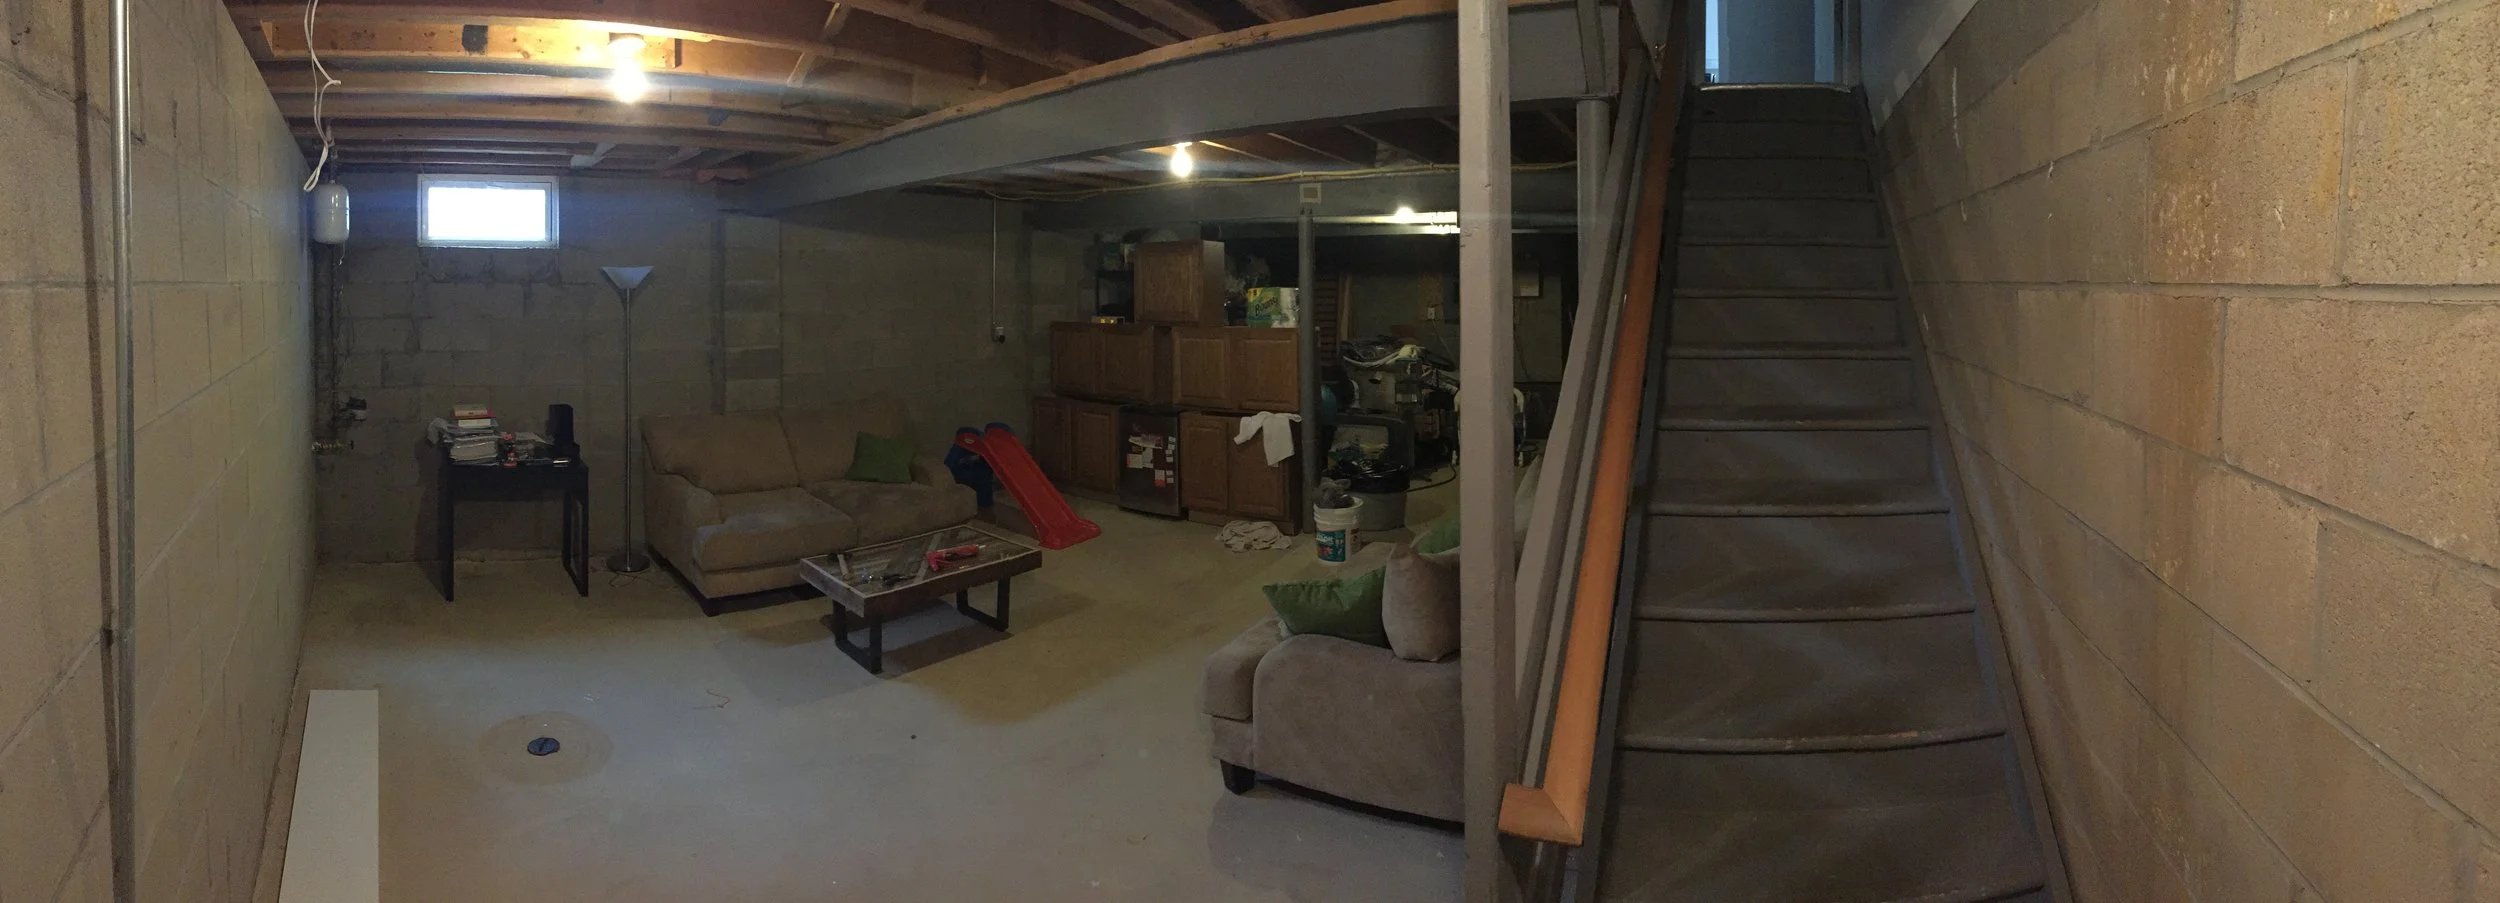
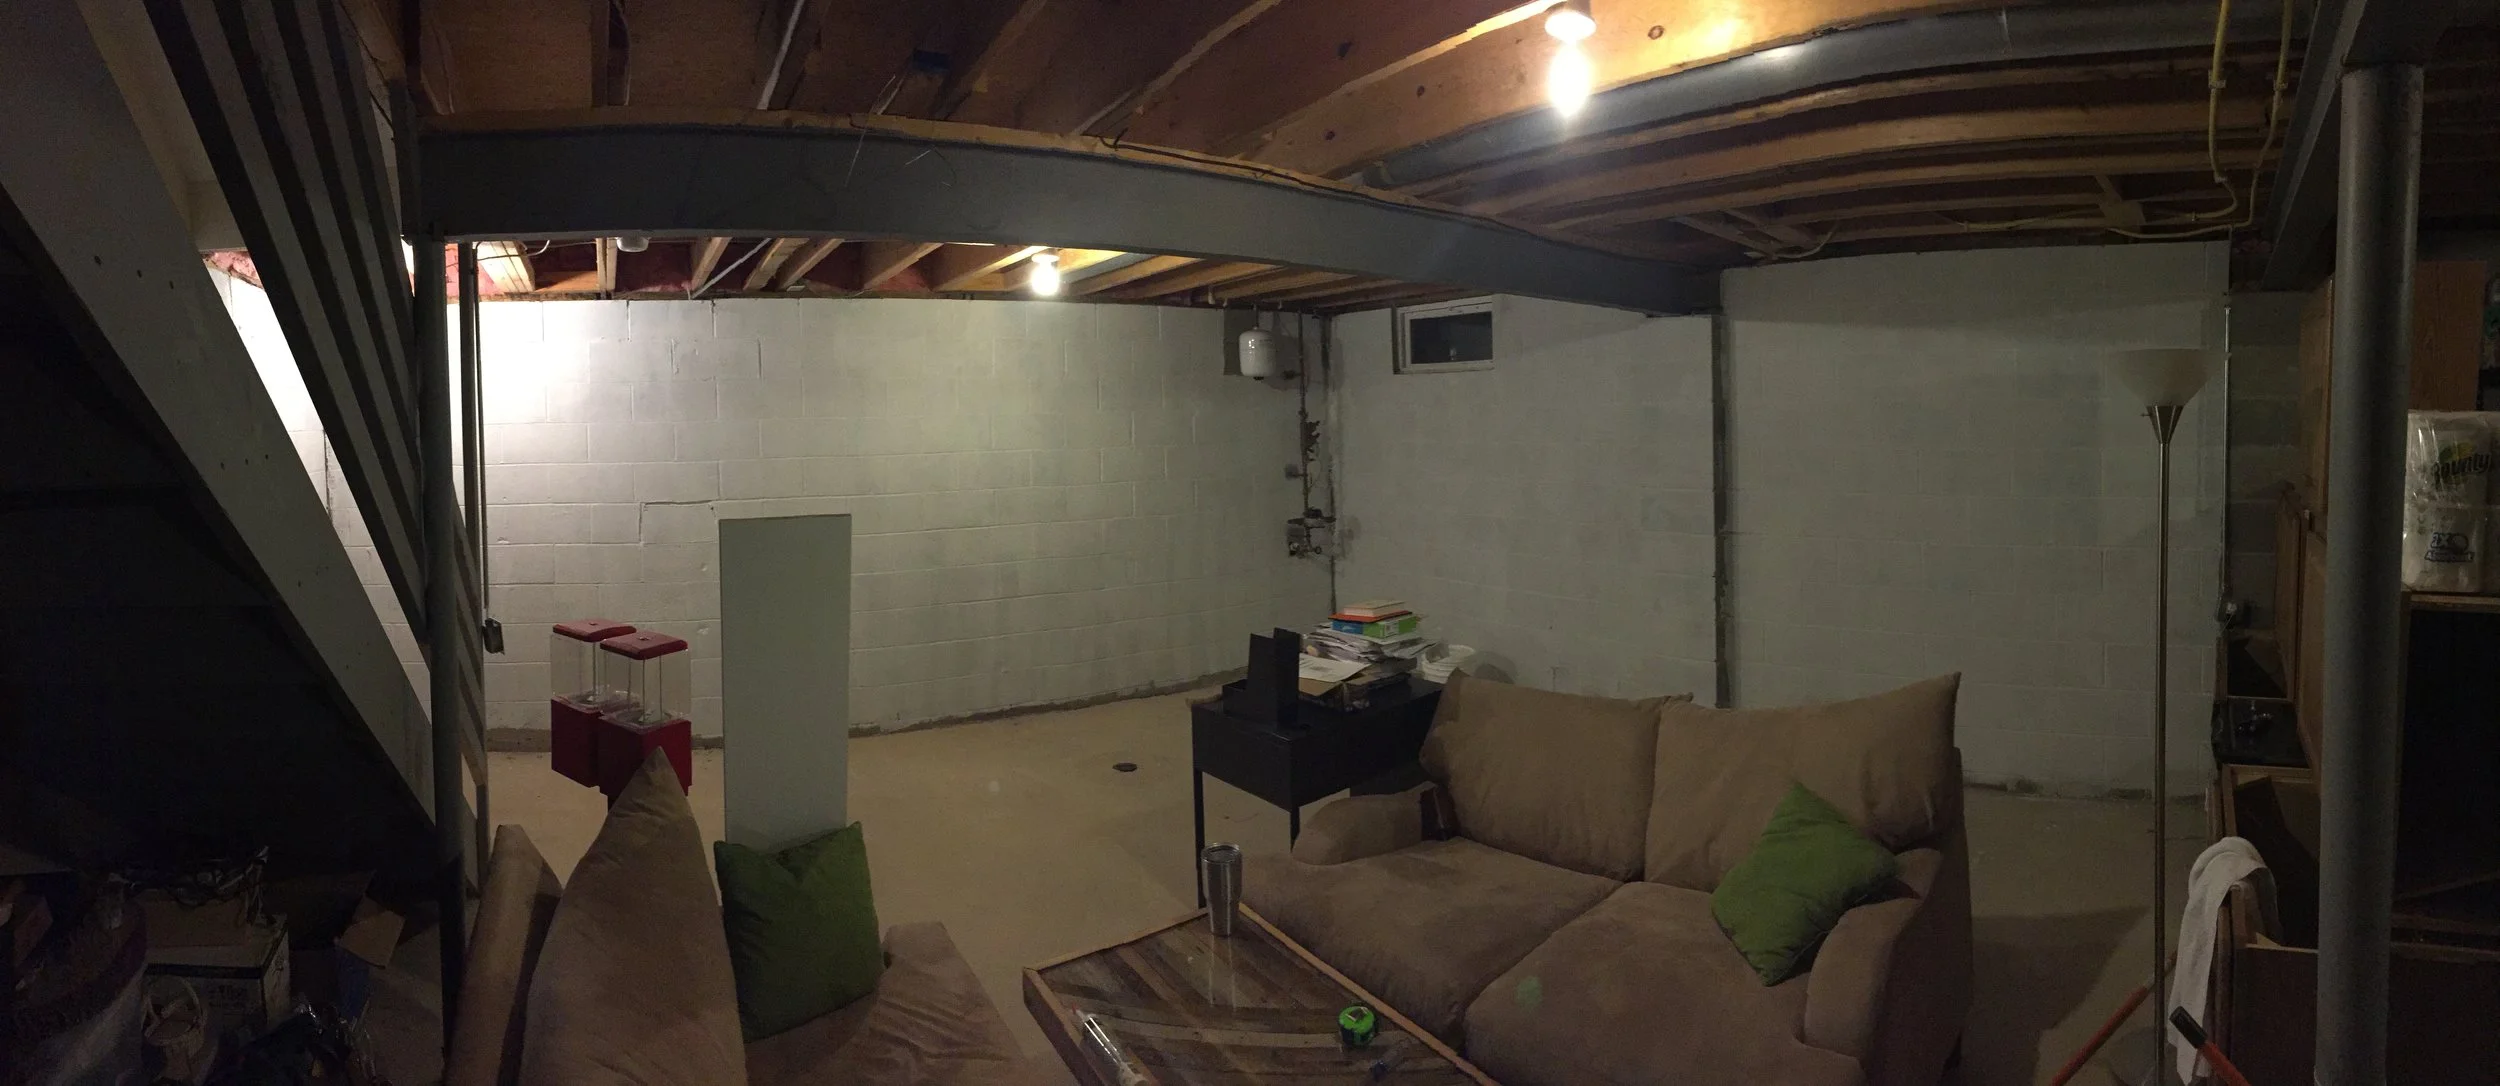
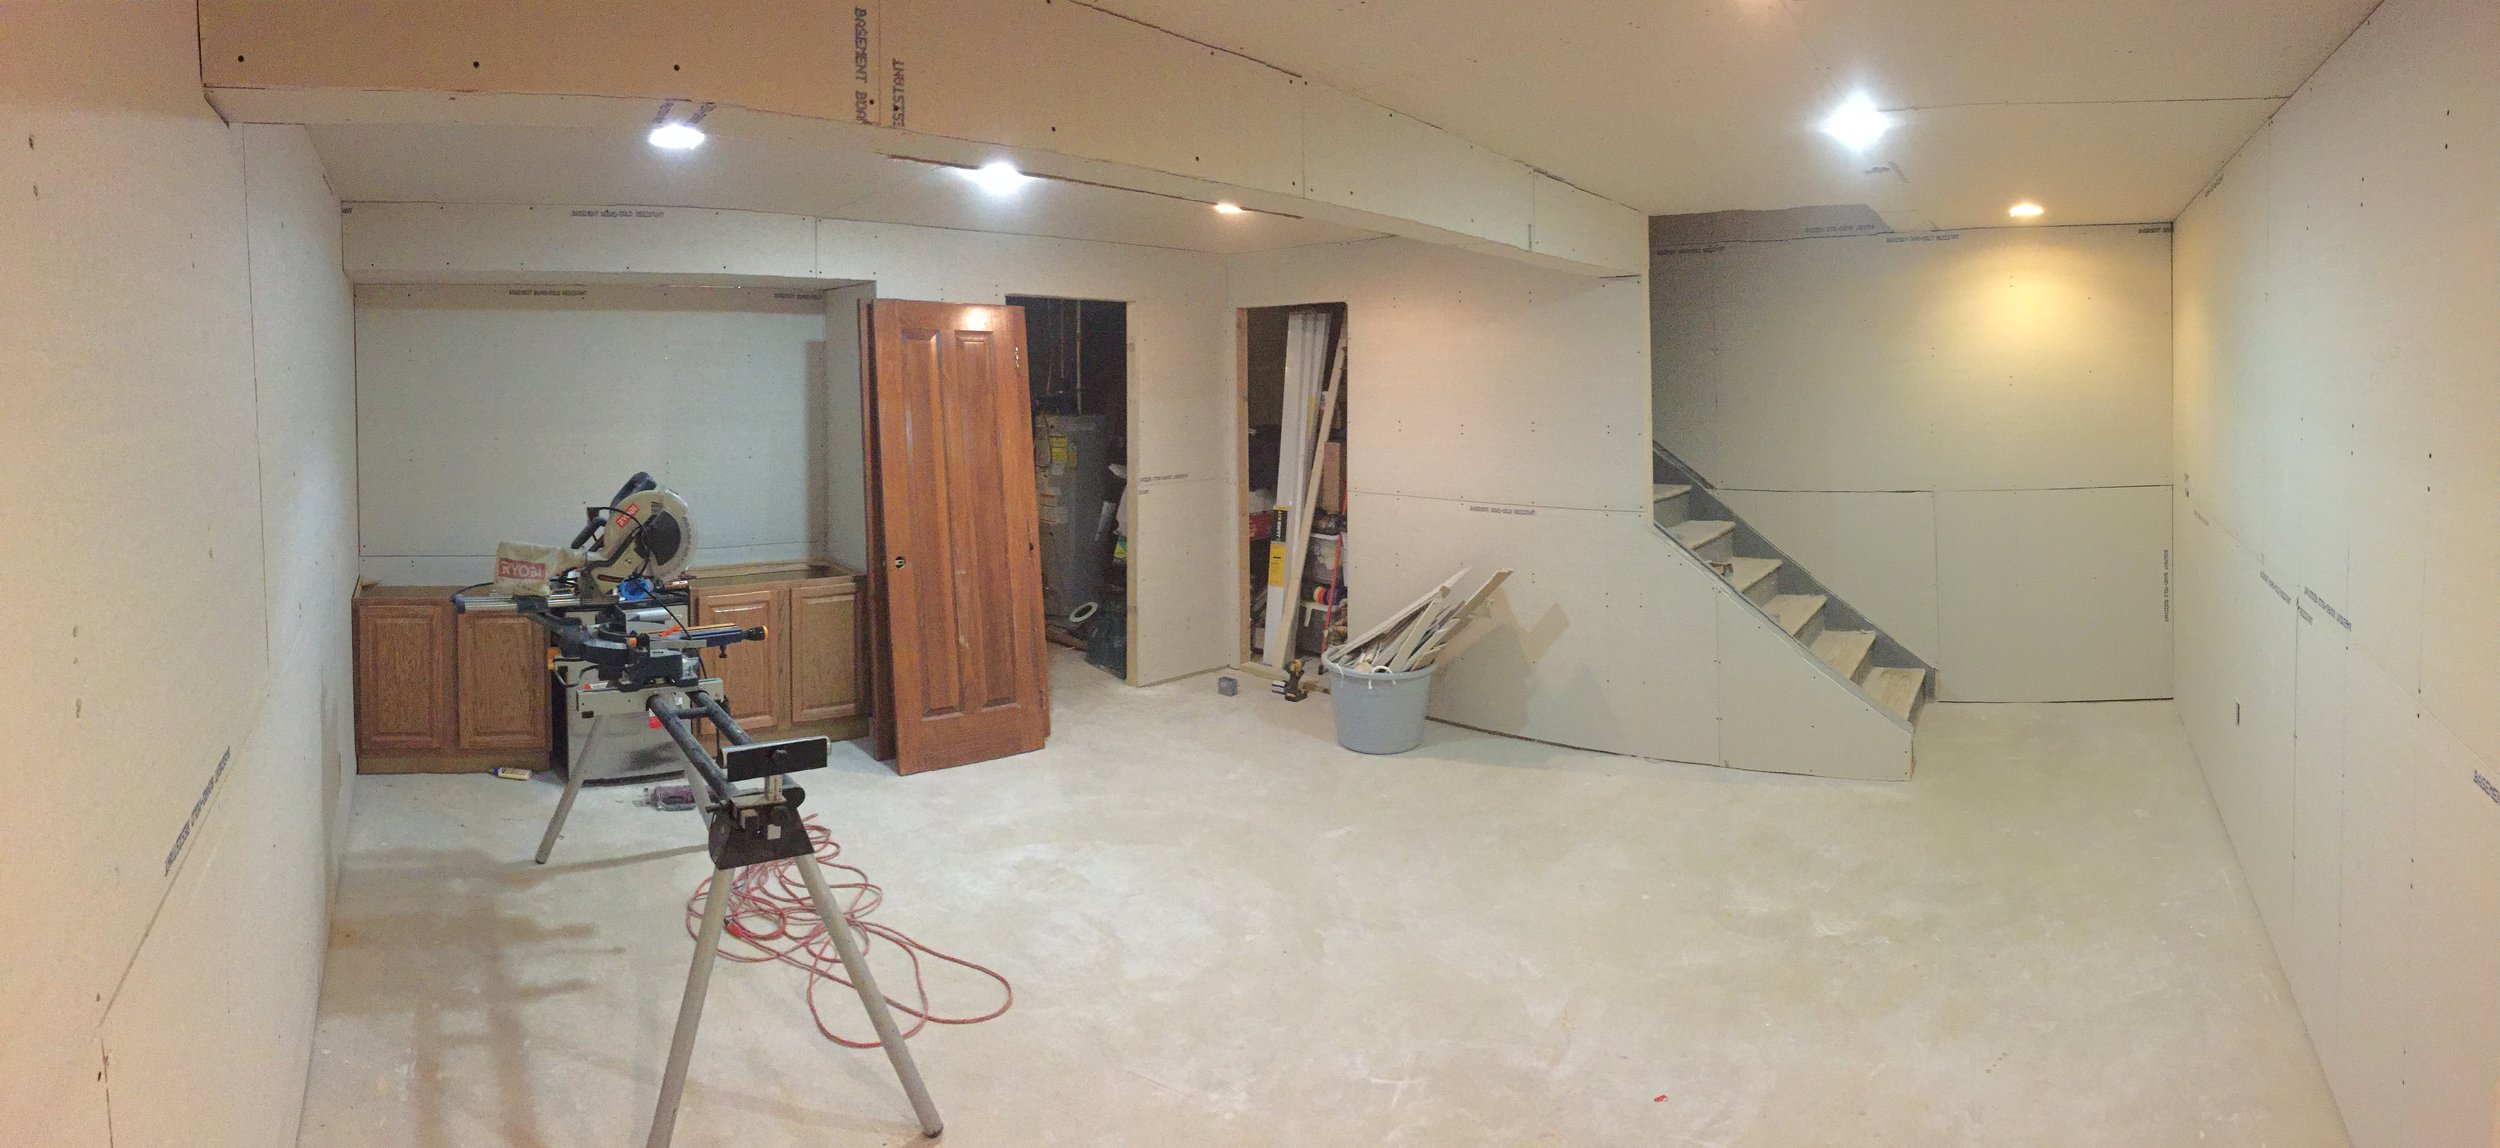
Take a look at the Before
Cold, Dark, and full of spider webs. Our basement was a standard block wall, unfinished basement.
Budget Basement Finishing
First we started by sealing the block walls and "waterproofing" the space. The basement was typically dry, so we didn't have any major issues to fix. We caulked any cracks in the walls with a caulk for block, and then painted block sealer onto the walls. If you have never used block sealer before, it is almost a sandy paint and speckles off the roller onto everything! However, you can really tell that it seals the block up and will prevent moisture from getting into the basement.
Cost of Block sealer: $100
Block sealer Applied
After sealing the block, we insulated using rigid insulation. This was extremely easy to do! We used an R5 insulation that was 1" thick, that is designed for basement walls. To install, we simply glued each panel to the block and then taped the joins to minimize cold air from getting into the finished space. After getting the insulation up, there was a noticeable difference in the basement temperature, even though we insulated less than half of the basement.
Cost Of Insulation: $150
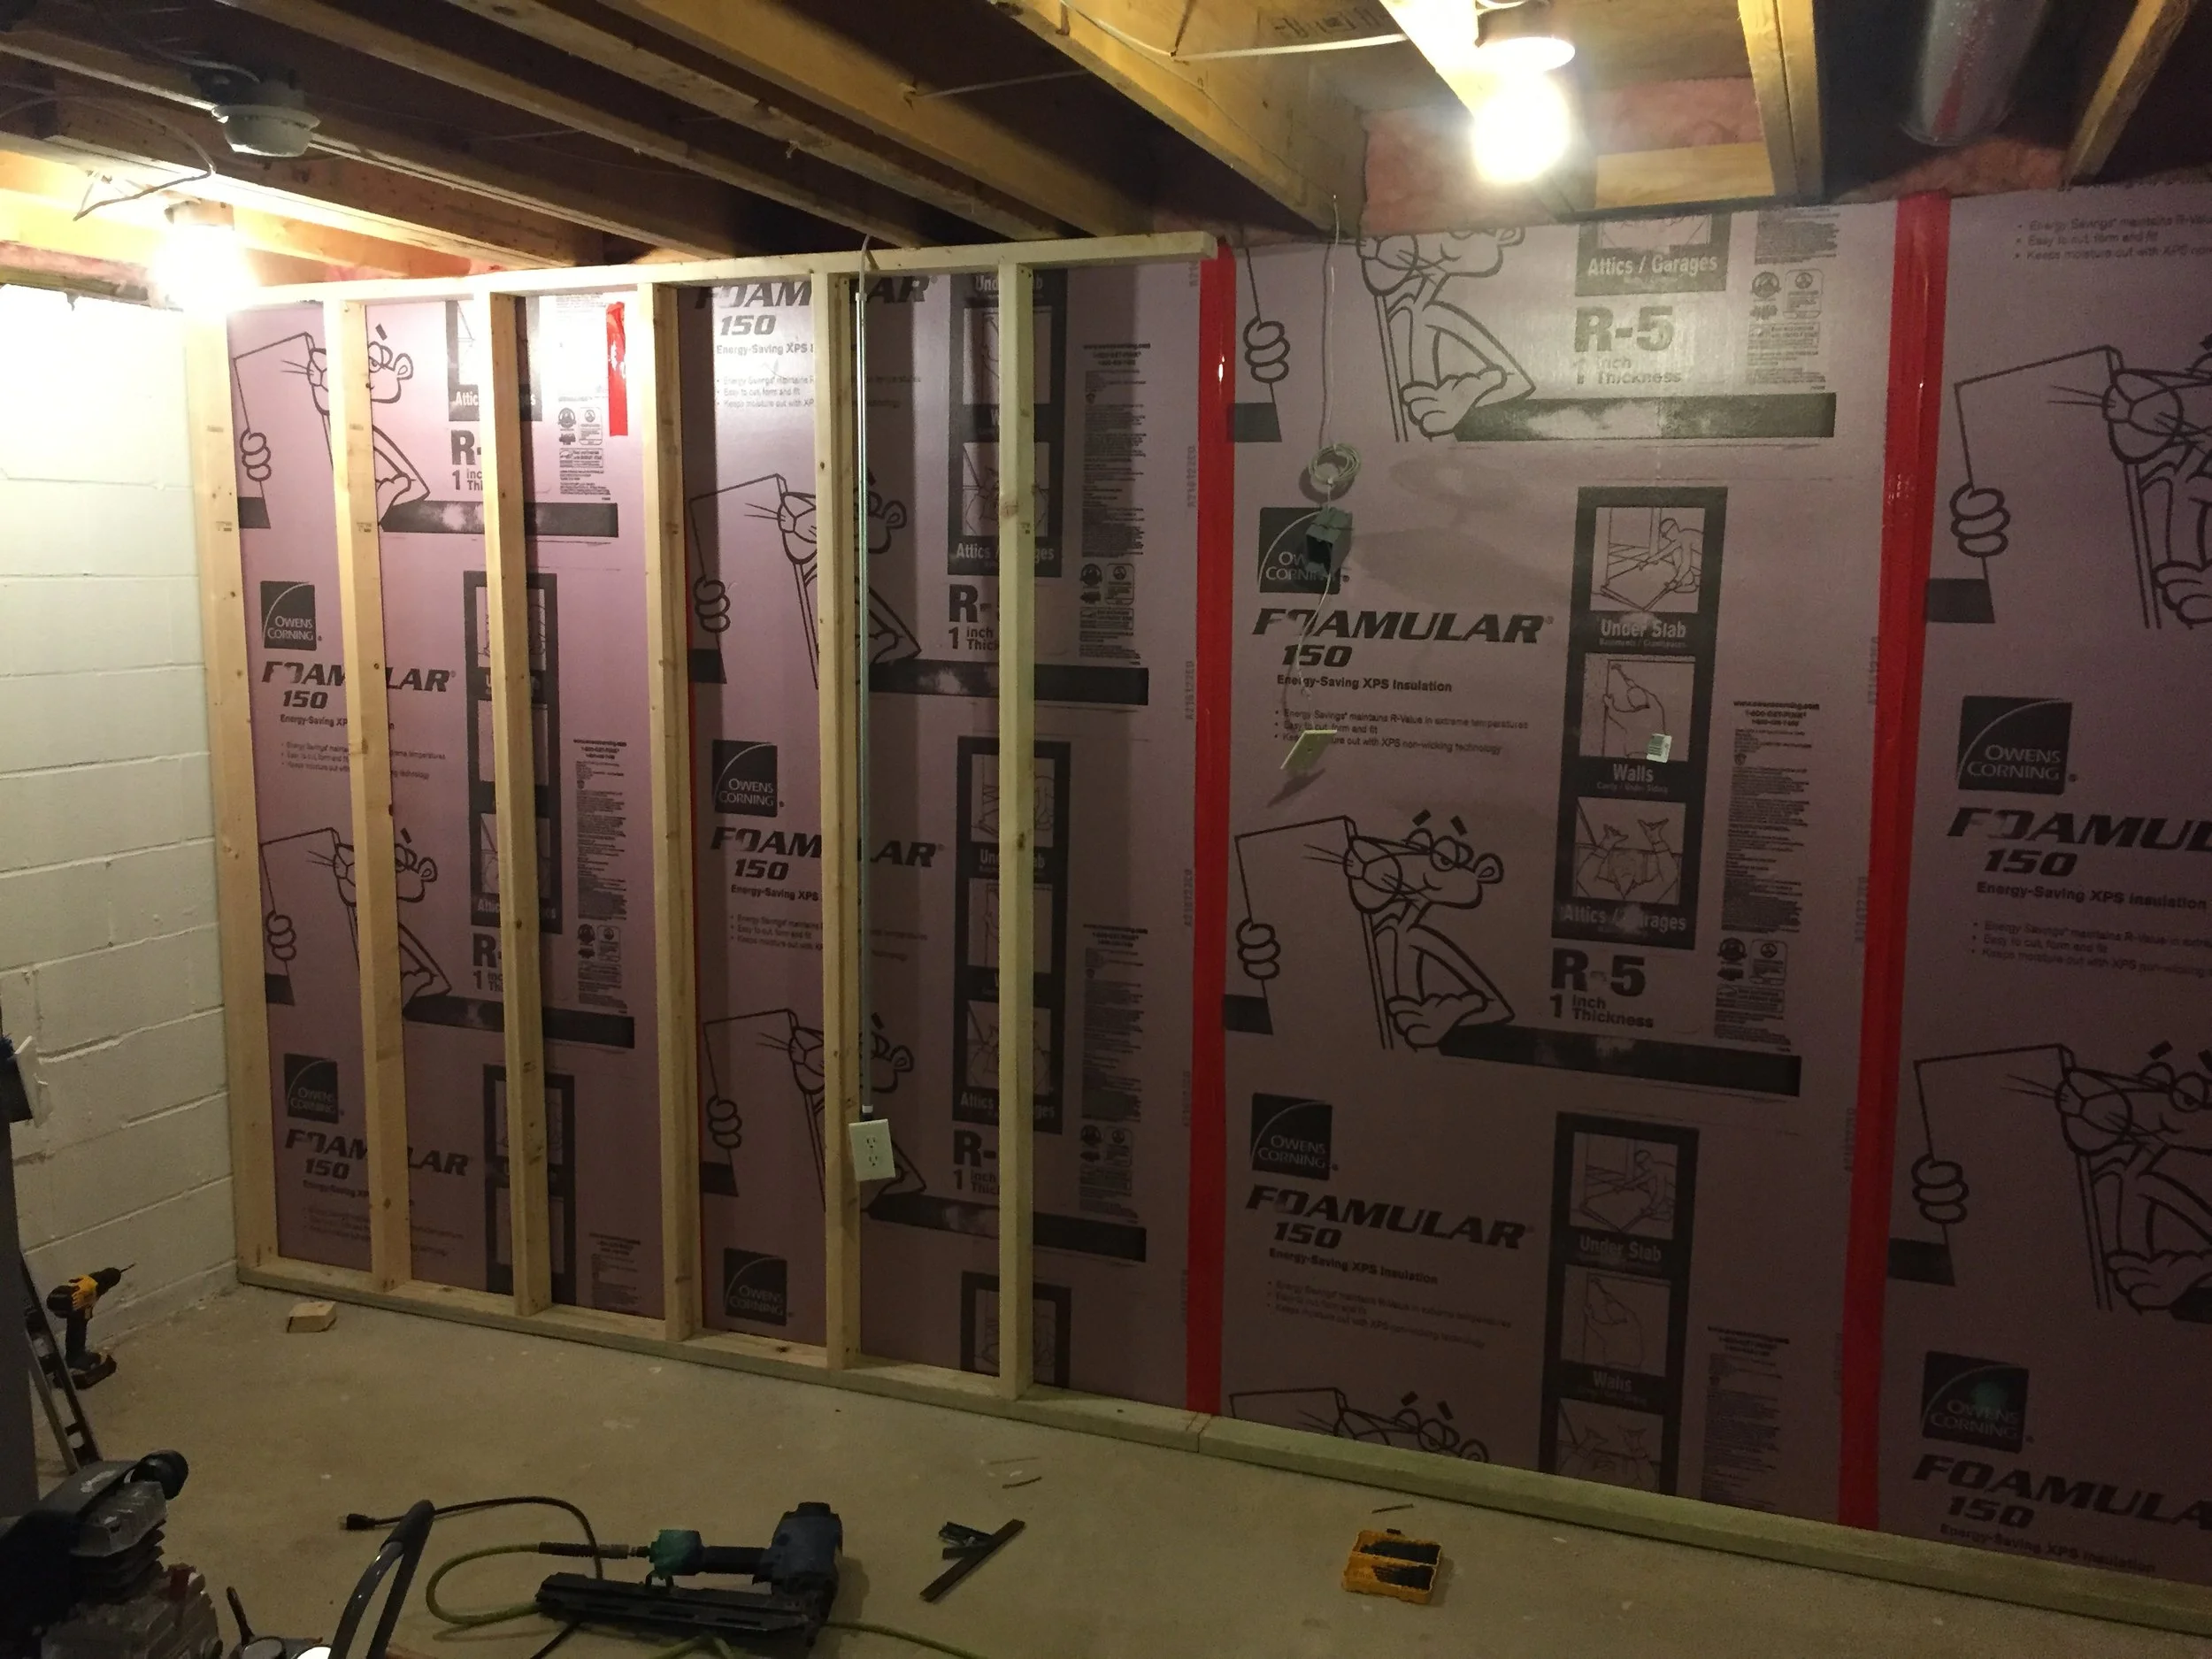
Basement Insulation and Framing
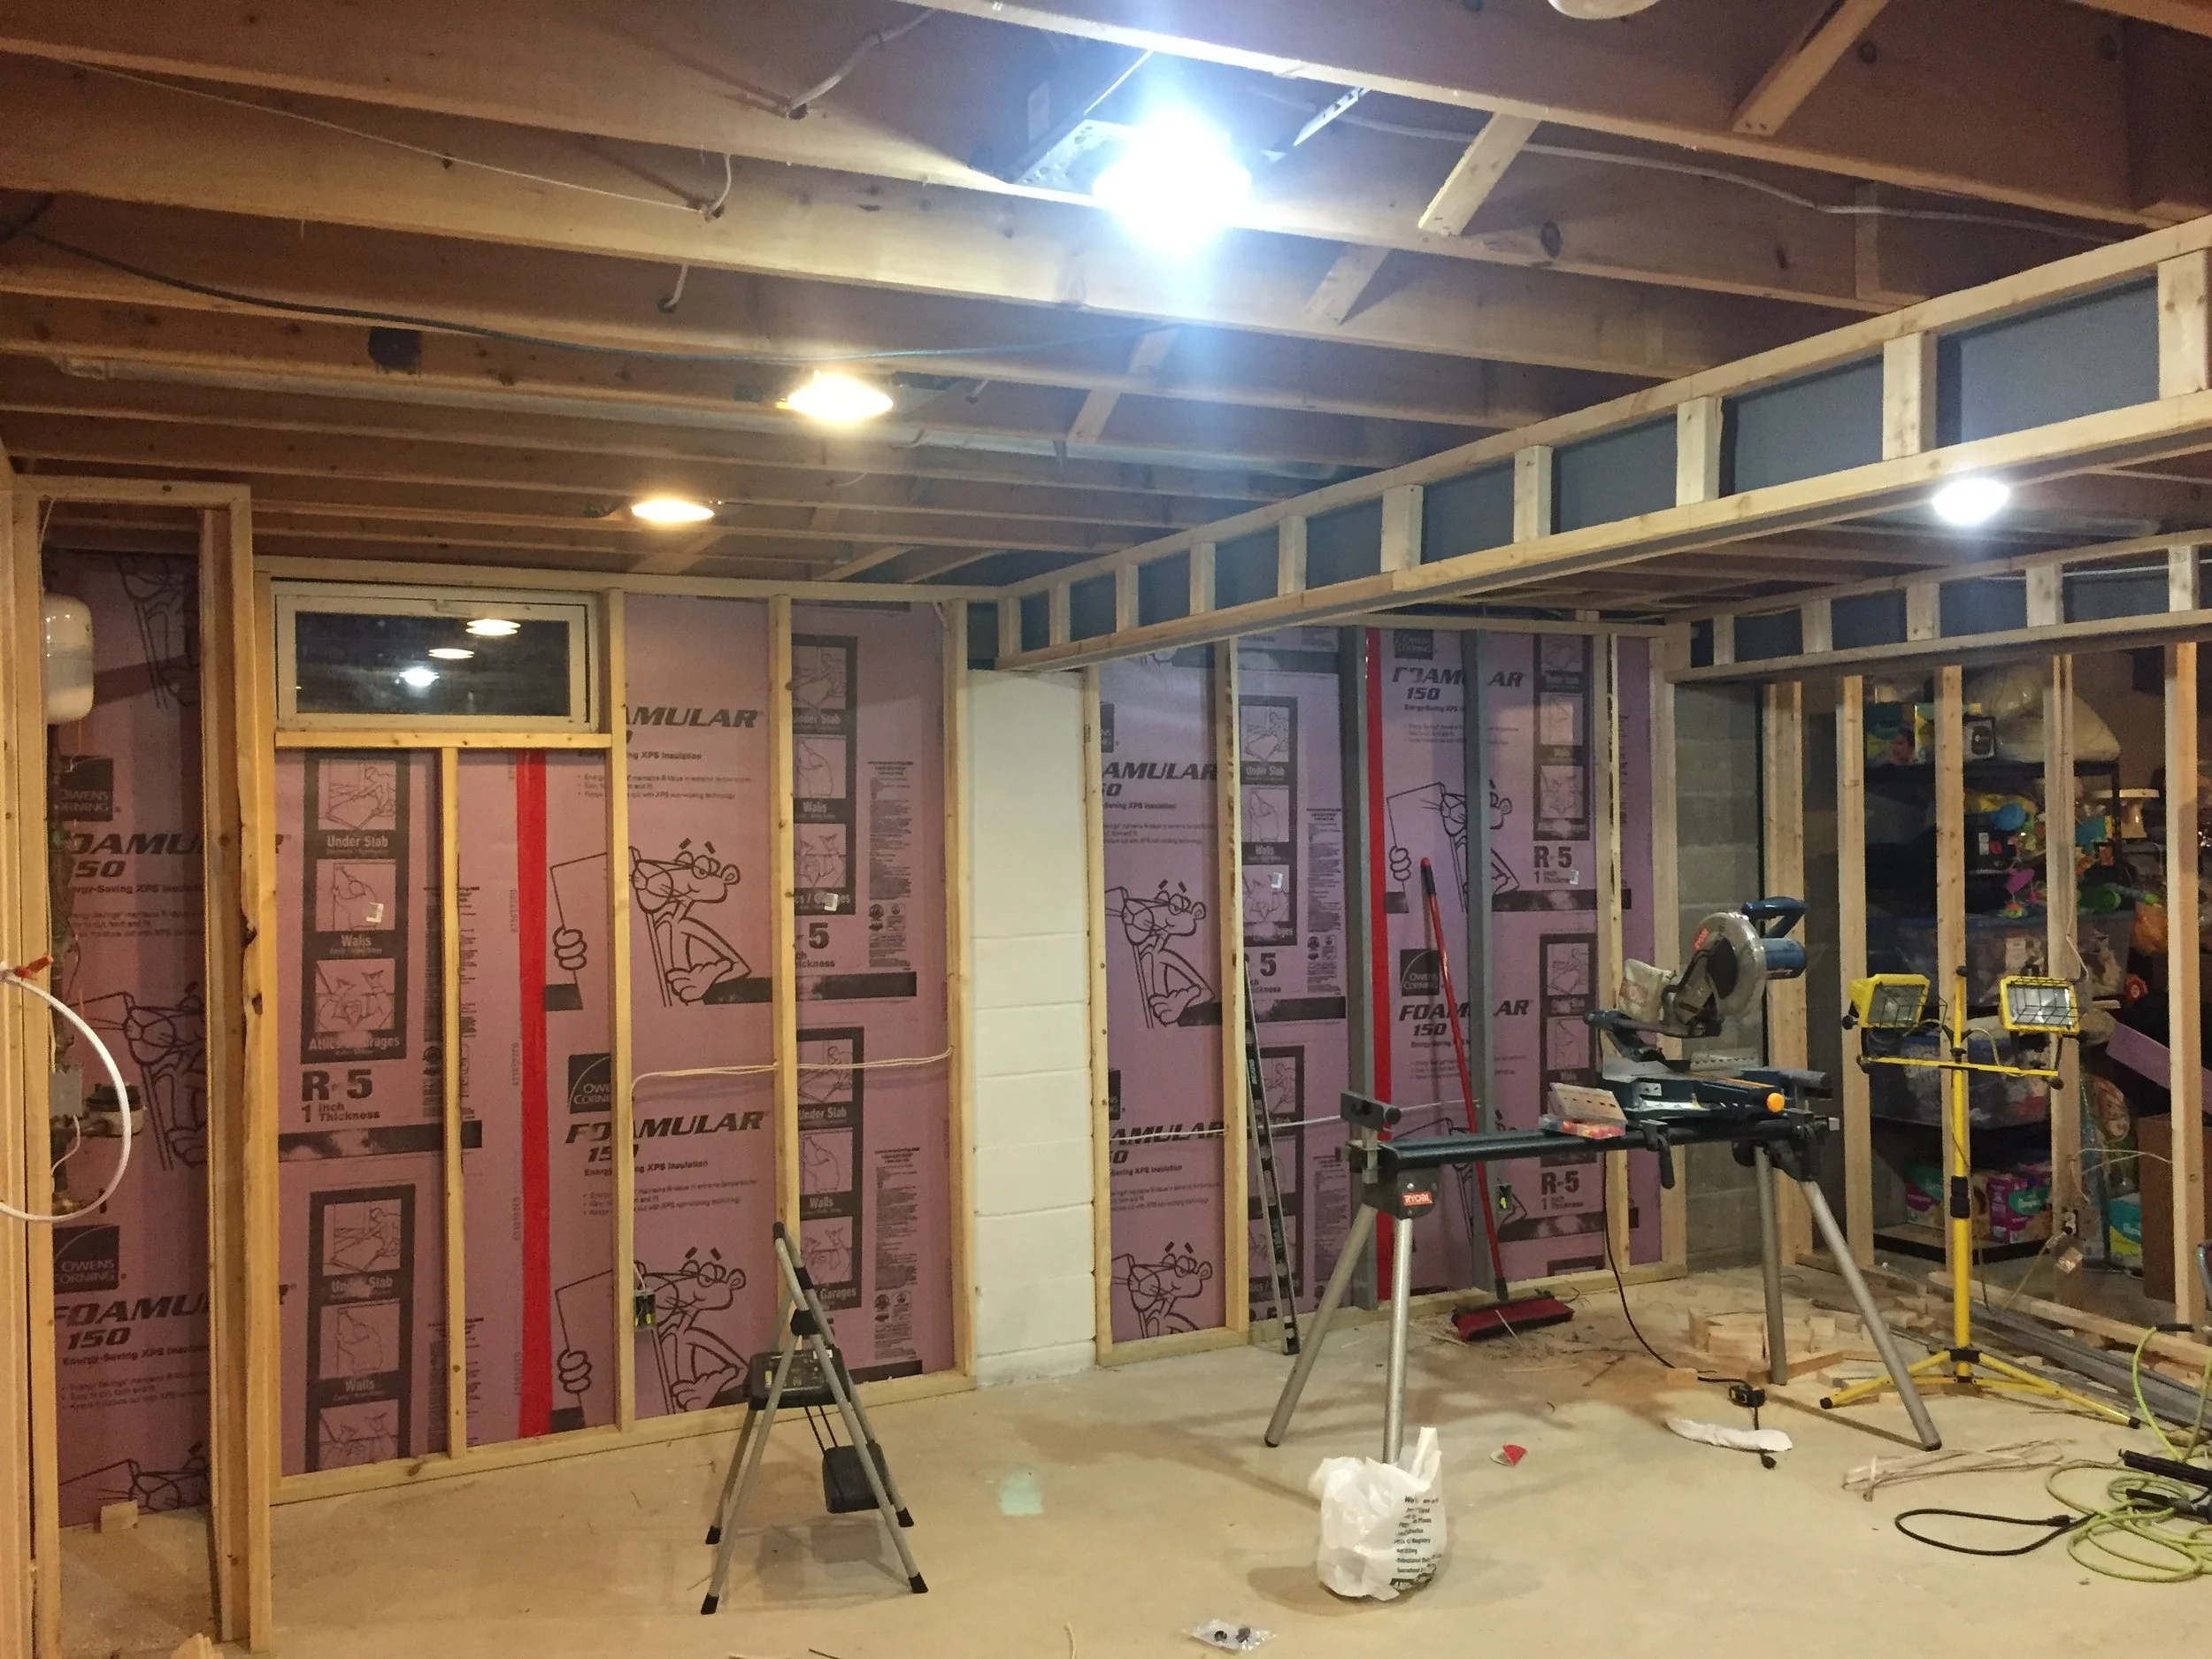
Framing the walls was the next step, and was what I enjoyed the most. Framing gives the room its shape, and you can really start to see how it will look. To frame the walls, we attached the 2x4 top plate to the floor joists above, and then screwed the pressure treated 2x4 bottom plate to the concrete floor using tapcons. Then we framed 2x4 studs at approximately 16" on center throughout the room by "toe-nailing" the studs into the top and bottom plates.
This is the easiest was to frame a basement. When you frame a wall on the ground and try to stand it up in place, the wall sill either be too tight, or need shimmed to fill in the space if it was build too short. Also, since the walls aren't load bearing, you could frame it up to 24" on center, but 16" stud spacing keeps the finished drywall straighter.
Once the walls were complete, we framed in the beam spanning the space and a soffit to hide another beam and gas lines running to a fireplace above. These were framed using the scrap cutoffs from the walls and 2x2s vs 2x4s to save a few dollars, and make it easier to work with.
Cost of Framing Lumber: $300
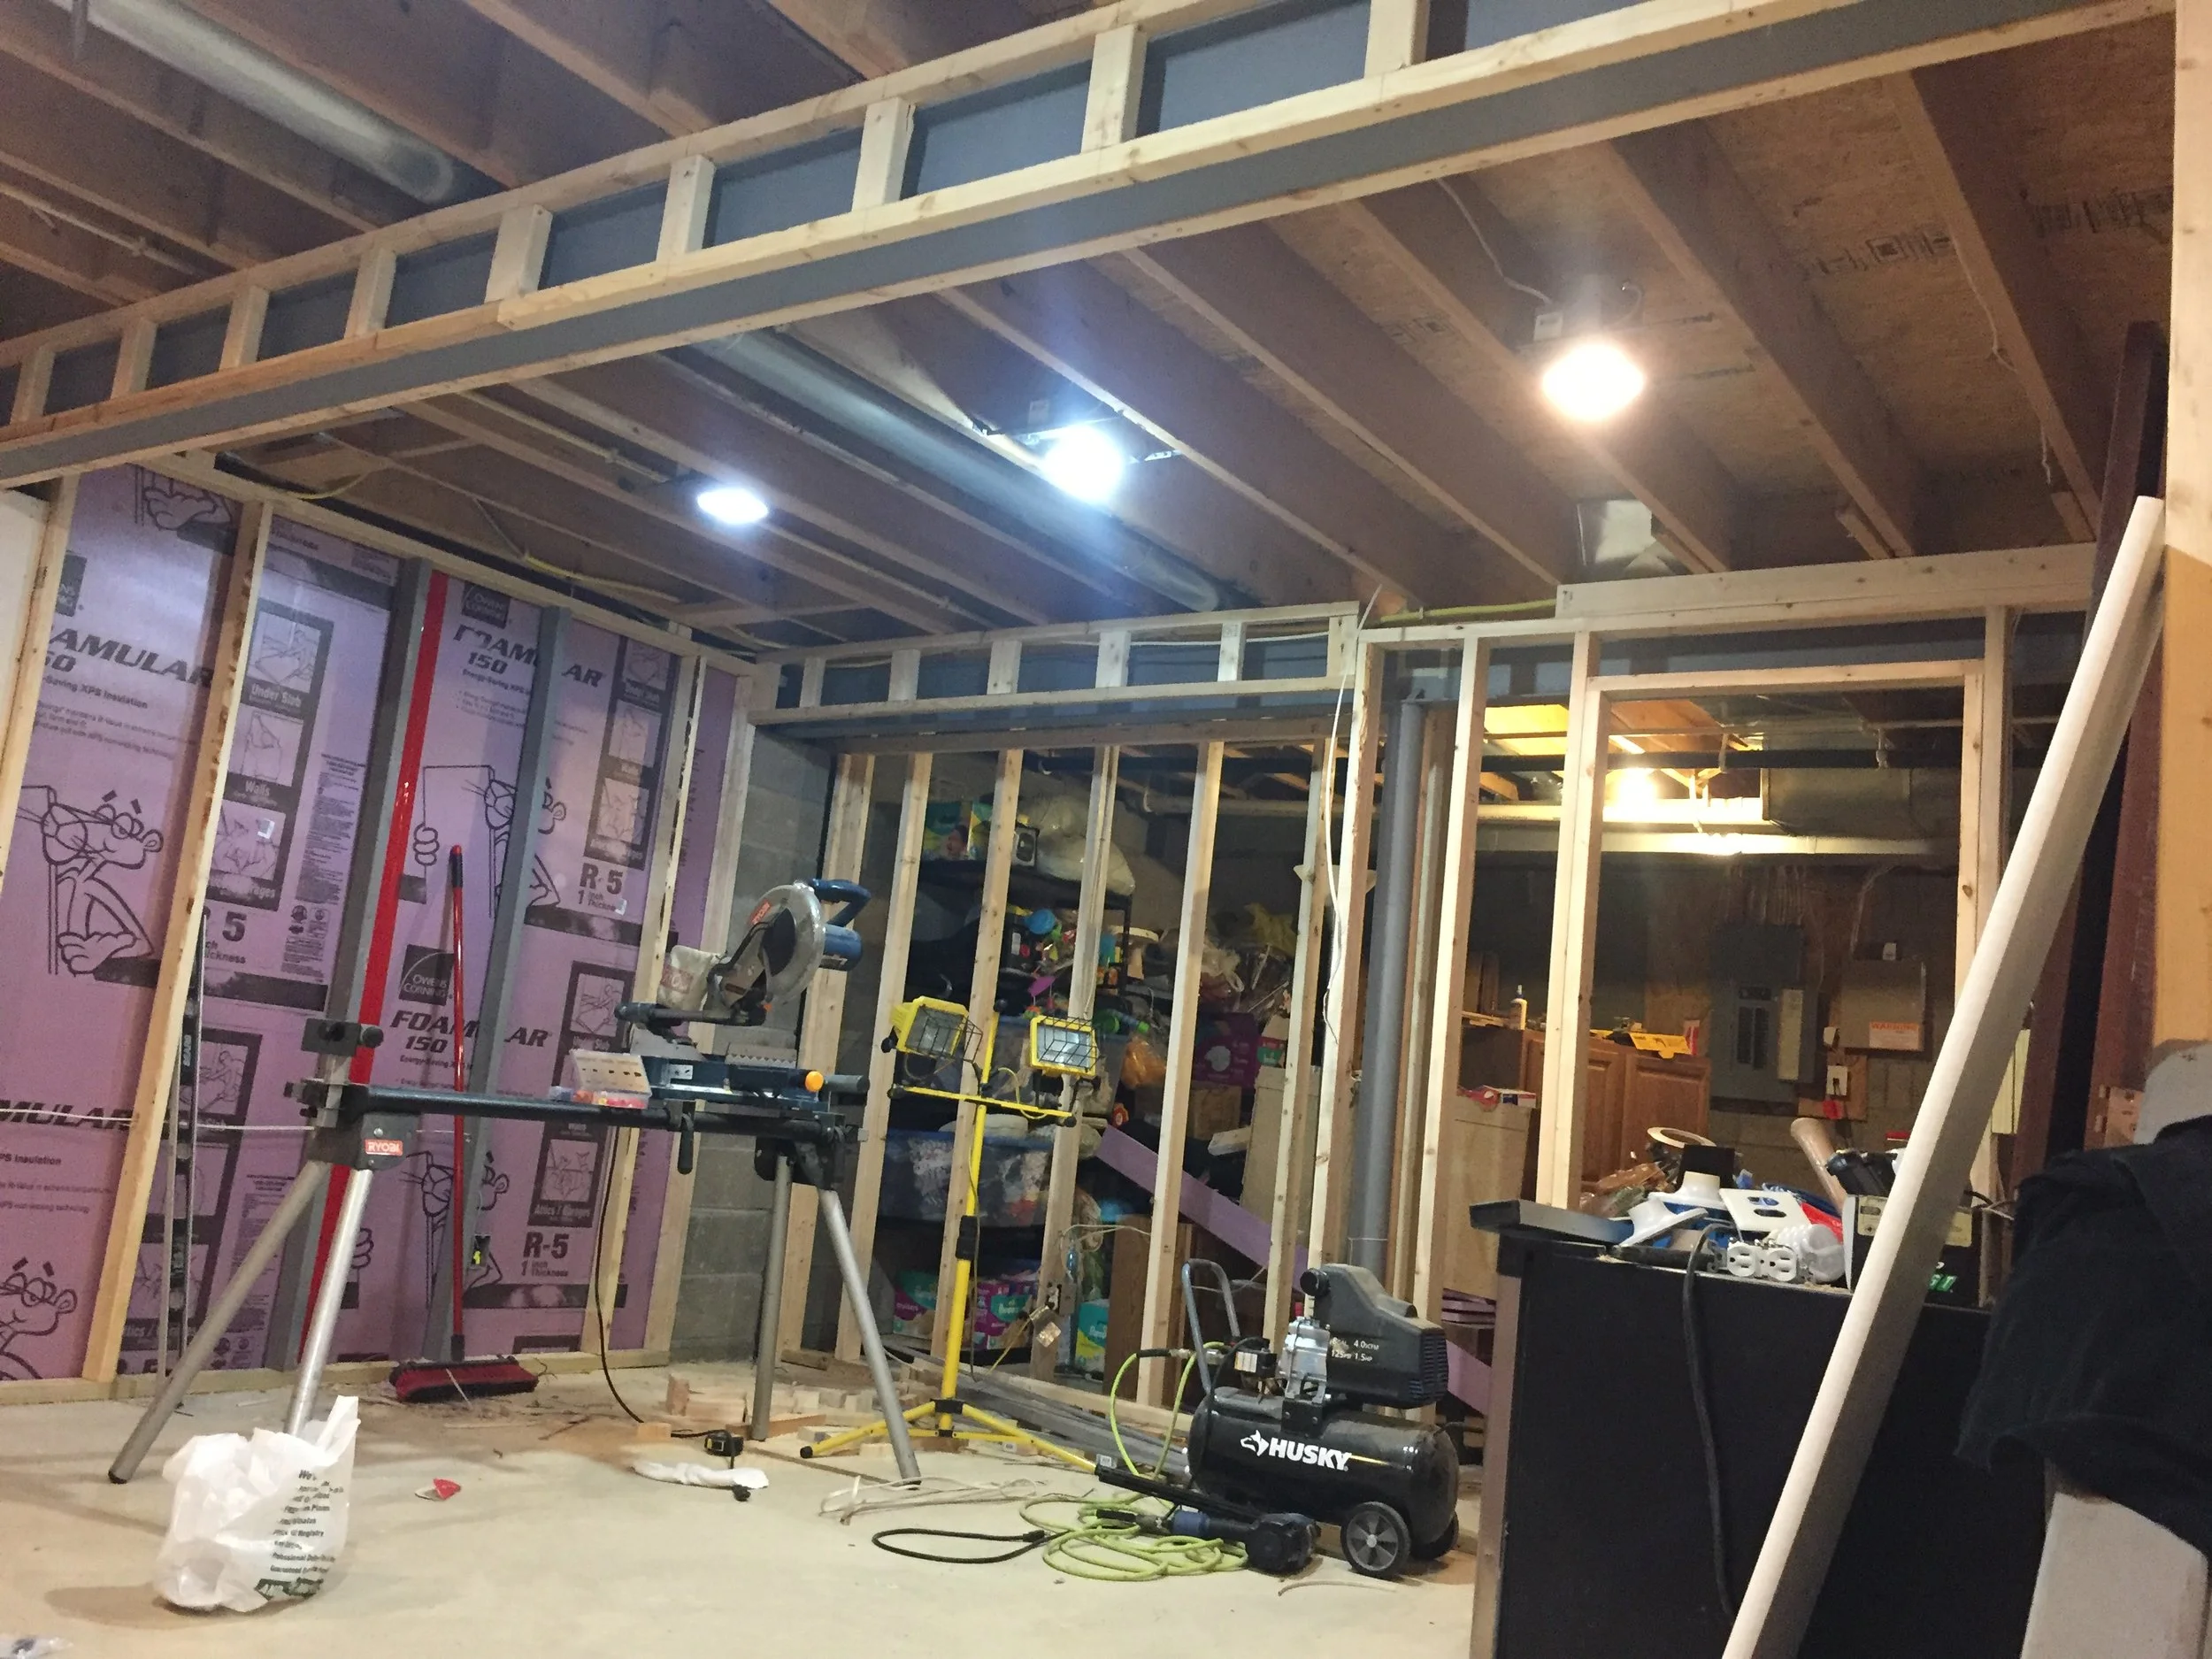
Basement Framing
Now that the walls were built, we needed to address the electrical needs in the basement. Electrical work made me nervous, so a friend that was an electrician came over and help coach me through it. We added 8 total outlets, on the walls, for a tv, and for a mini fridge. Then we added 6 can lights to the space, and split the lighting to have a switch work the new room, and then a switch to work the lights in the storage area. I purchased some dimmable LED lights on Amazon, to insert into the cans. They worked great and added a soft, modern finish to the space.
I'm glad I had help! Roughing the electric in wasn't too scary, but tying the new circuits into the panel requires someone that knows what they are doing. If I didn't have a friend that has done it many times, I would have paid a professional.
Cost of electrical: $100 in materials + (bottle of Bourbon, Pizza)
Finished Basement Framing
Next we added in a vent for HVAC into the space. There was a line that feeds the living room above that we added a t-joint into and put an overhead vent in. This is to have a little air flowing into the space, but not completely heat or cool the space. At some point, we need to add in a return air vent, but that's for another day. Right now we are keeping the supply vent closed and will only use it if necessary.
Cost of HVAC: $50
At this point you could easily close up the walls with drywall, however, I added HDMI, Component, Ethernet, and Coax in the wall to where my TV will hang. I got a mount, added blocking, and drilled holes in the framing where the cables will run into a closet. I ordered everything on amazon, and the cost was pretty cheap.
Cost of TV mount and Cables - $80

Hidden TV Cables - In Wall
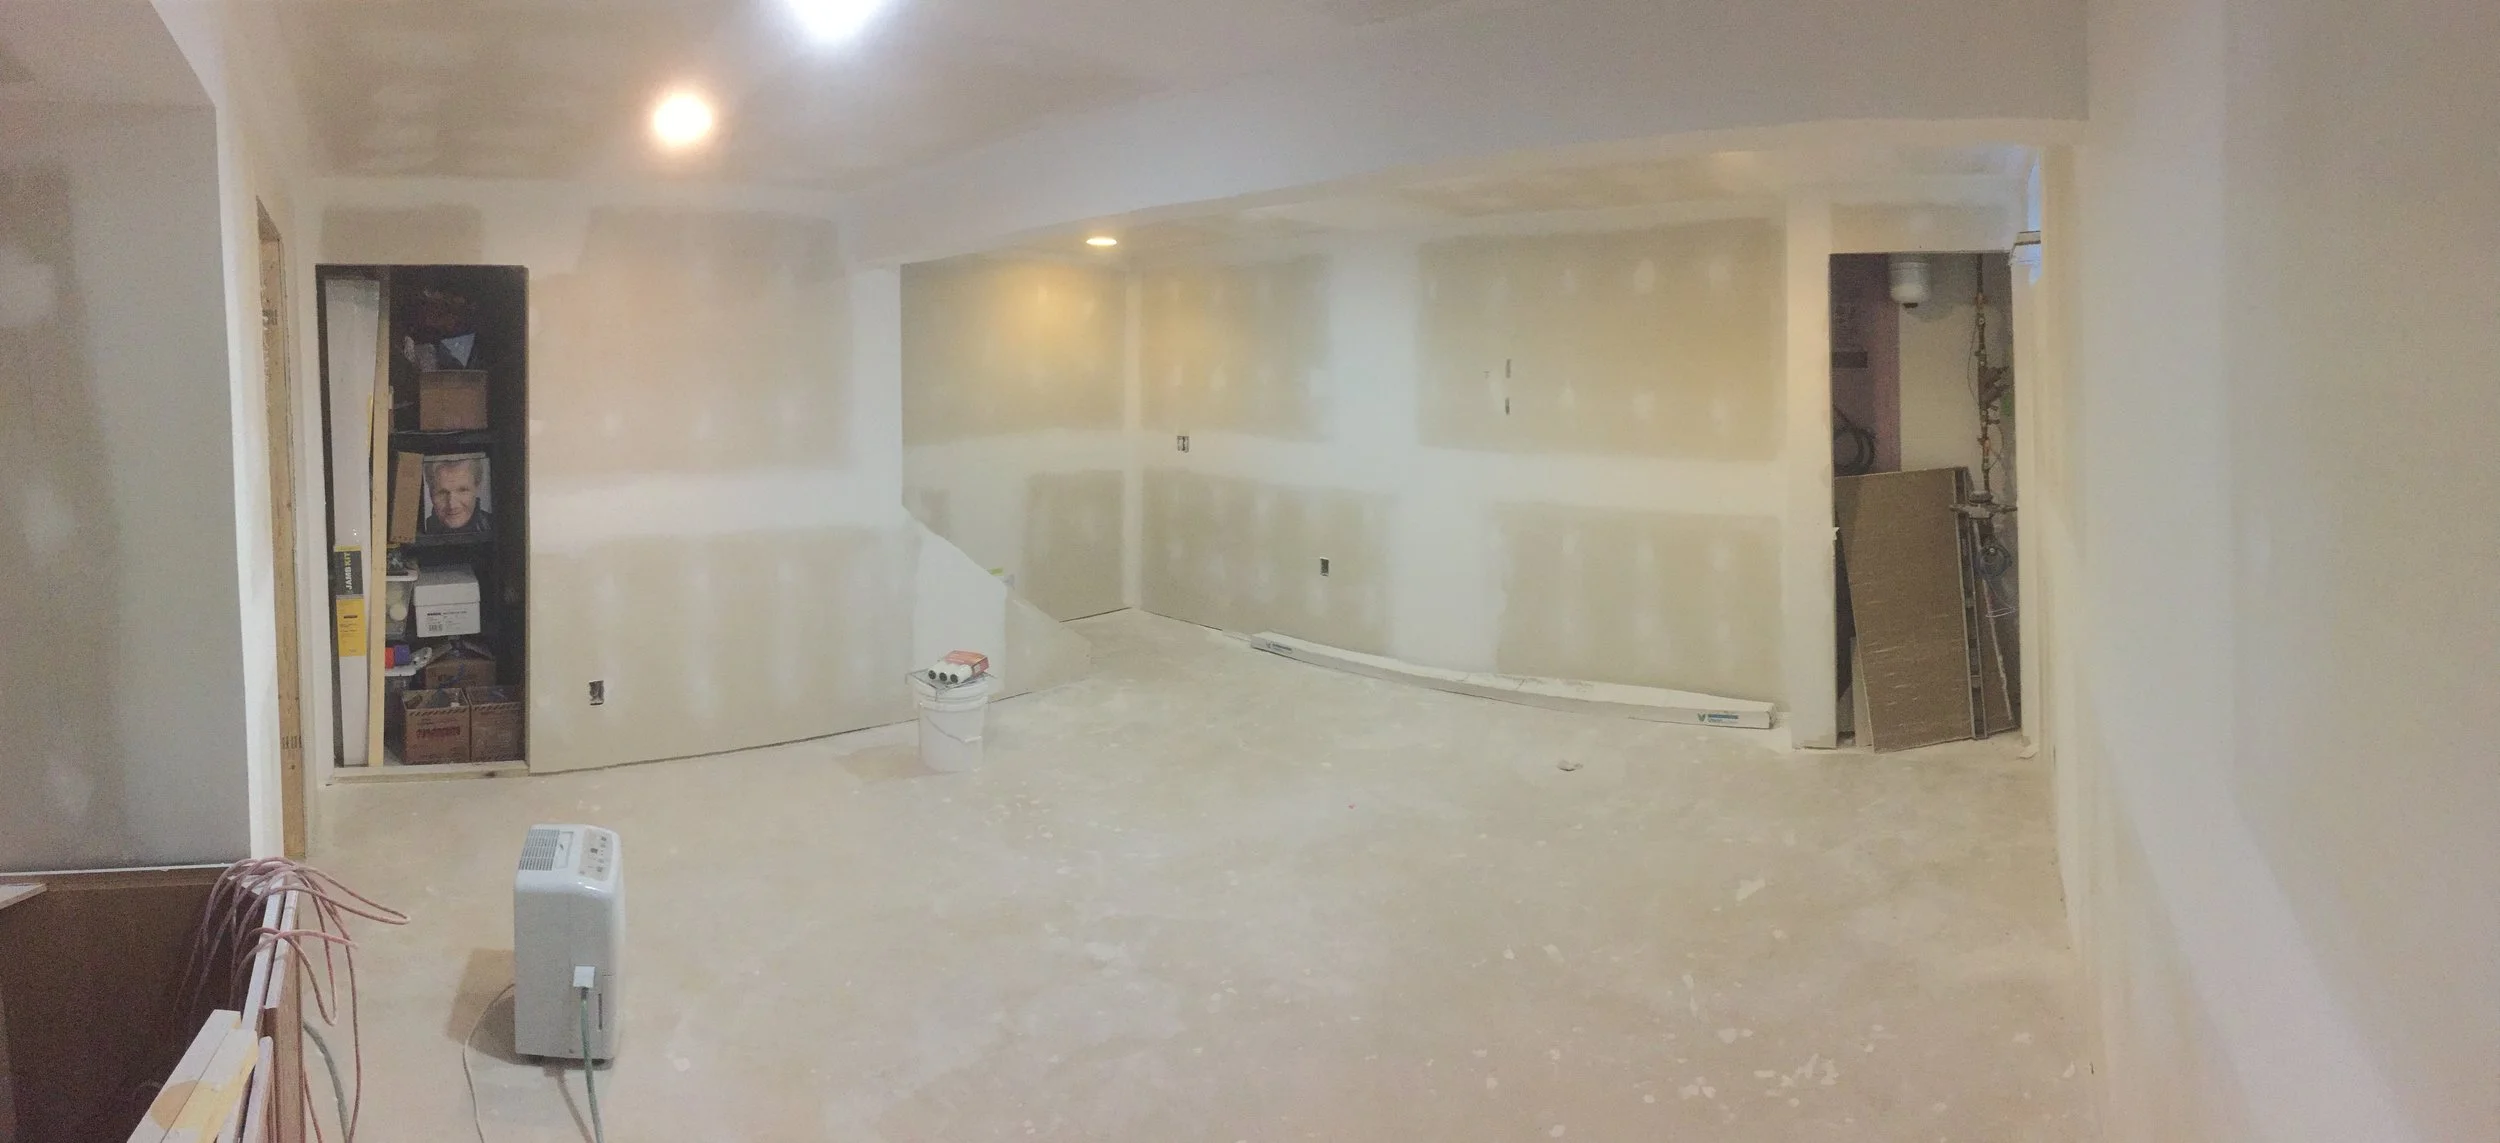
Finally, it was time to close in the walls and add drywall to the space. This part was fun to see the transformation, but the work wasn't pleasant. We used a basement rated drywall from Menards that is mold resistant, just in case the basement ever gets damp. It's best to start on the ceiling and hang the whole ceiling first. We used a "dead man hoist" which is basically a big "T" made from 2x4s to help stabilize the drywall until it was screwed in.
After the ceiling was complete, the walls were easy. When hanging drywall on the walls, run the drywall horizontally starting at the top of the wall. Horizontal drywall sheets will make the finished wall straighter, and by hanging the top sheet first, A gap can be left at the bottom that will get covered by baseboard.
Cost of drywall - 36 sheets - $350
Drywall Hanging
Next we had to finish the drywall. After watching some YouTube videos, I thought "I can do this!" but soon learned its a little tougher than it looks. I taped all the drywall, but then hired a finisher to come in and finish and sand the mud. Money well spent.
Drywall Finisher - $400
Finished Basement Drywall
I personally like painting. There is a certain satisfaction to seeing your progress as you move throughout the room and see the final look take form.
First, we sealed the drywall with a primer, both on the ceiling and the walls. Next we used a flat white ceiling paint, for a crisp and clean ceiling.
Choosing a wall paint color seems to be a difficult task no matter what room is getting painted. Eventually, we landed on Sherwin Williams Sea Glass, which is a grayish/greenish/blueish color. The Sea Glass paint color was the perfect light and airy color in the basement, that contrasted the natural woods and the white baseboard well.
After Paint, I installed baseboards and we painted them Extra White (which is the base white color).
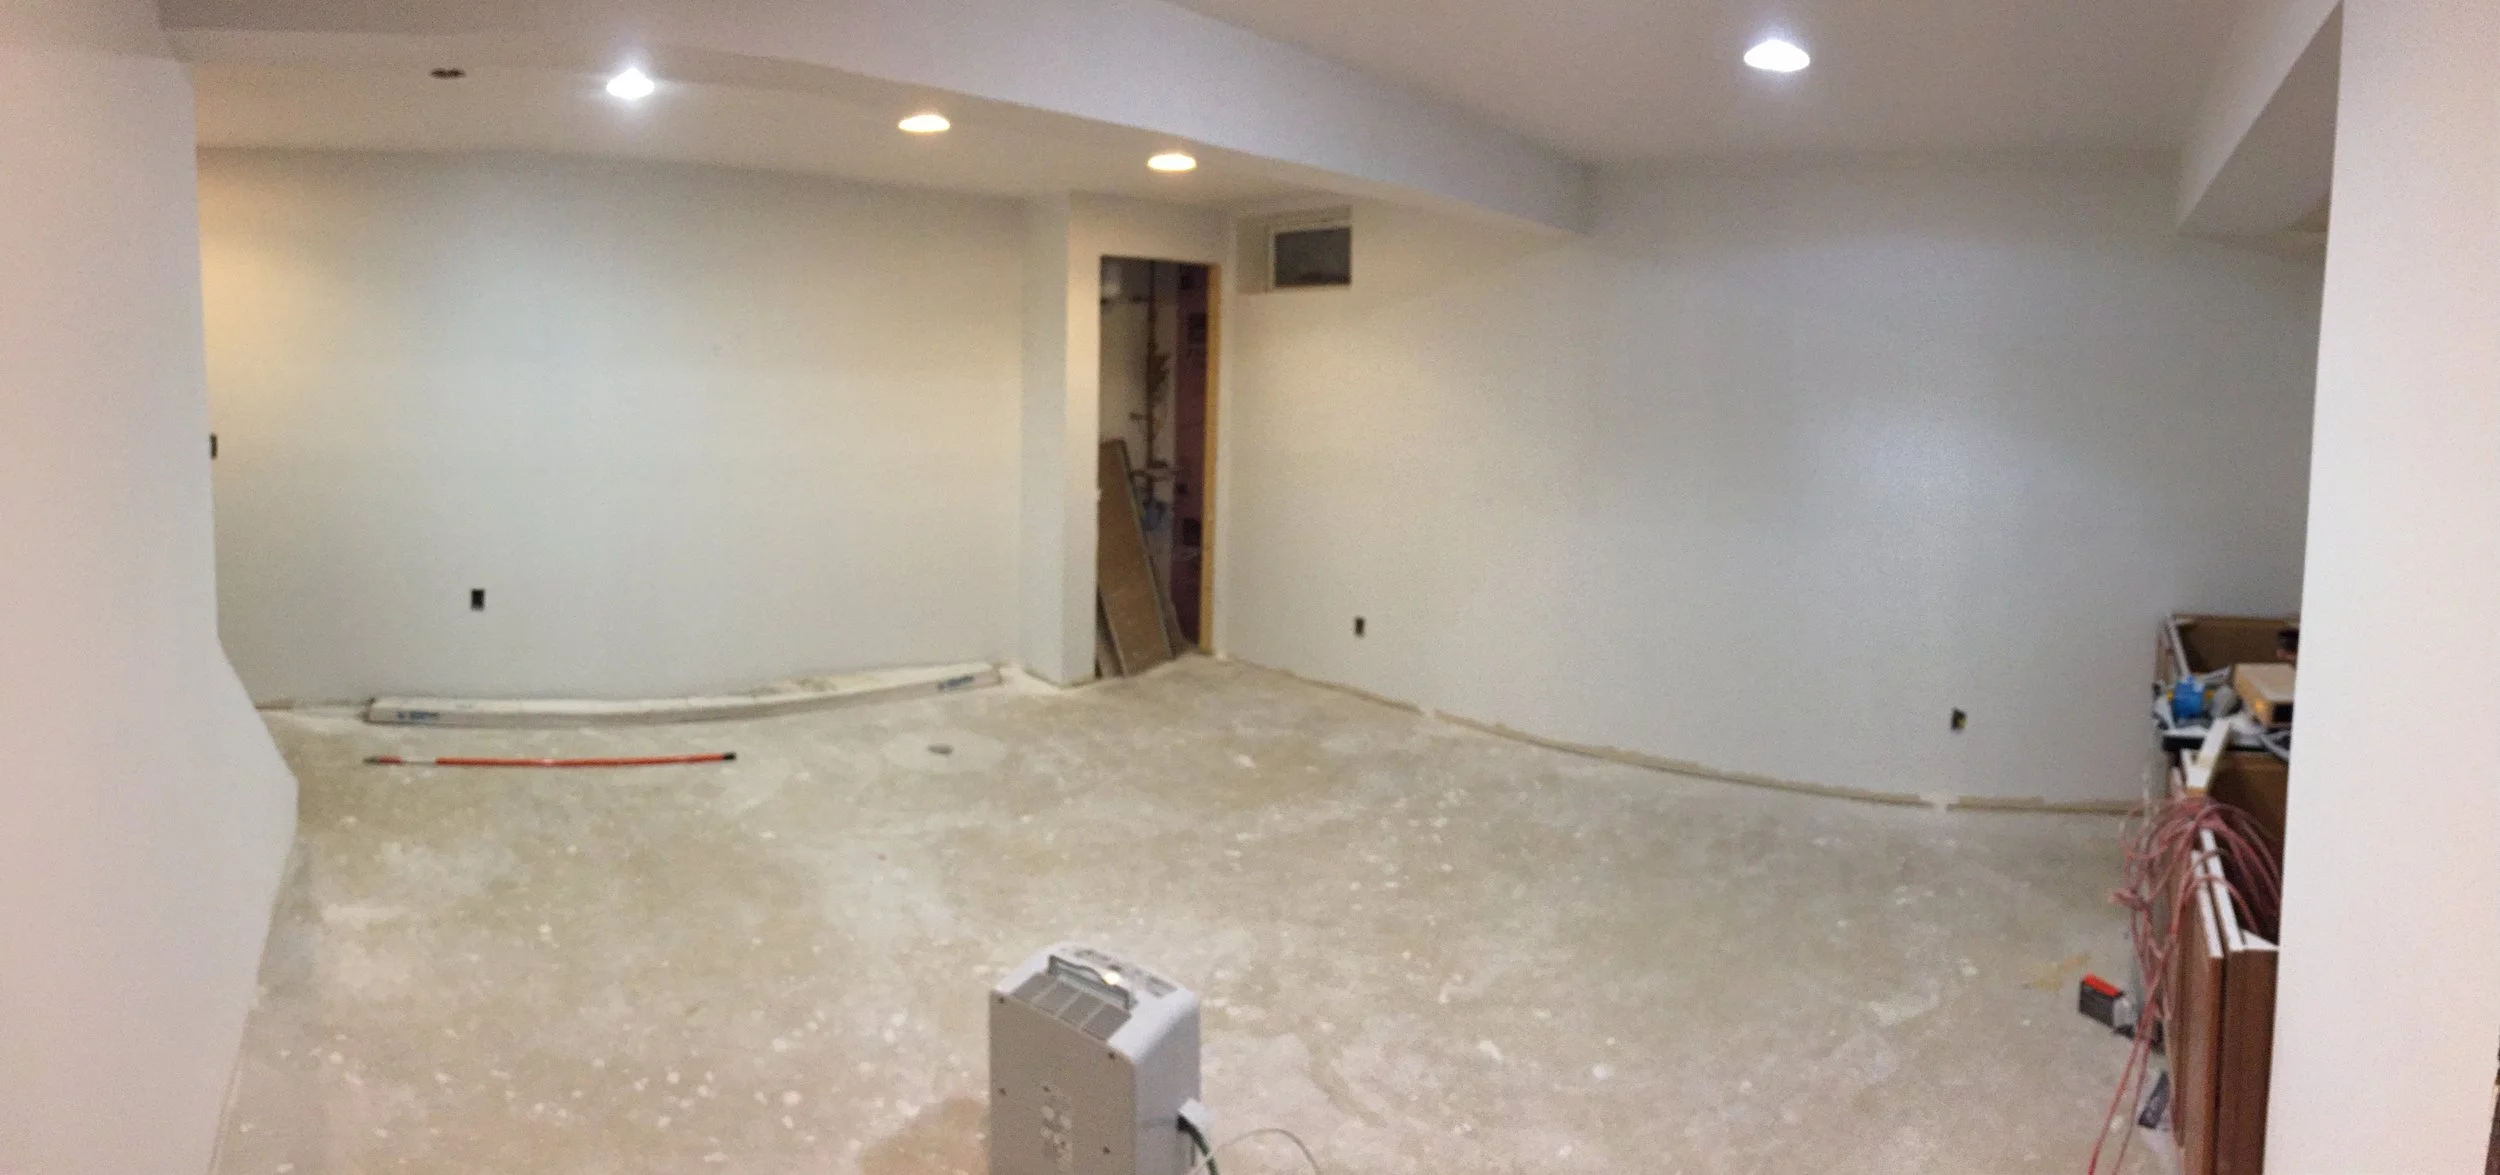
Primer on the new drywall
While we were painting, I had picked up some salvaged oak cabinets (cost = $0) that I wanted to install for a drybar/craft area (depending on the use of the space). To cover the natural oak, I first lightly sanded the cabinets, and then used Zinsser B-I-N primer to coat the wood.
Next, we selected Sherwin Williams Urbane Bronze as the cabinet color. I love Urbane Bronze. It has the industrial look and it blends really well with natural wood tones.
We got a Maple butcher block counter-top from Lumber Liquidators to be used as a work surface and to contrast the painted cabinets. We sealed the butcherblock with a satin varnish.
We also painted the stair risers along with the cabinets, and you can see the full How to Make over a Staircase on a separate post!
Total Cost of Paint and supplies - $120
Butcher Block Counter Top - $150

Painting Sherwin Williams Sea Glass on our basement walls
The last step was to order carpet and have it installed. We selected a cost effective option and went with a quality pad. The pad under the carpet is made for basements and concrete, and makes the carpet feel extra plush.
After the carpet was installed, I installed the doors in the space (a little trimming to the bottom was required to clear the carpet). I picked the doors up out of the garbage a long time ago (another Cost = $0), and they have been sitting in my garage for the longest time. I highly recommend solid doors for any project! They swing so much nicer, and they feel like "quality" when they shut.
Cost of Carpet and Installation - $980
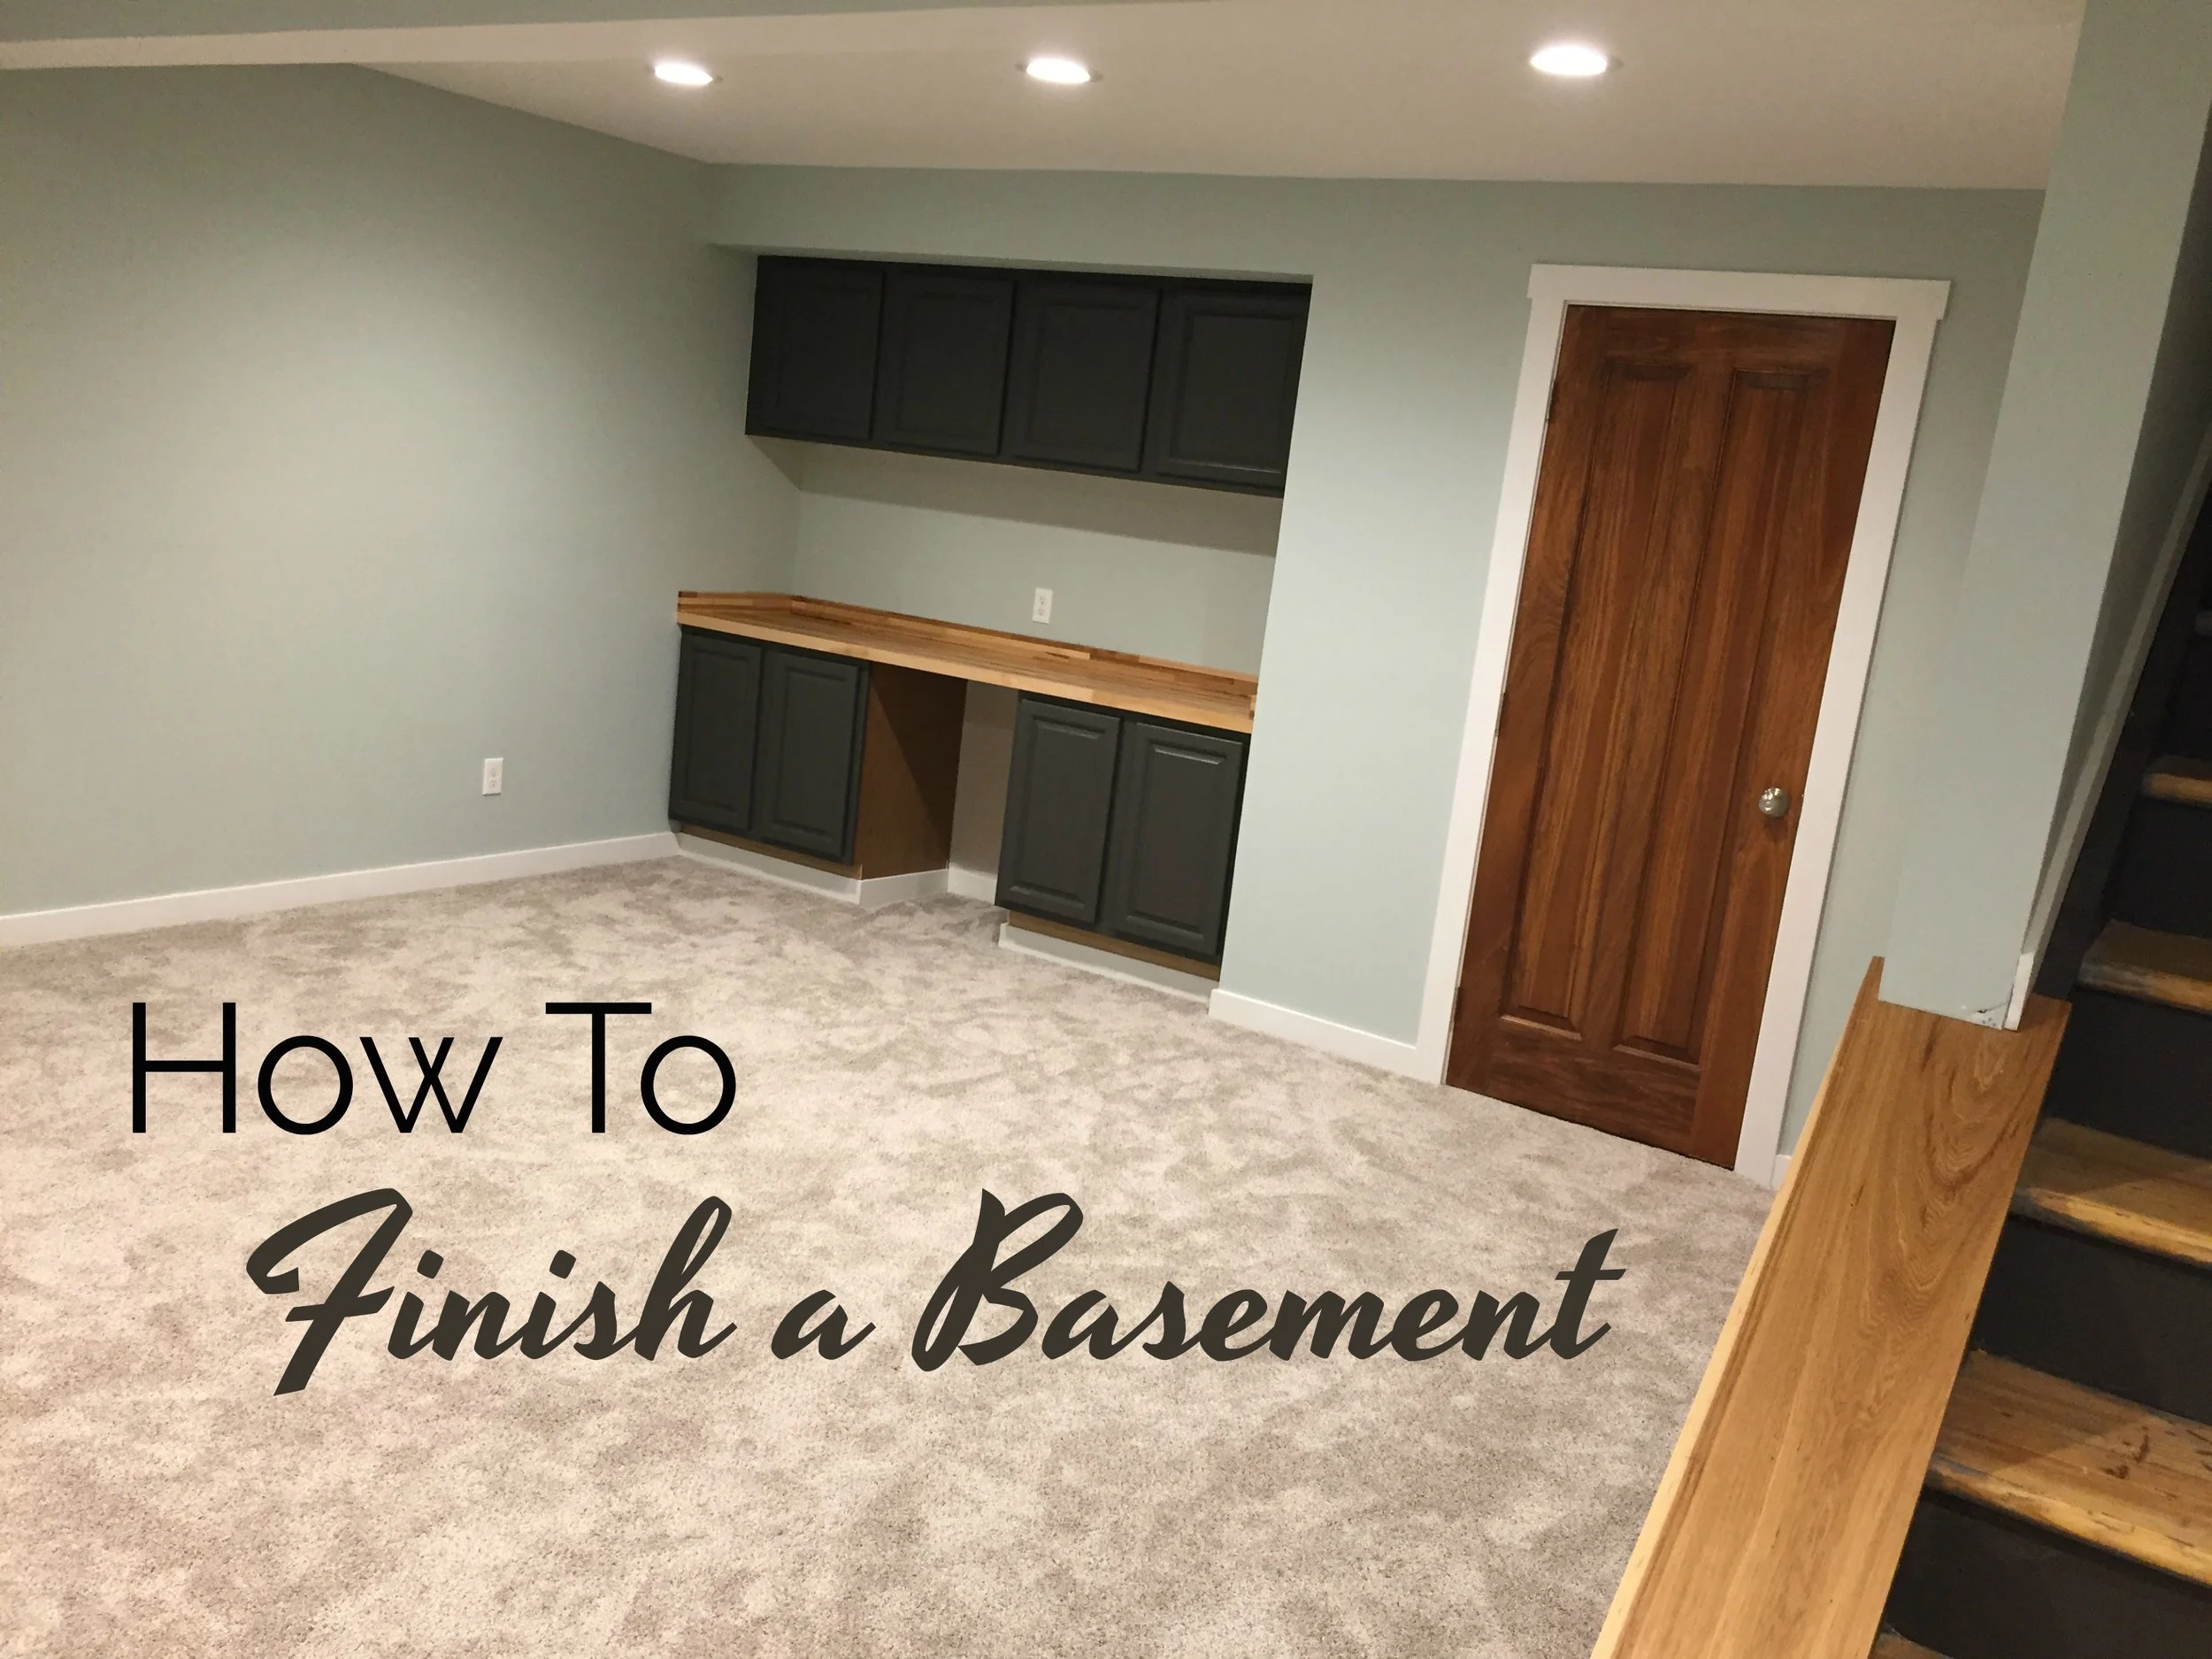
Take a Look at this Finished Basement
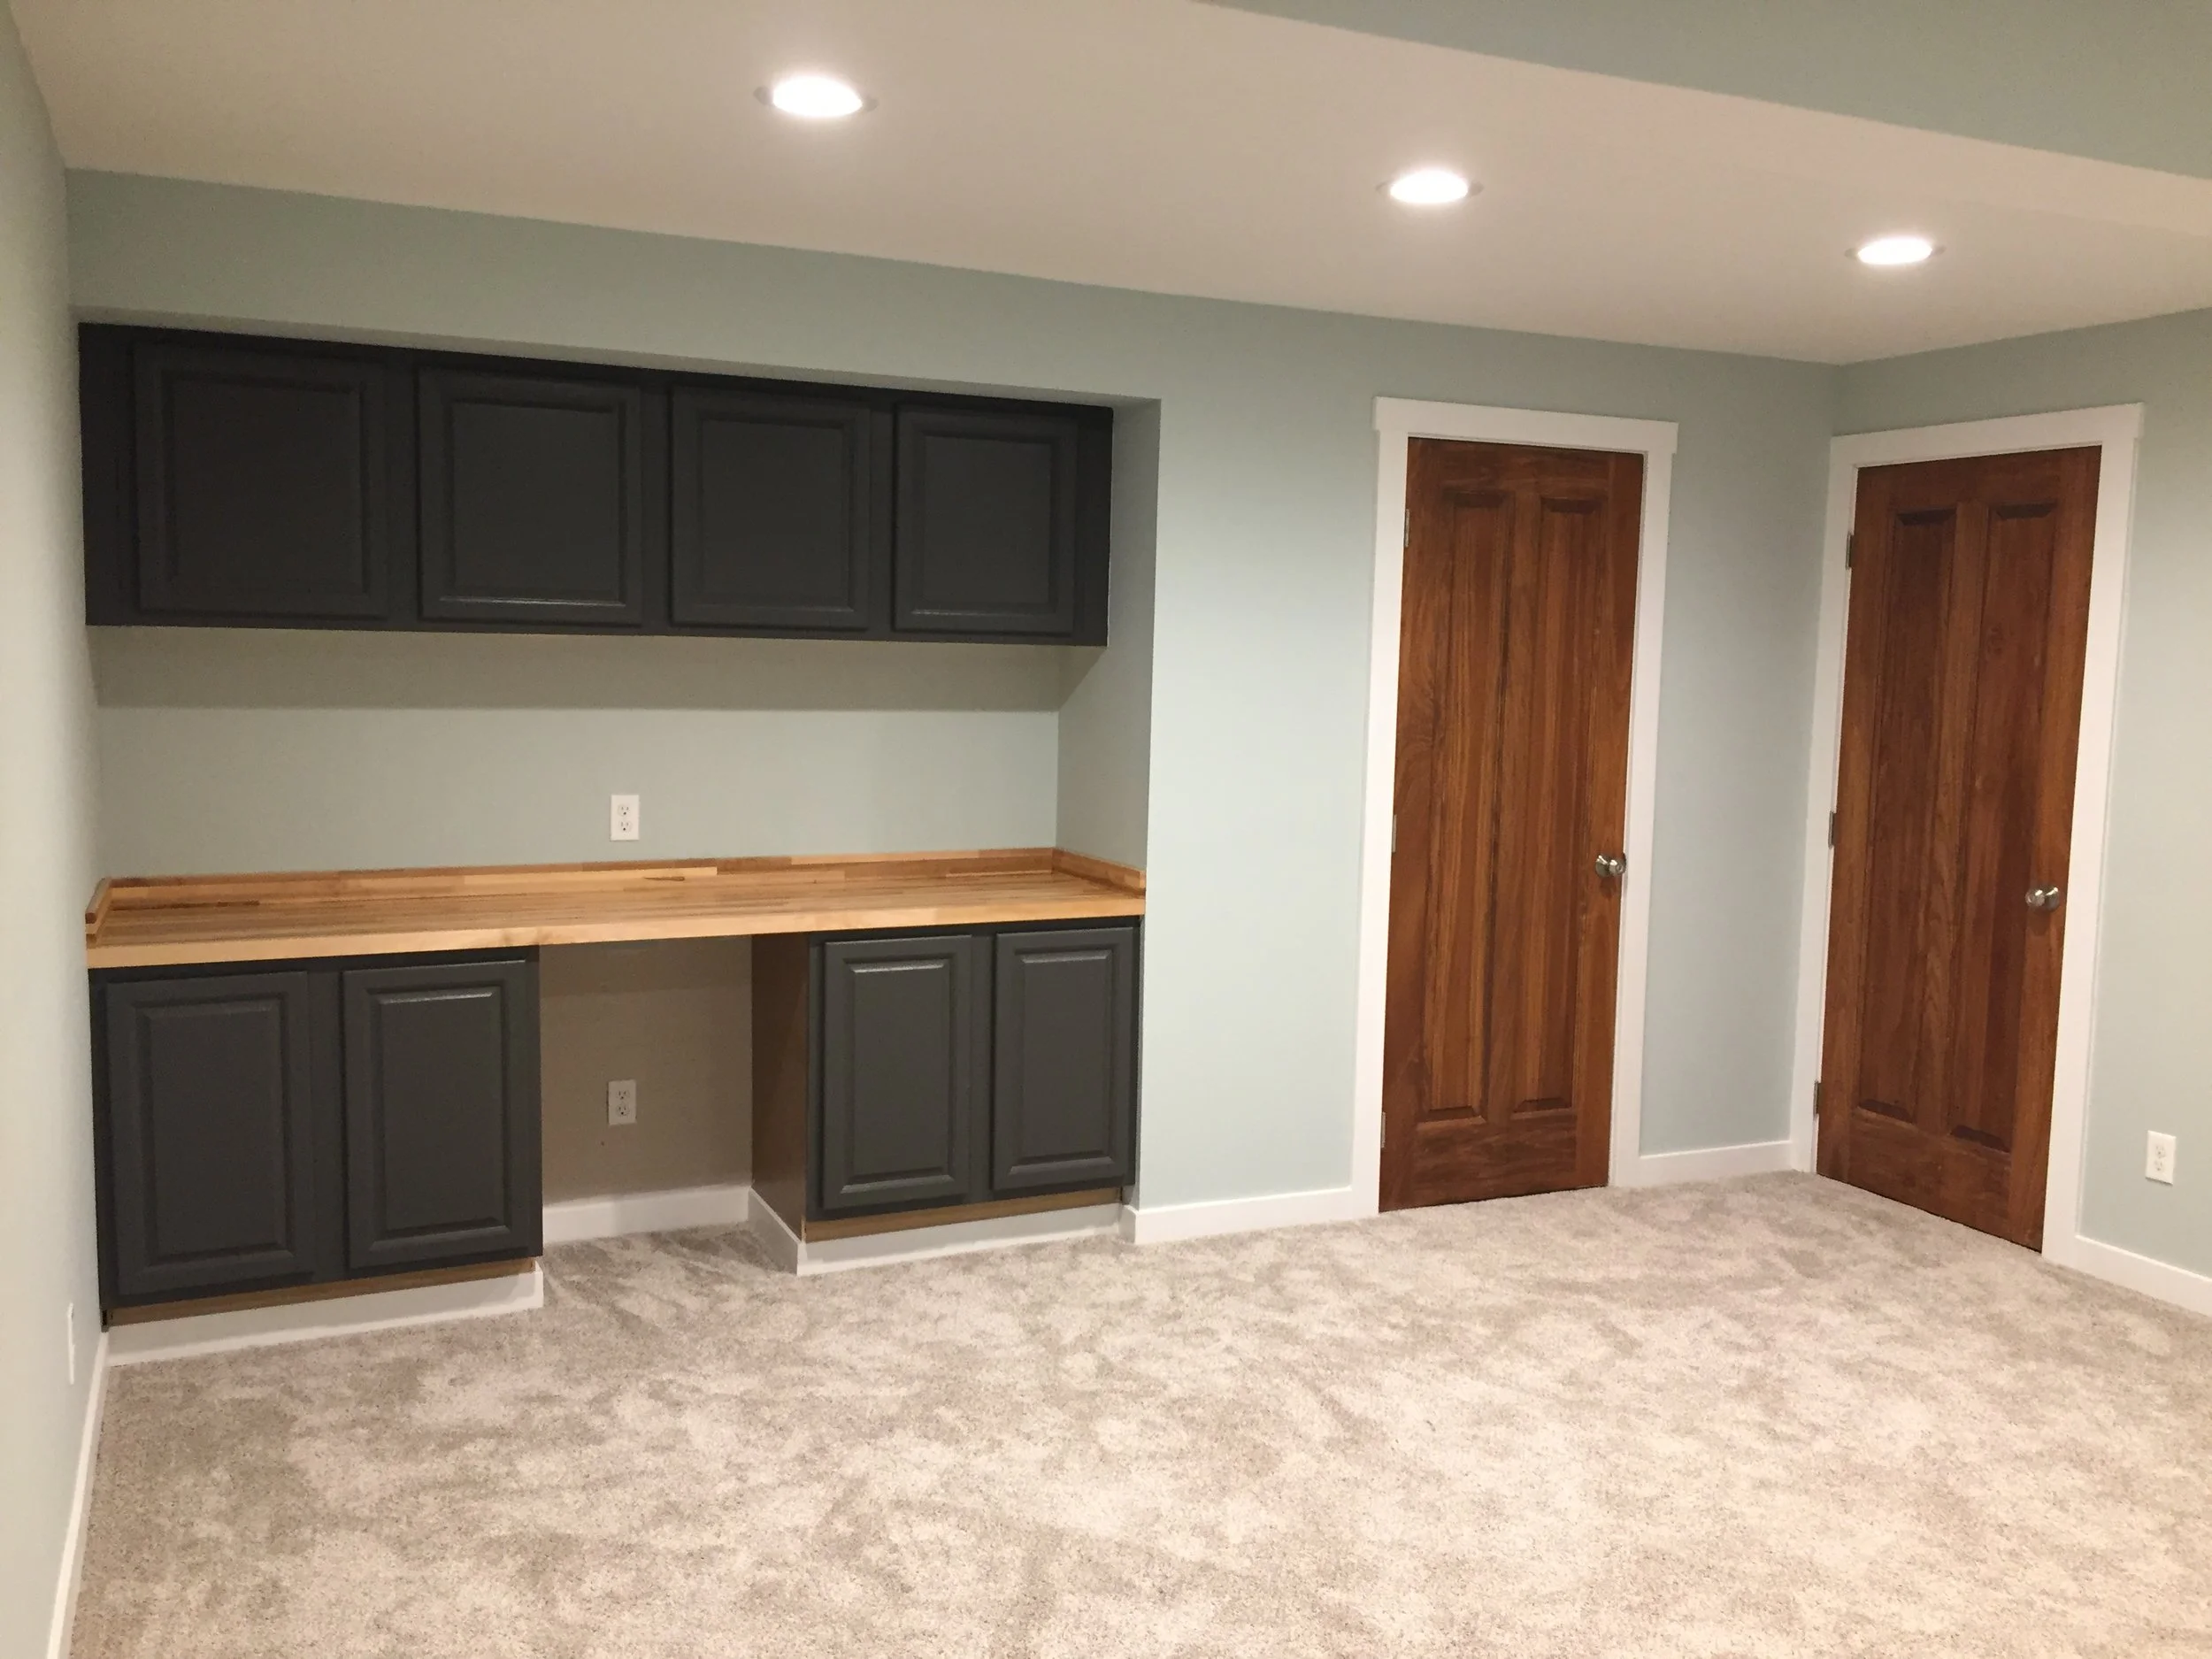
Urbane Bronze Cabinets, Maple Butcher Block, and Sea Glass Walls - Finished Basement
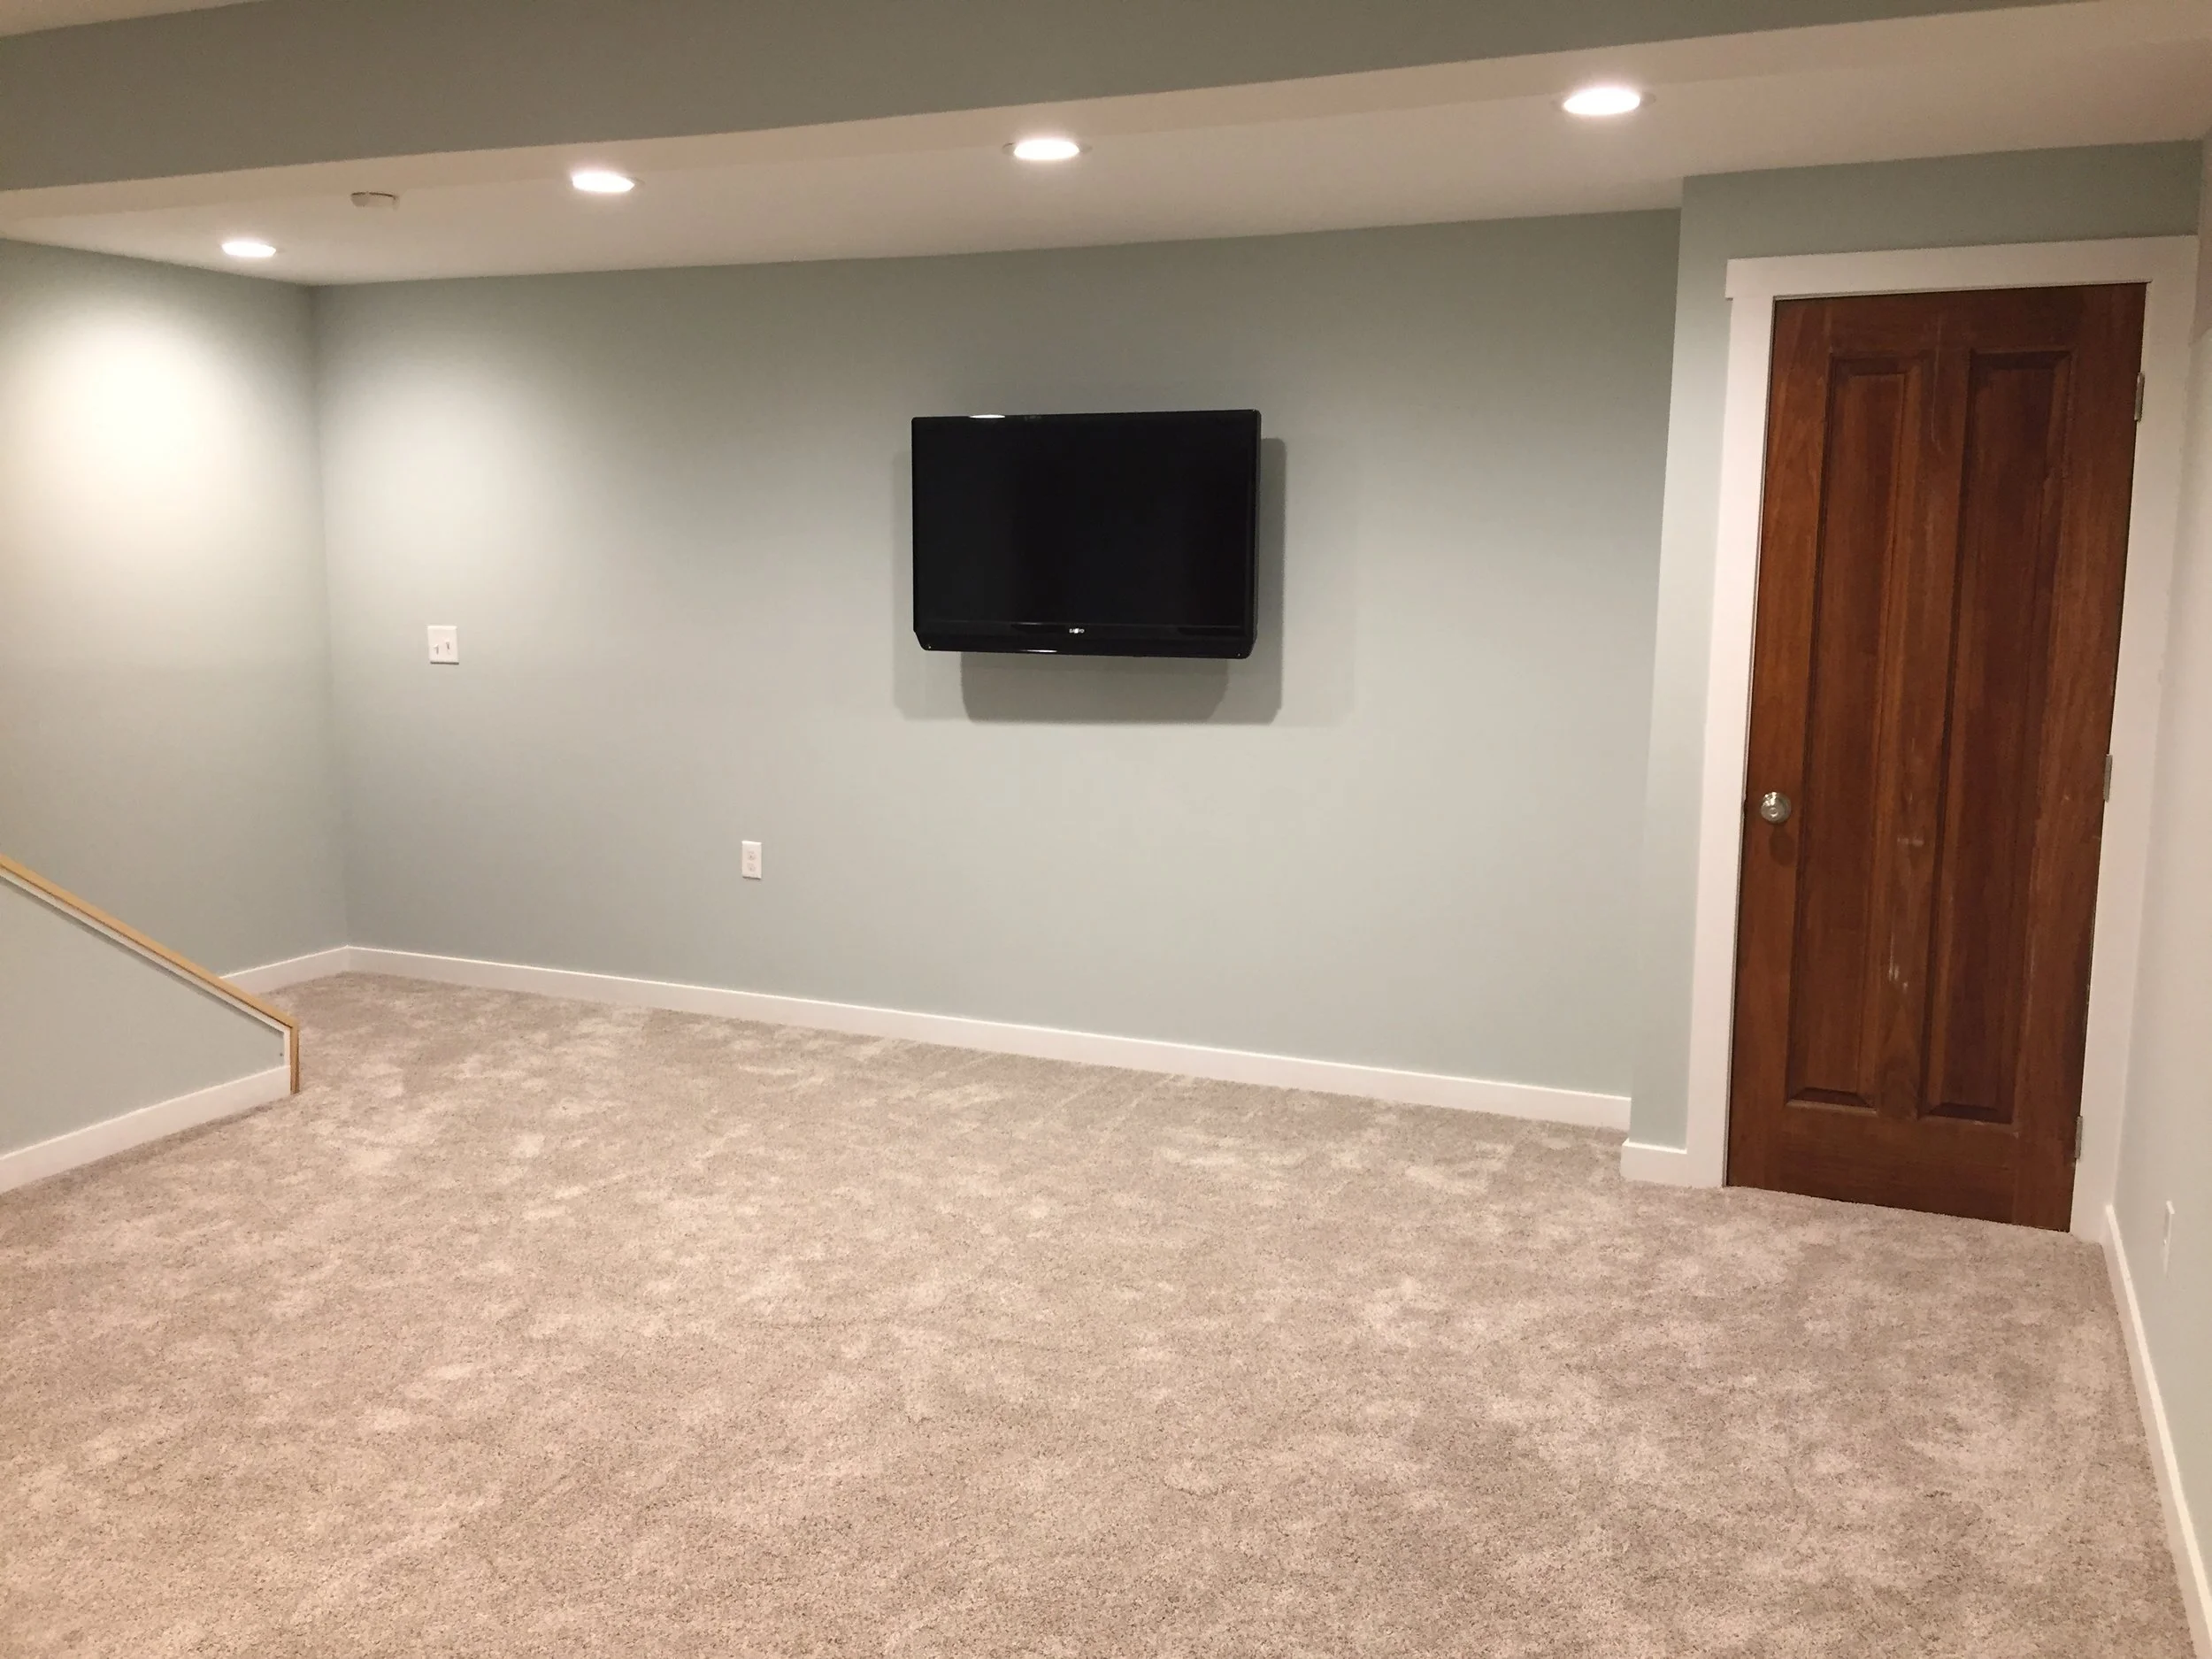
Finished Basement with Mounted TV
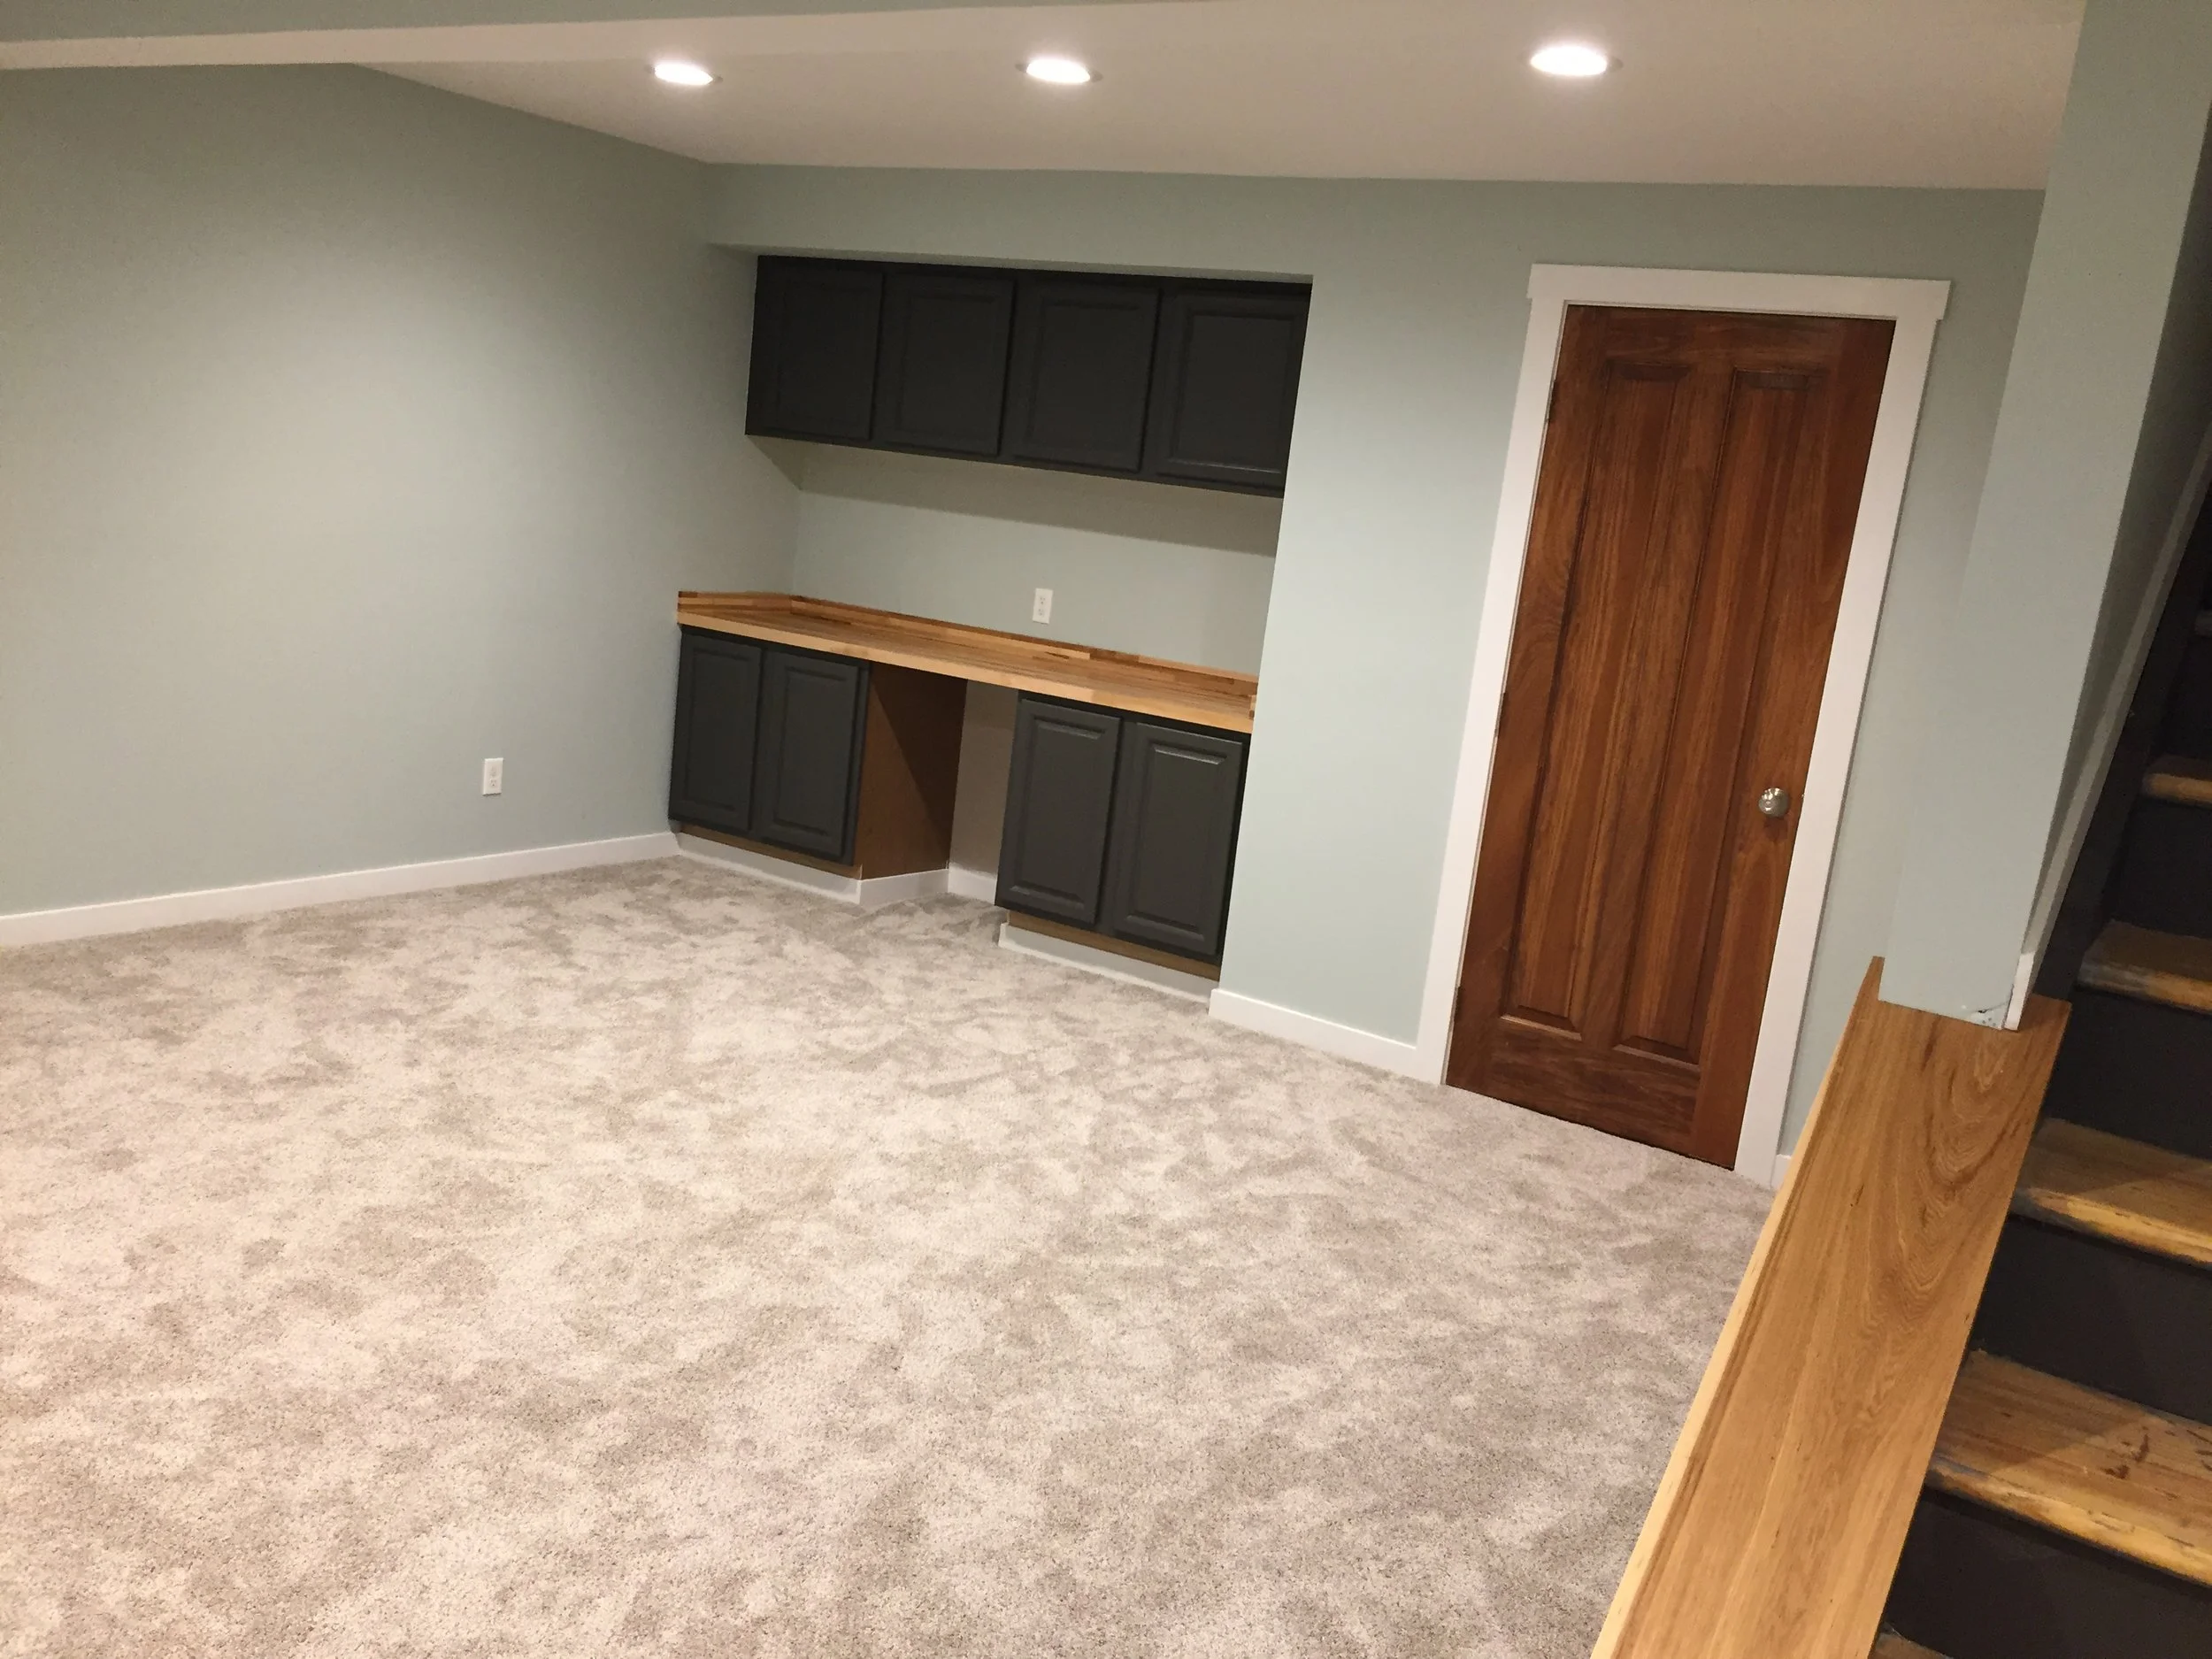
Finished Basement - Carpet, Sea Glass Walls, Natural Wood
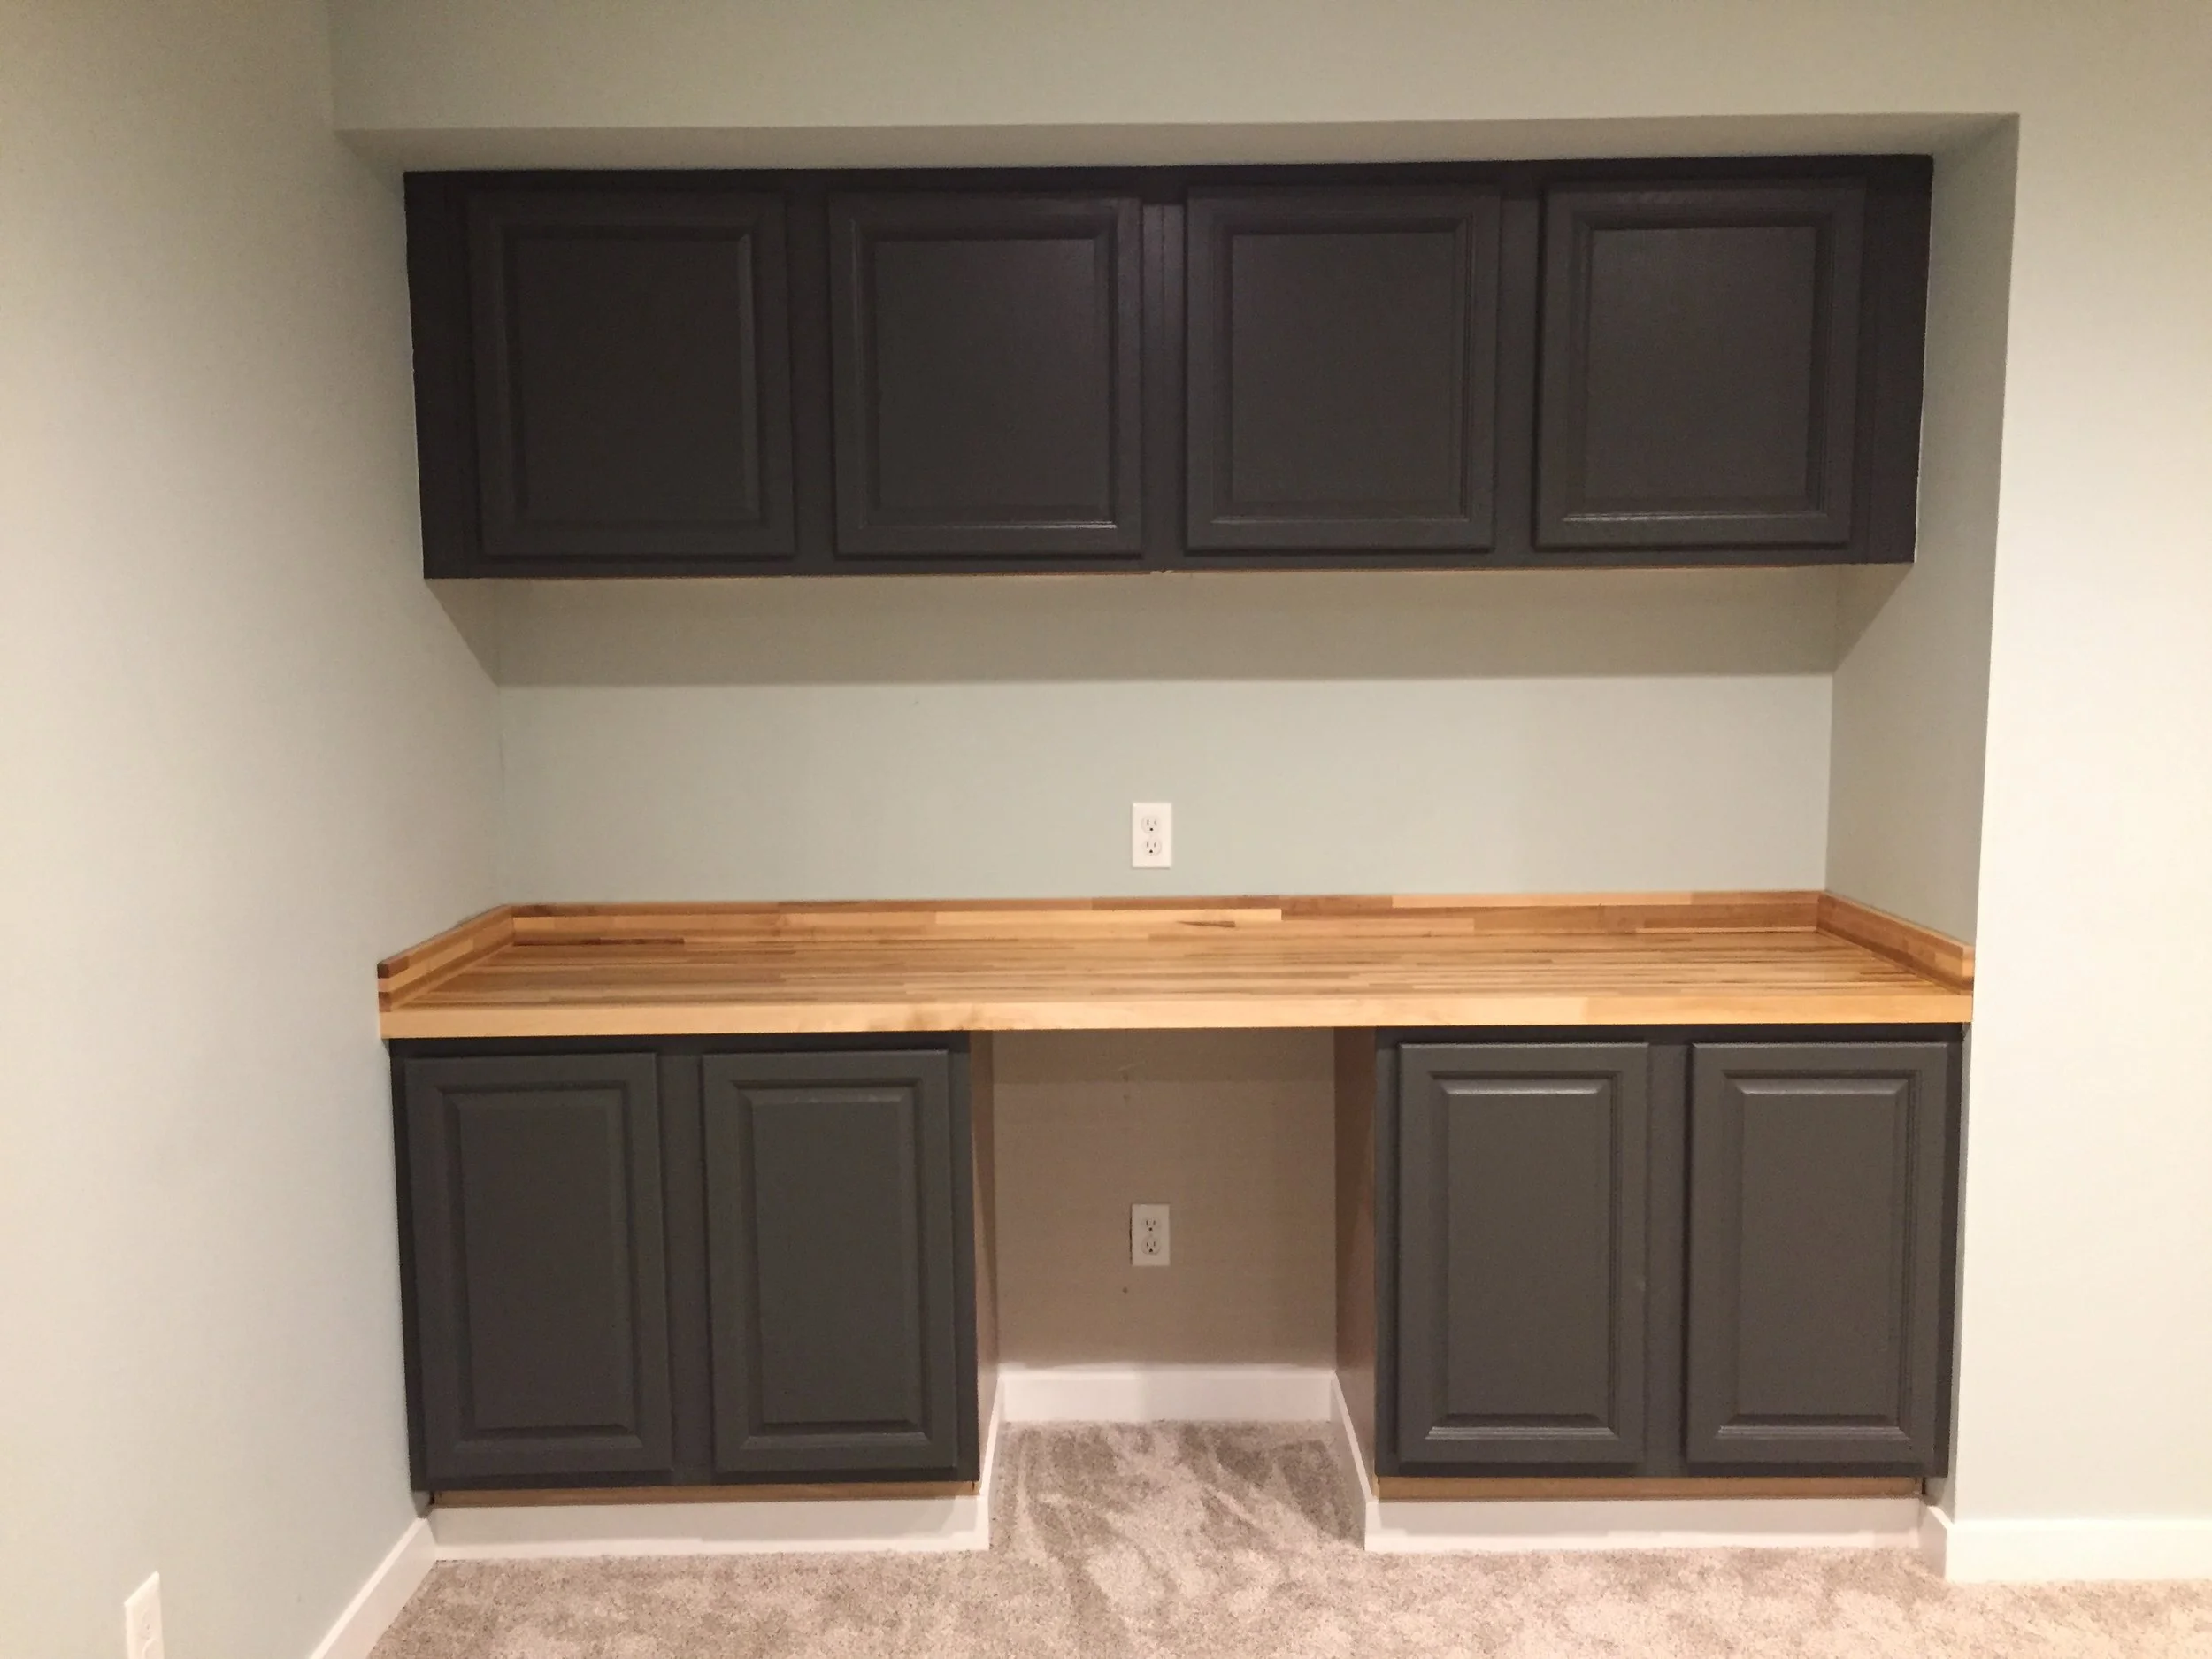
SW Urbane Bronze Cabinets with Butcher Block Countertop

Urbane Bronze Stairs in Finished Basement
Final Thoughts On OUr DIY Finished Basement
Taking on a DIY basement renovation is not the fastest way to get a basement done. The whole project took me around 4-5 months total. I didn't realize the wait time for some things, especially the things I hired out.
However, I enjoyed doing the work and now feel like I accomplished a major project for my family to enjoy.
Total Cost of finishing a basement myself - $2780
Not bad for less than $3000!
Note: Before taking on any home renovation projects, check your local codes and make sure you are knowledgeable about the laws and how to preform the work. Not all building codes are the same. This post was to share one story, and not intended to be the way it should be done in every home.
Now check out some of our other projects!


Follow us on Instagram


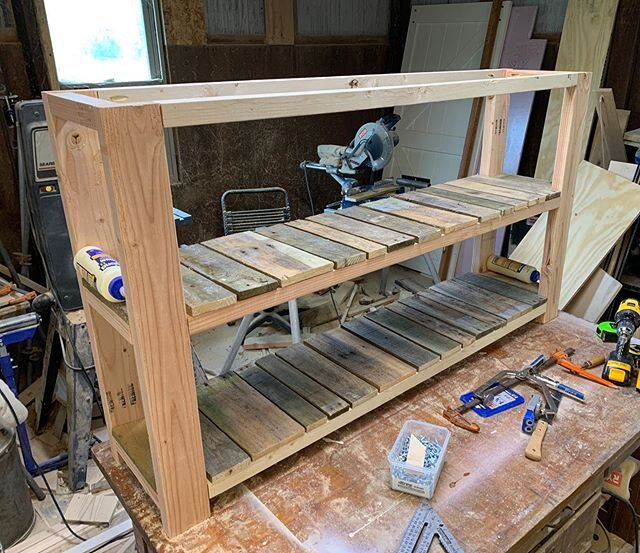
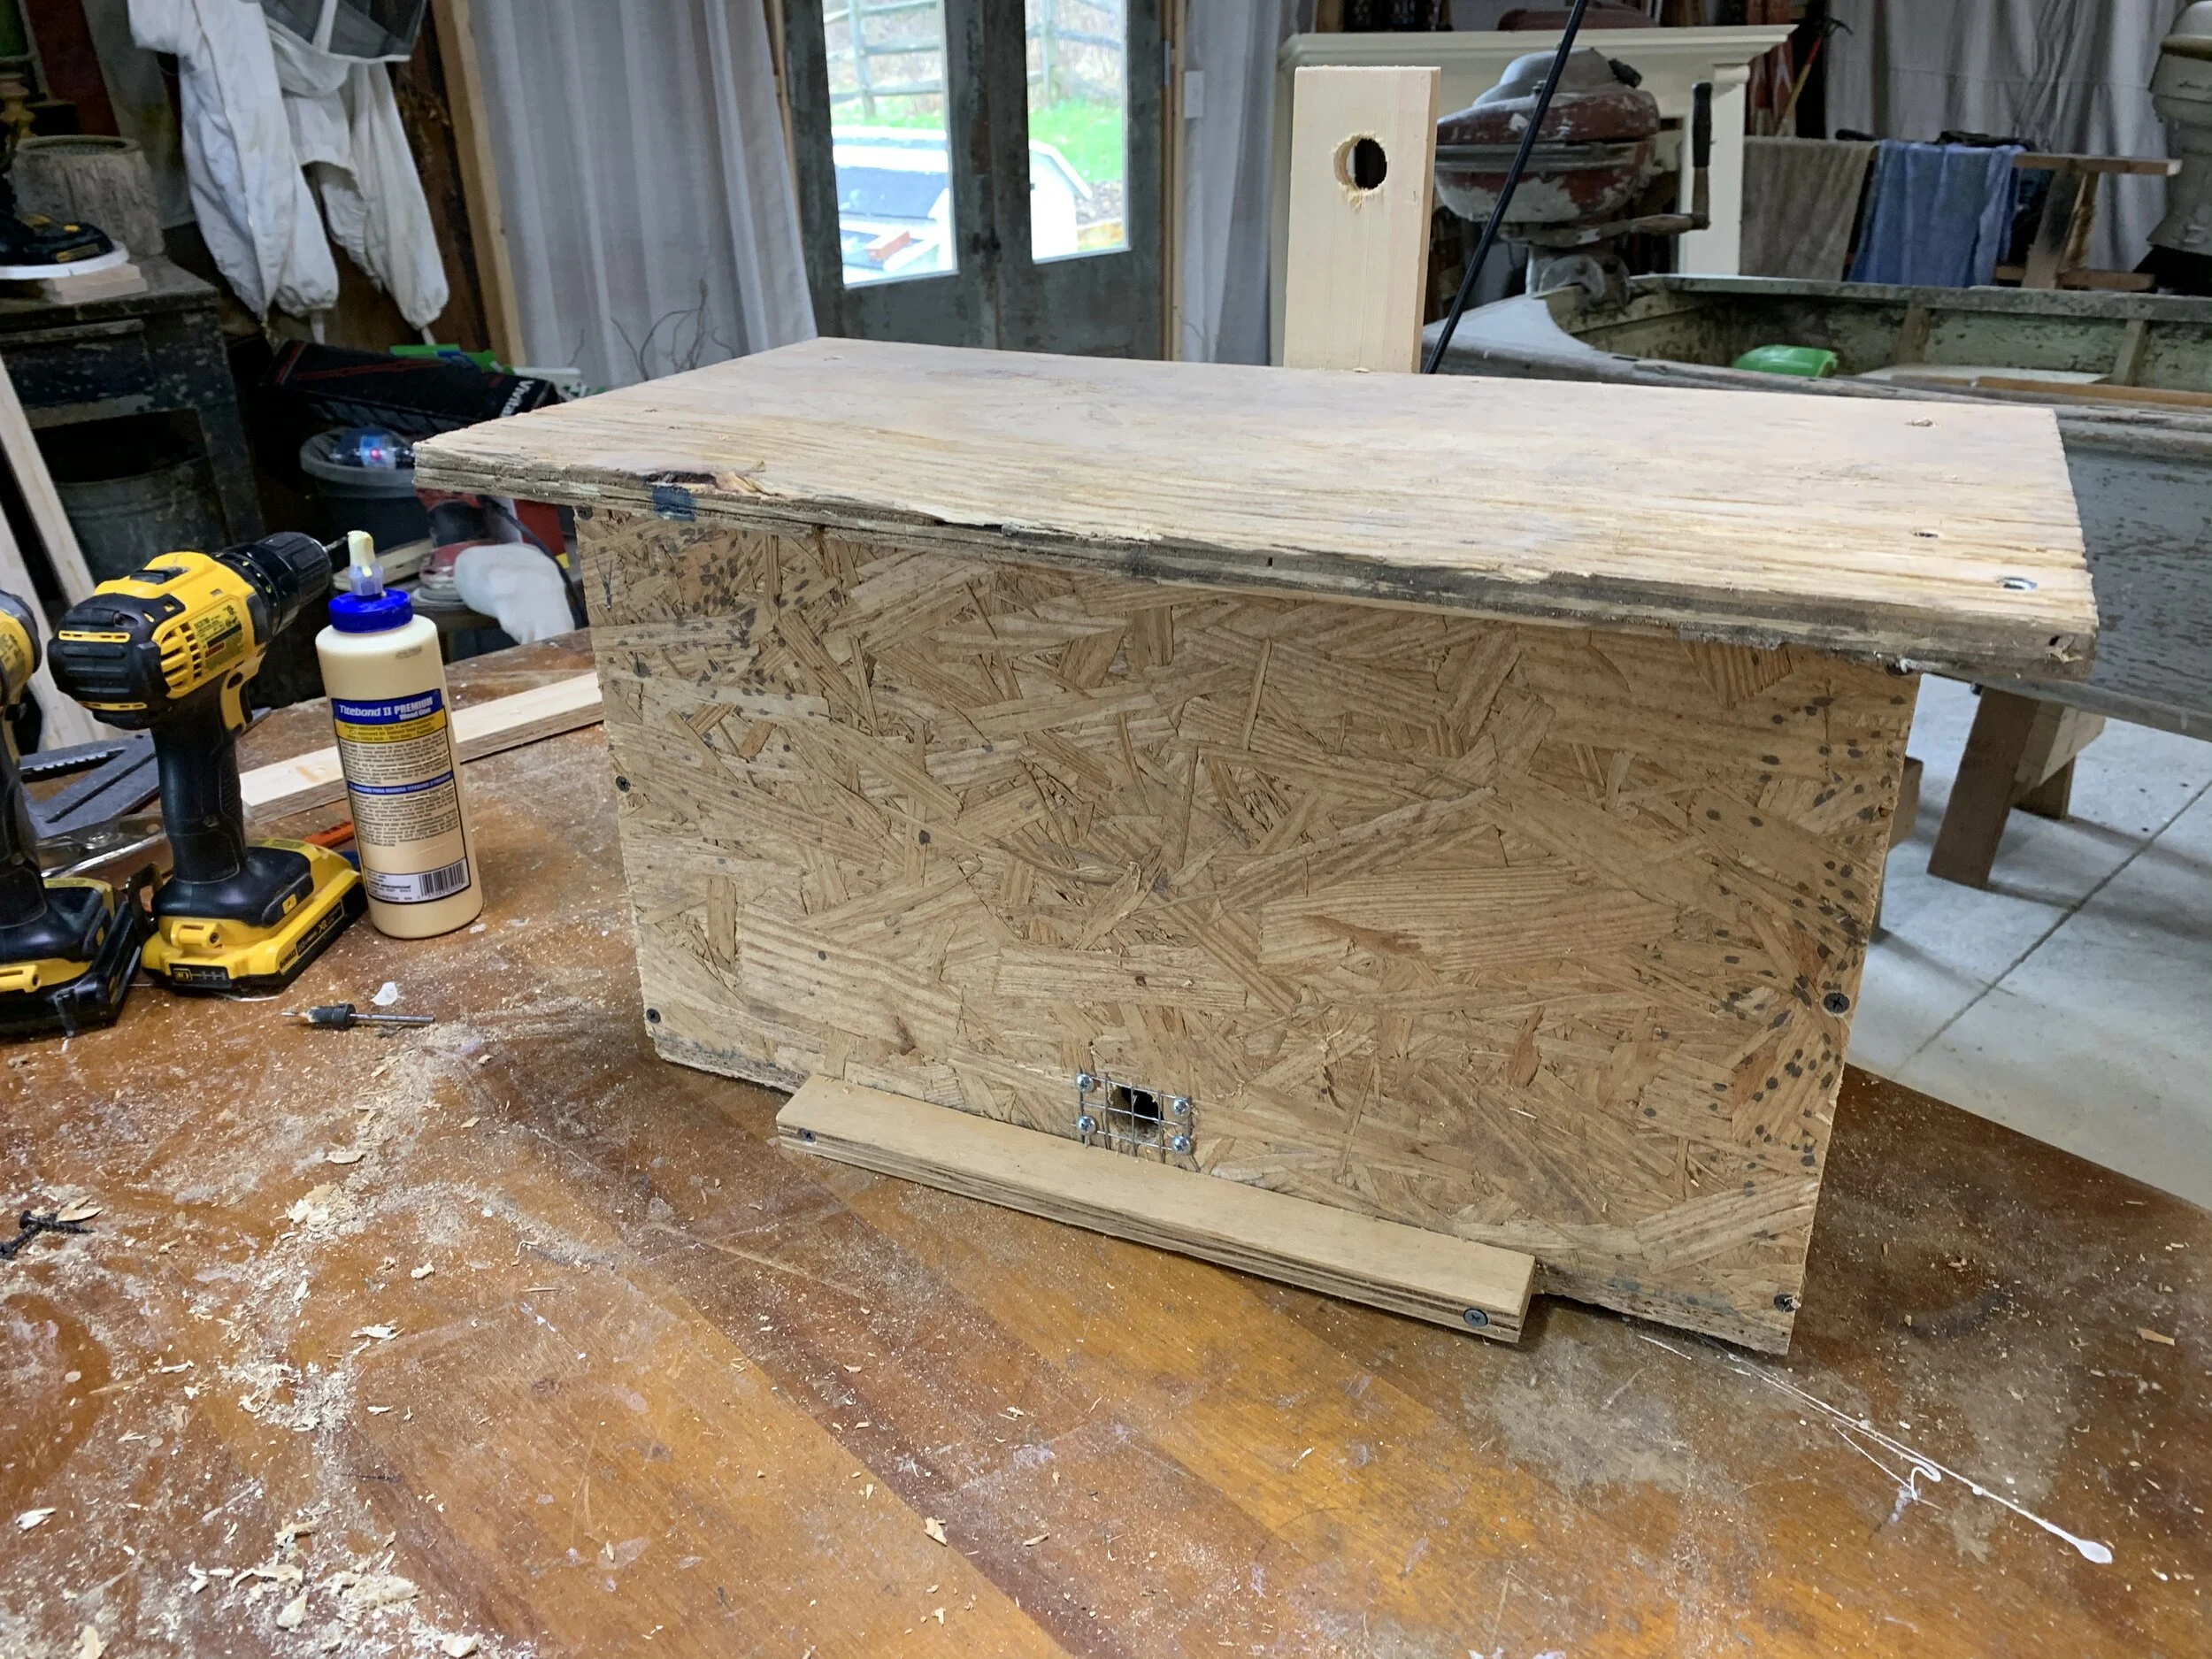
Use some of that scrap wood laying around the shop on this simple DIY Squirrel Feeder. Make a cute picnic table for your squirrels to sit and eat ear corn off of.