How to Repurpose a Door into a Bench
Adam Koons
Affiliate Disclosure: Thank you supporting us by visiting our site and posts. This website contains affiliate links that are ads recommended to you, that we can earn a small payout on. We only use Amazon Associates and Google Adsense. By clicking on these ads, making a purchase, or taking other action, we can earn a little extra money to fund future projects.
It seems that doors are available for projects all the time. I see vintage doors all over Facebook Marketplace and Craigslist. Occasionally, they are free, or put out in the trash, with plenty of life left in them.
We recently picked up “new” door from the trash. The door was a solid wood core, and had a crack on the one side. It was perfect for a DIY project.
How to Build A Bench from a Wood Door
Start by cutting the door in half. I used a circular saw and a level to create a fence for a straight line cut. This cut will leave the bench seat back, and the lower half will become the legs. Next, cut the bottom section of the door exactly in half. This cut will make the legs of the bench.
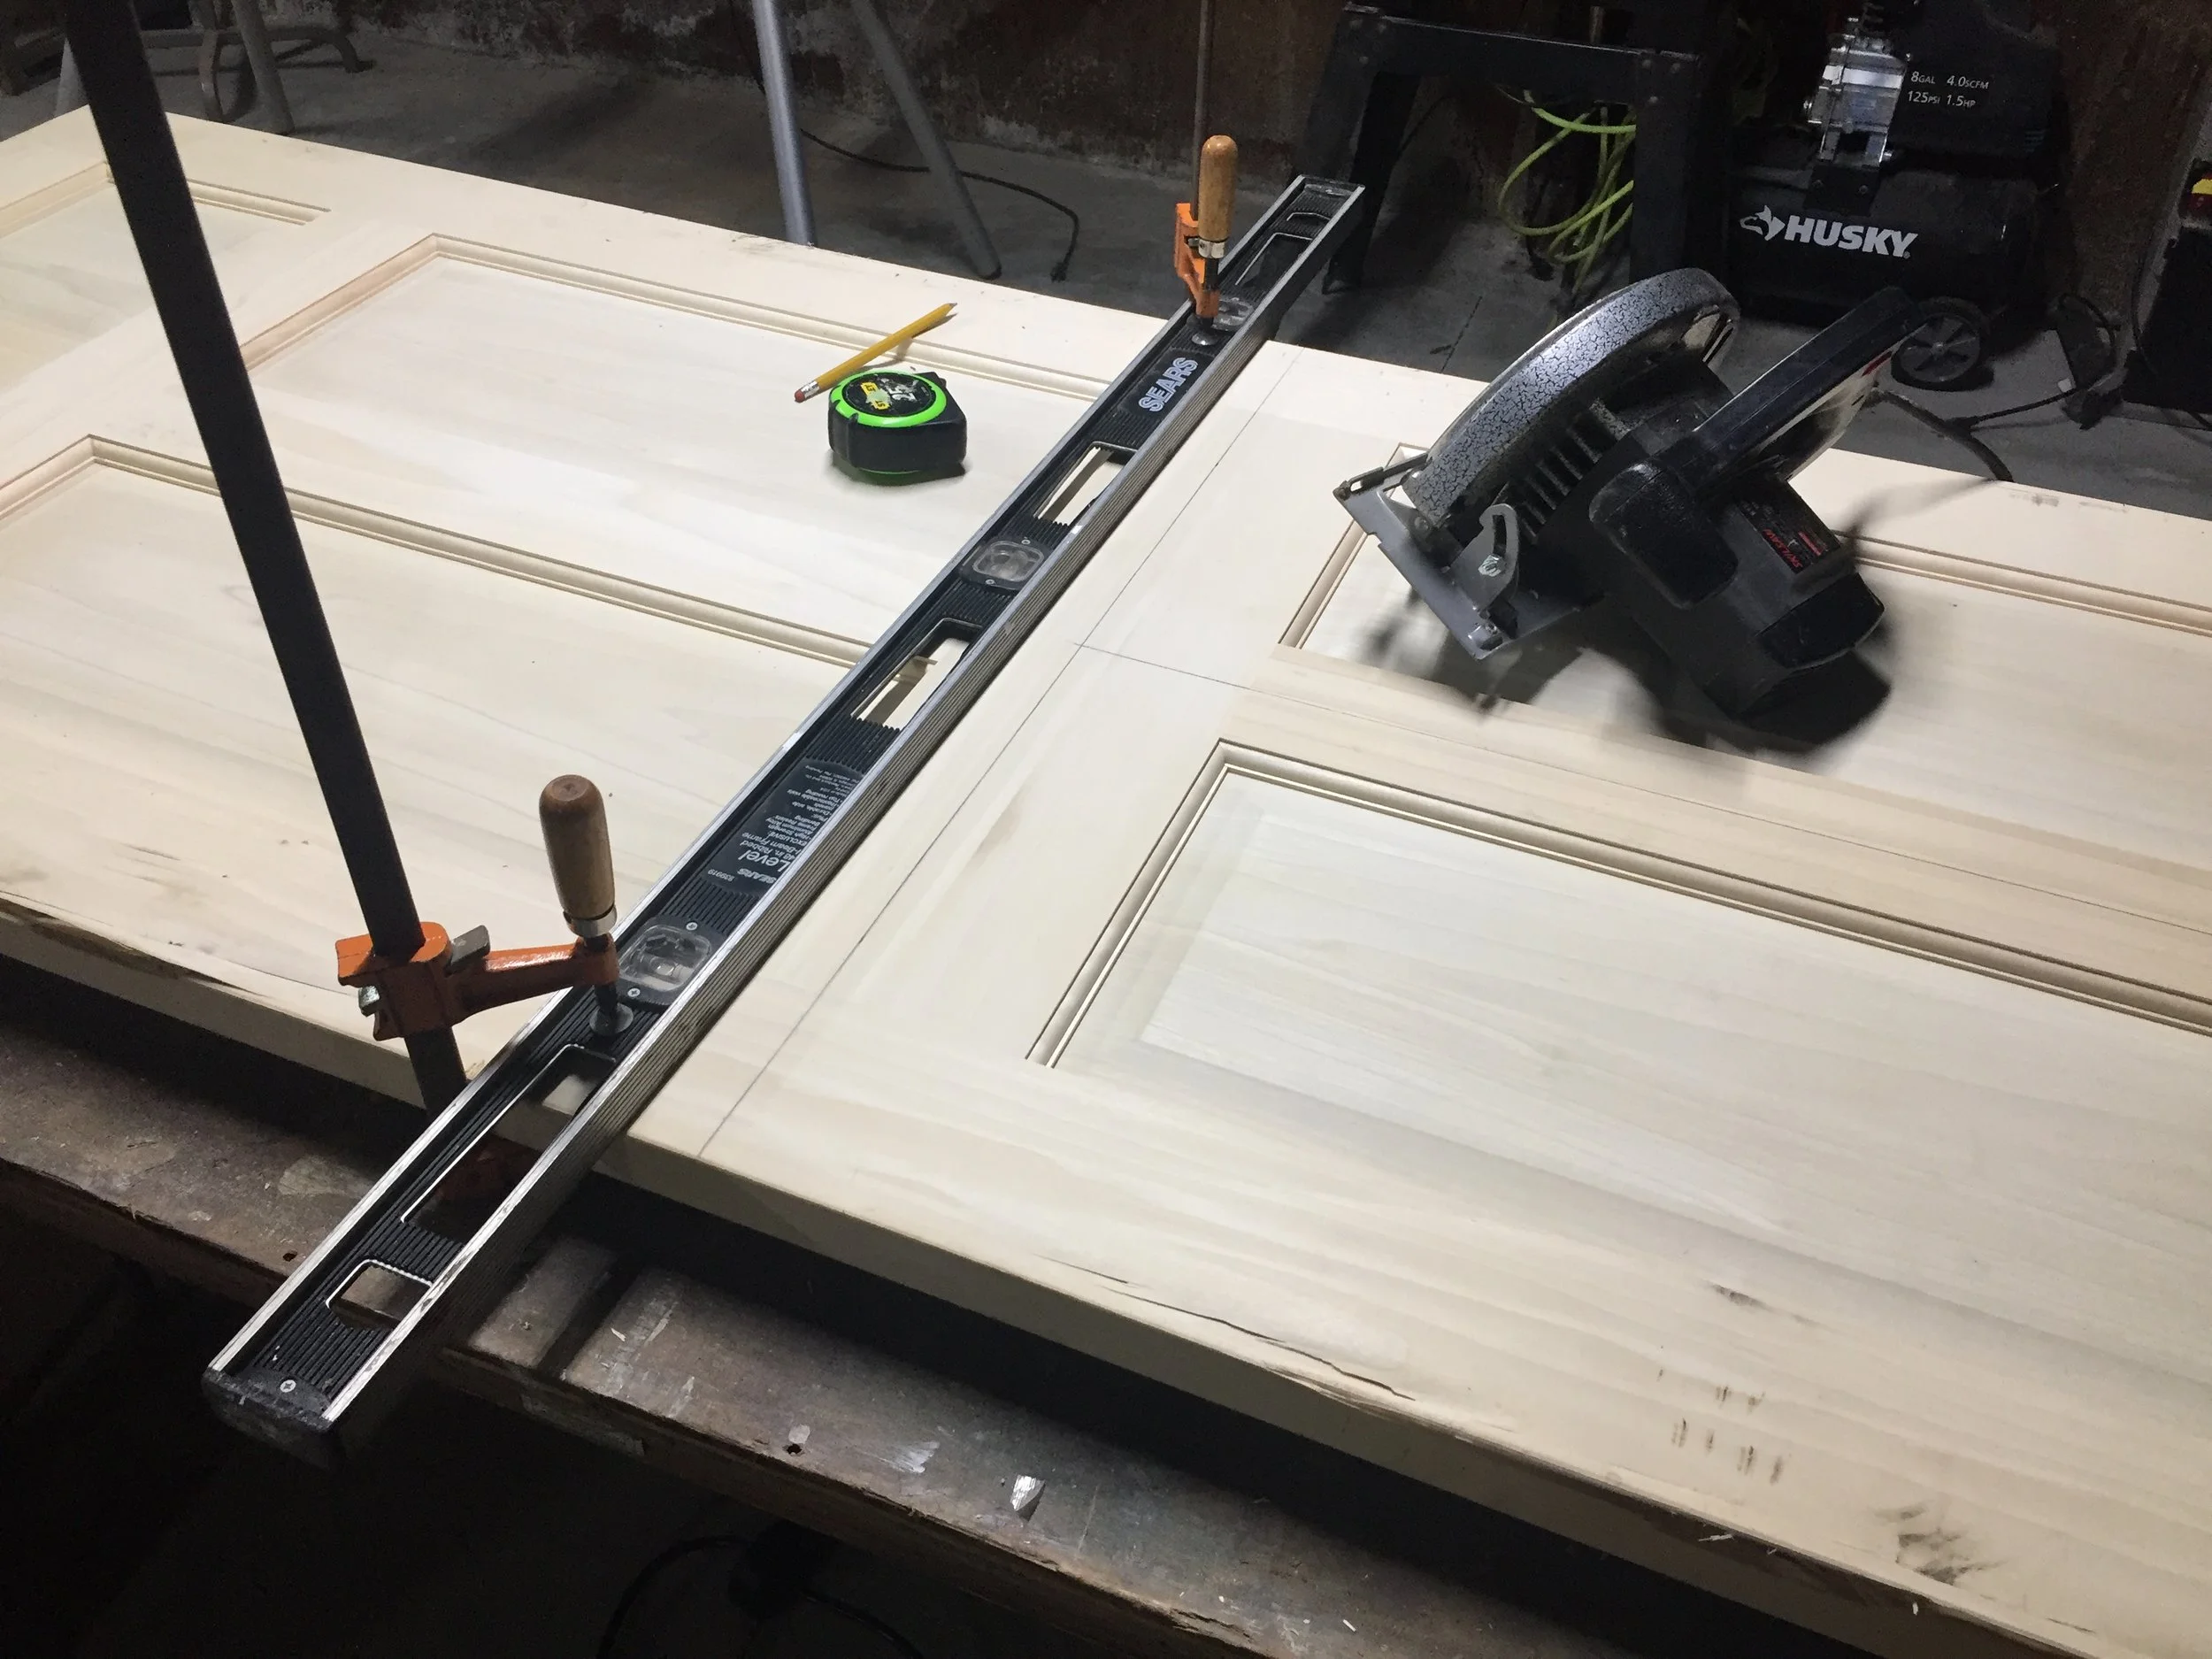

After the first cut.
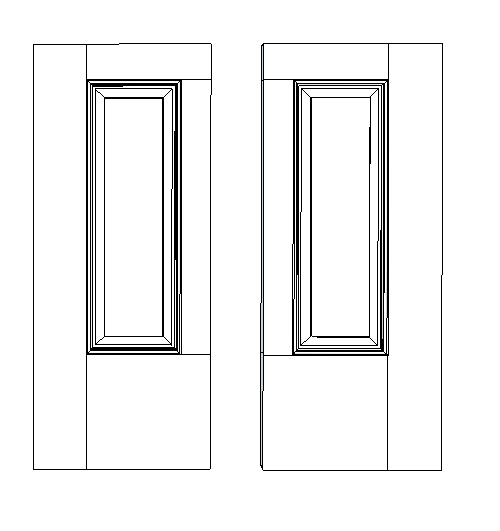
After the second cut.
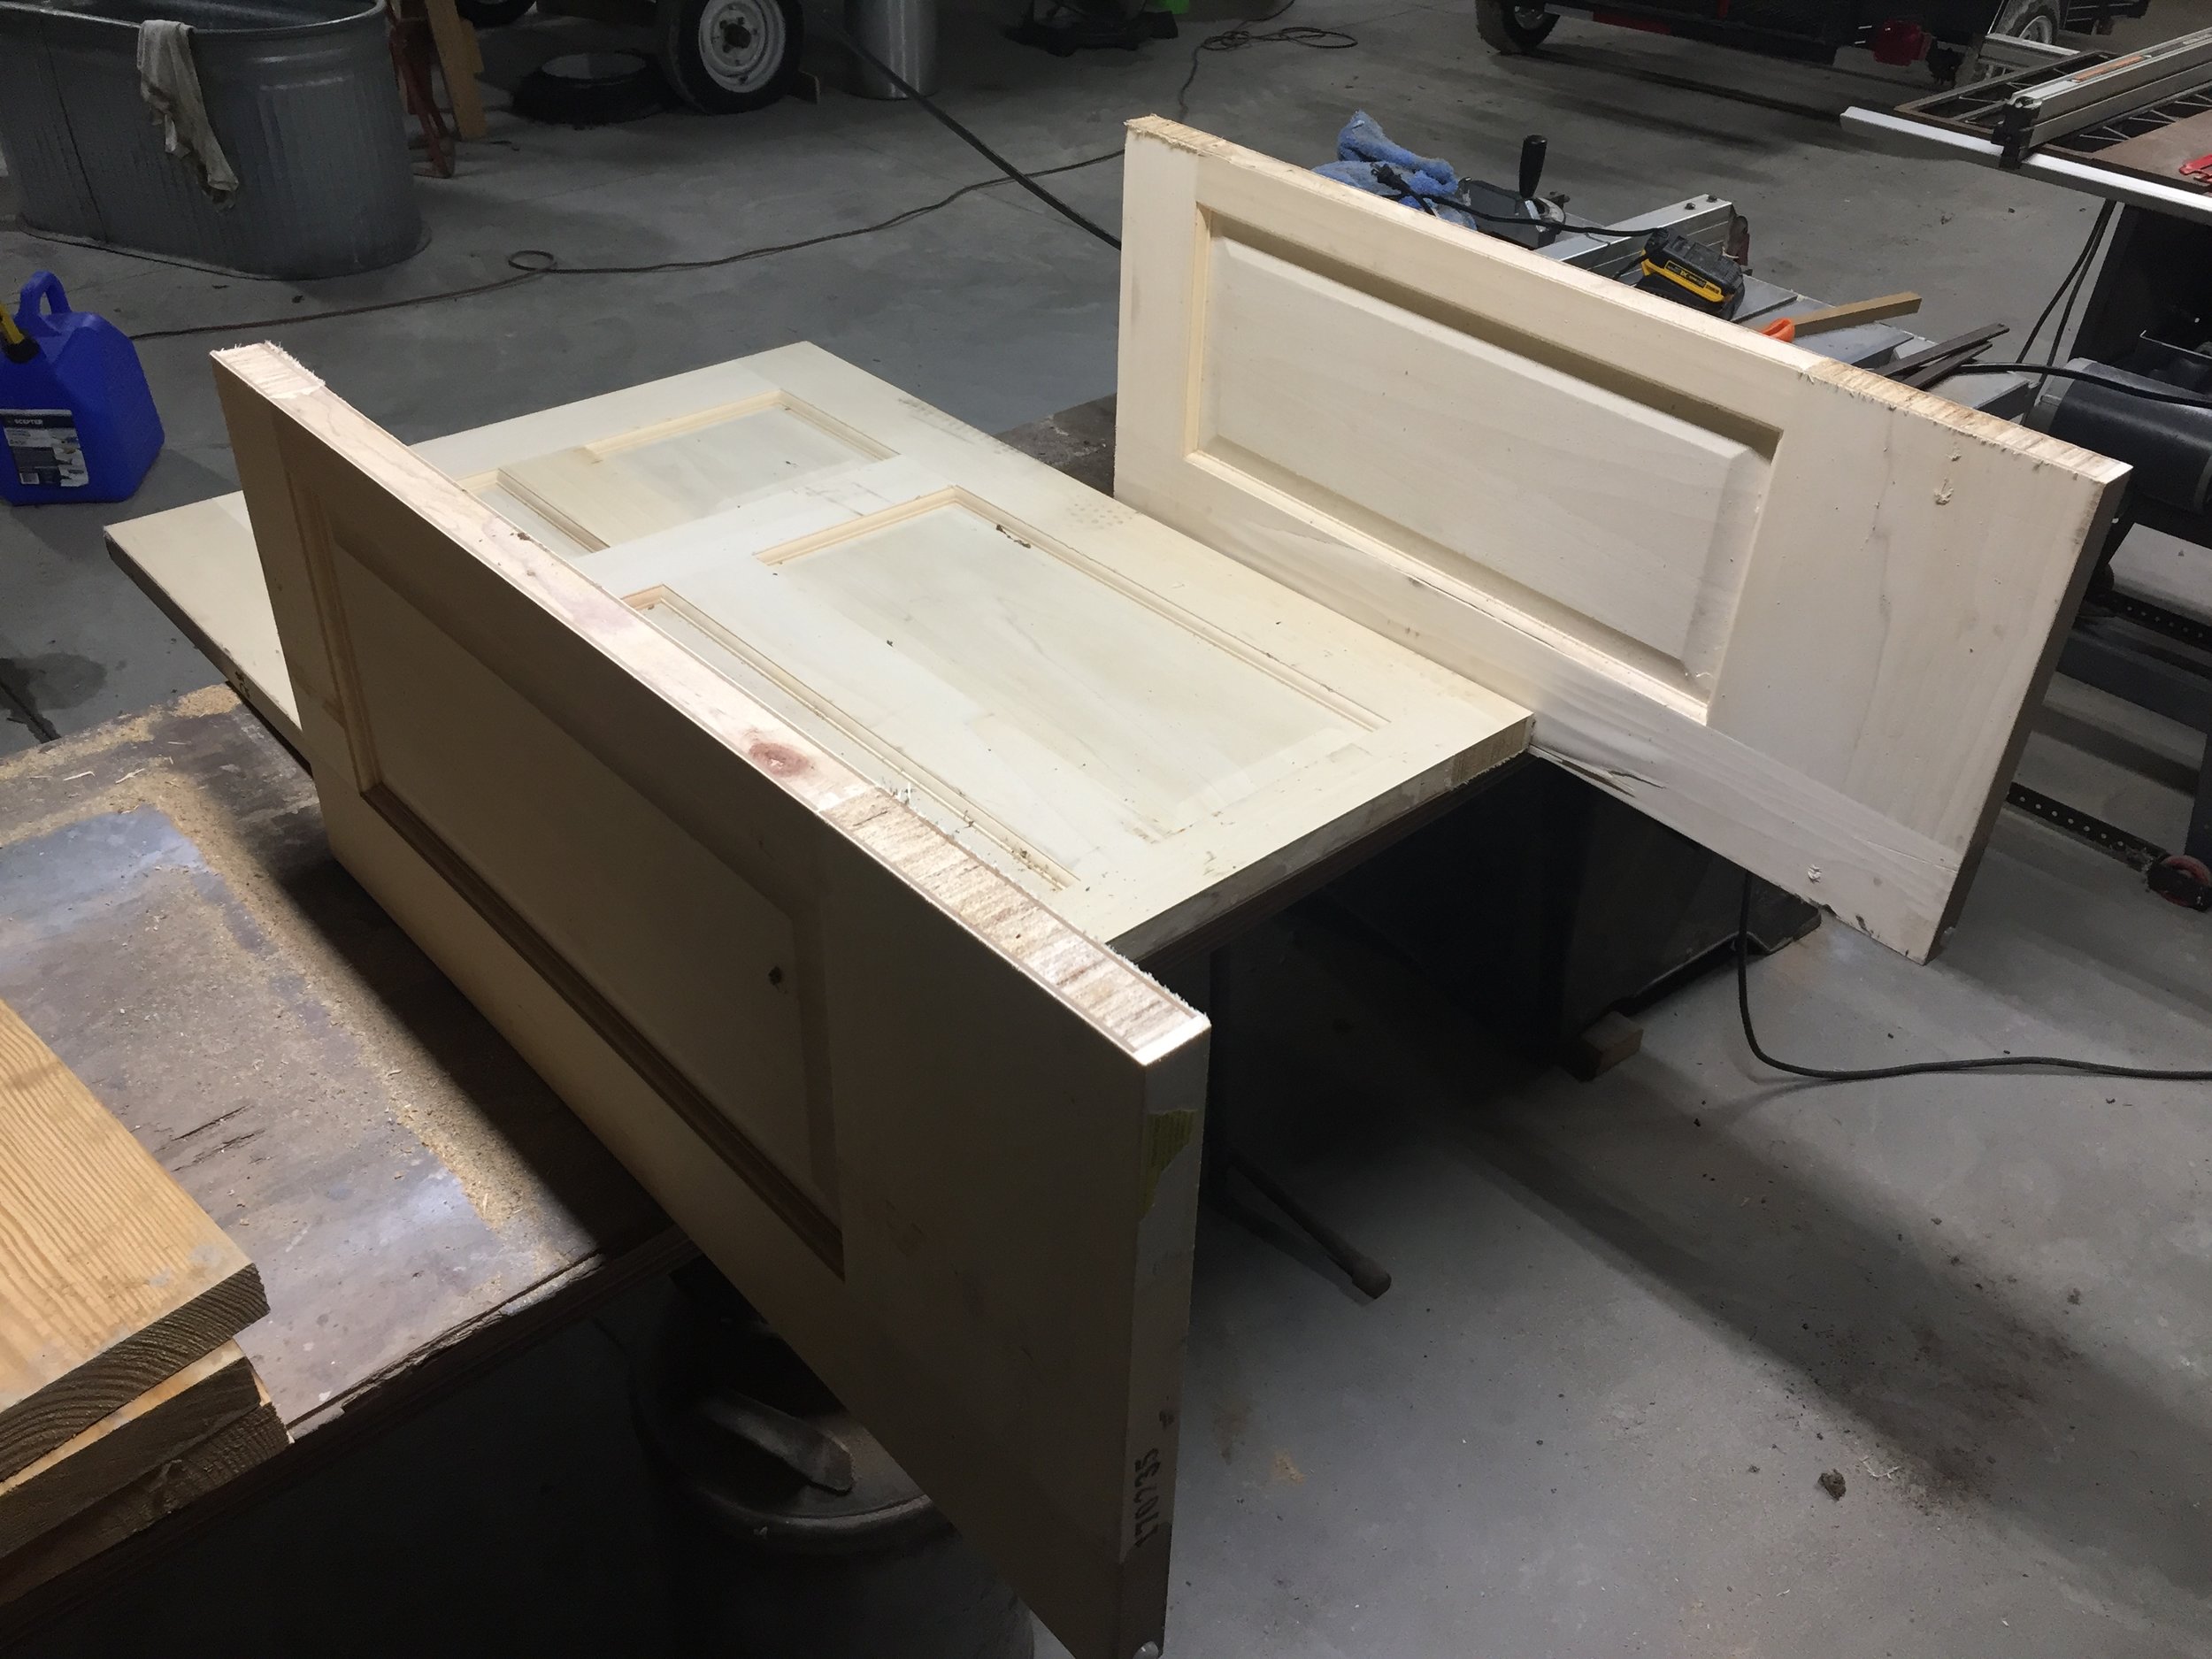
Once the door is cut into 3 pieces, layout the legs on each side of the back. Make some measurements to build a frame from 2x2s.
Our seat frame was 30” wide by 10 5/8” deep. We used pocket hole and screws to assemble the frame and hide the fasteners.


Screw through the legs for strength. The 2 lowest screws are into the frame, and the top two screws are into the back.
To mount the frame, we screwed the frame to the back using 2.5” screws. We counter sunk the screws on the outside, and then filled the screw holes with dowel rods.
The height of the frame was attached at 17” from the bottom of the legs (17” is the “top” of the seat to the floor). Most benches/seats are around 18” from the floor.
Next we used a scrap piece of 1/2” plywood to make the seat. our seat was 13 5/8” x 30” The plywood was glued and then nailed to the frame using finish nails.
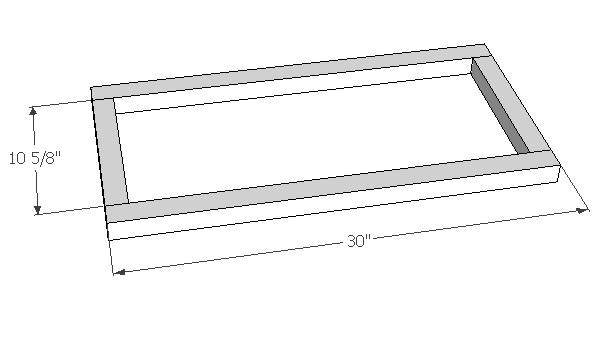
Bench Frame
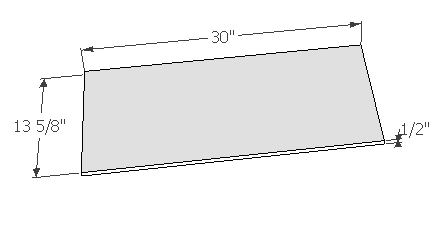
Plywood Seat
The last pieces we added were the arm rests. These are not necessary, but make for a nicer, finished look. I ripped some scrap pine to 2” wide and 16” long. Then I used glue and finish nails to attache them, flush on the inside of the seat.

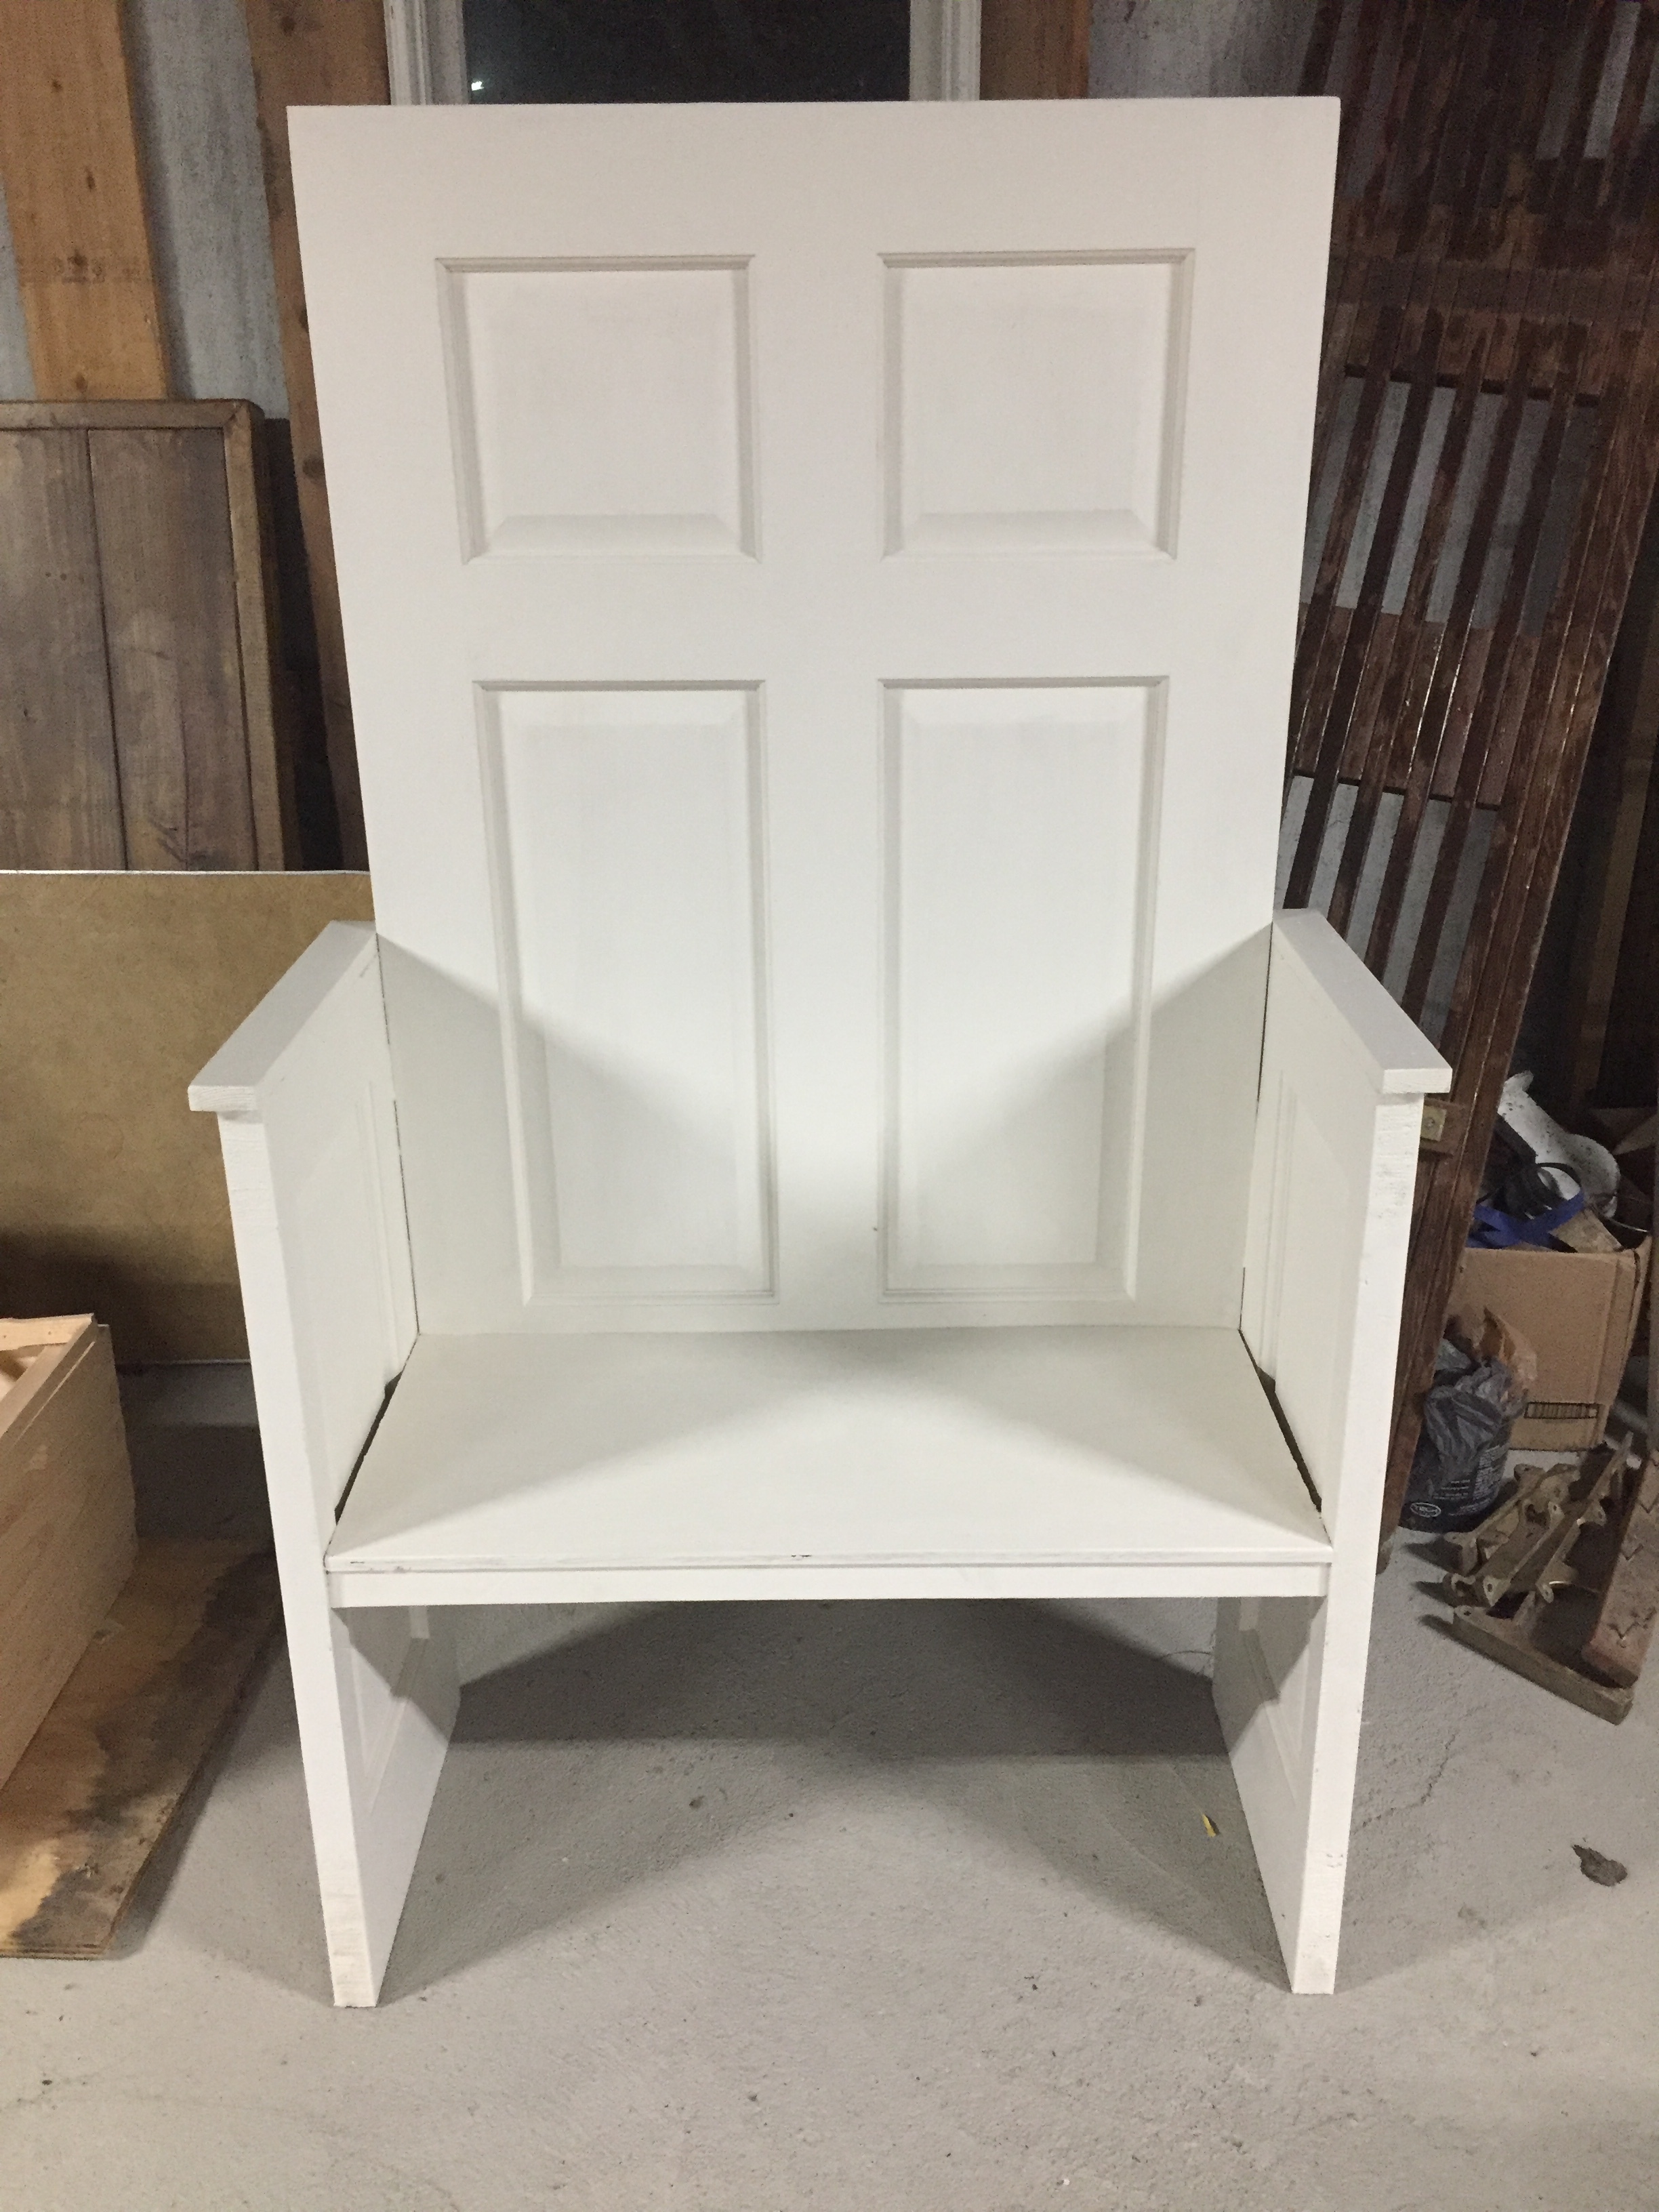
The last step was to fill in the screw holes with dowel rod, fill in the nail holes with wood filler, and then sand it smooth. We painted this one Sherwin Williams Alabaster (we had some left over paint on the shelf), which is a off white color.
Overall this was a quick project that can be completed in a few hours with little to no costs. Ours was built entirely our of scrap materials, and we didn’t purchase anything for this build.