
How to Build A Reclaimed Wall
Adam Koons
Affiliate Disclosure: Thank you supporting us by visiting our site and posts. This website contains affiliate links that are ads recommended to you, that we can earn a small payout on. We only use Amazon Associates and Google Adsense. By clicking on these ads, making a purchase, or taking other action, we can earn a little extra money to fund future projects.
We have built a wide variety of reclaimed walls with barn wood and pallet wood. The process is typically the same, and we are here to share our secrets on getting a reclaimed wall that looks like the wood was made for the space!
Here is a look at how to do it in 15 seconds!
How to Build a Barn Wood Wall
The first step is deciding on how you want your wall to look. There are a ton of options, and searching Pinterest for examples is often the best place to start (here are some examples of walls we have done).
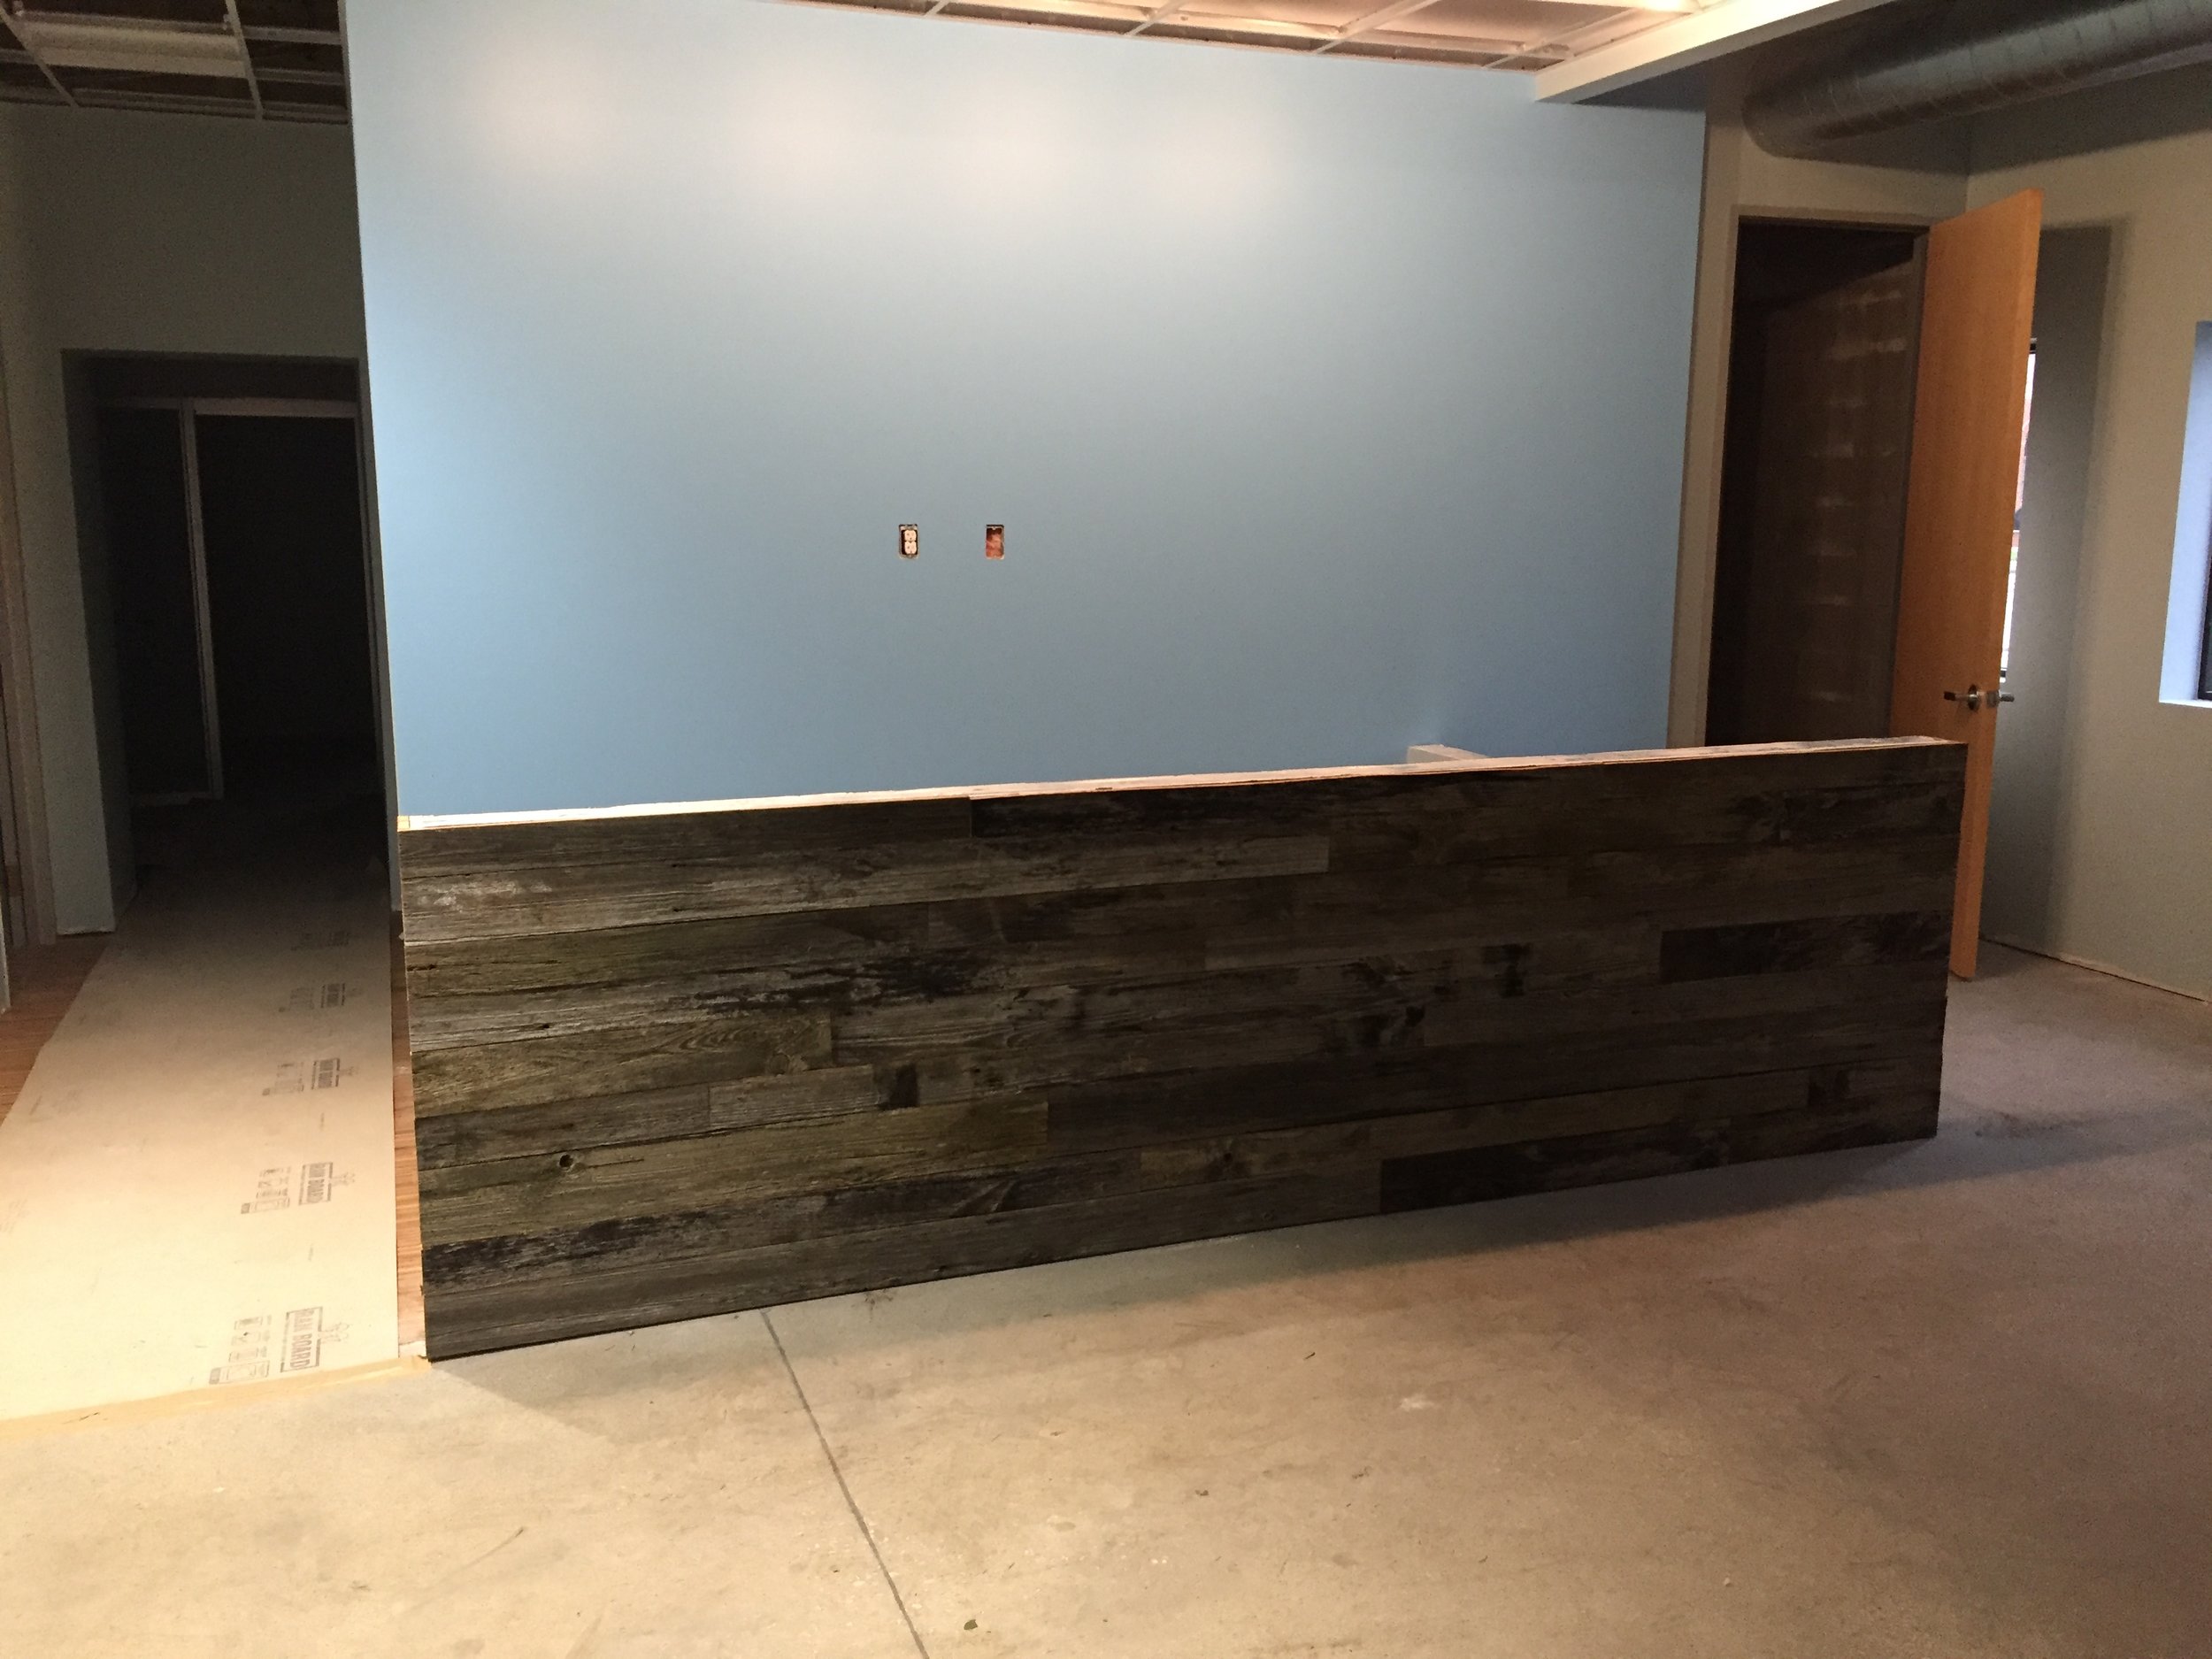
For the example wall we are using weathered barn siding we purchased off of Craigslist. This is by far the easiest option for getting barn wood, and typically all the hard work of stacking it and pulling nails is done! Taking down a barn can be extremely dangerous depending on the structure and condition of the barn.
Tips for searching craigslist for barn wood: Try different searches, without selecting a category. We have luck with searching: Barn wood, Barnwood, Barn Siding, Barn Lumber, Reclaimed Wood.
Below is the barn wood we used. We selected a weathered gray color, to blend with the paint colors in the space, but its easy to find other variations with red, brow, or white tones. Always buy more wood then you need, you can't just run to the hardware store to get one more board that was weathered 100 years.

Prepare Your Wall and Wood
Preparation is the secret to a good looking wall. First, paint your wall a dark color (specifically black) which will help hid any gaps between your planks.
Second cut your wood to square up the sides. We typically cut long planks in half to make them more manageable, and easier to handle. Next we use a table saw to rip the wood into standard widths. For this wall we cut the boars into 4", 5", and 6" wide boards. Finally we used a miter saw to cut square edges on the ends by trimming off about a half inch.
From left to right 4", 5", and 6'" wide boards. The ends have not been cut square yet.
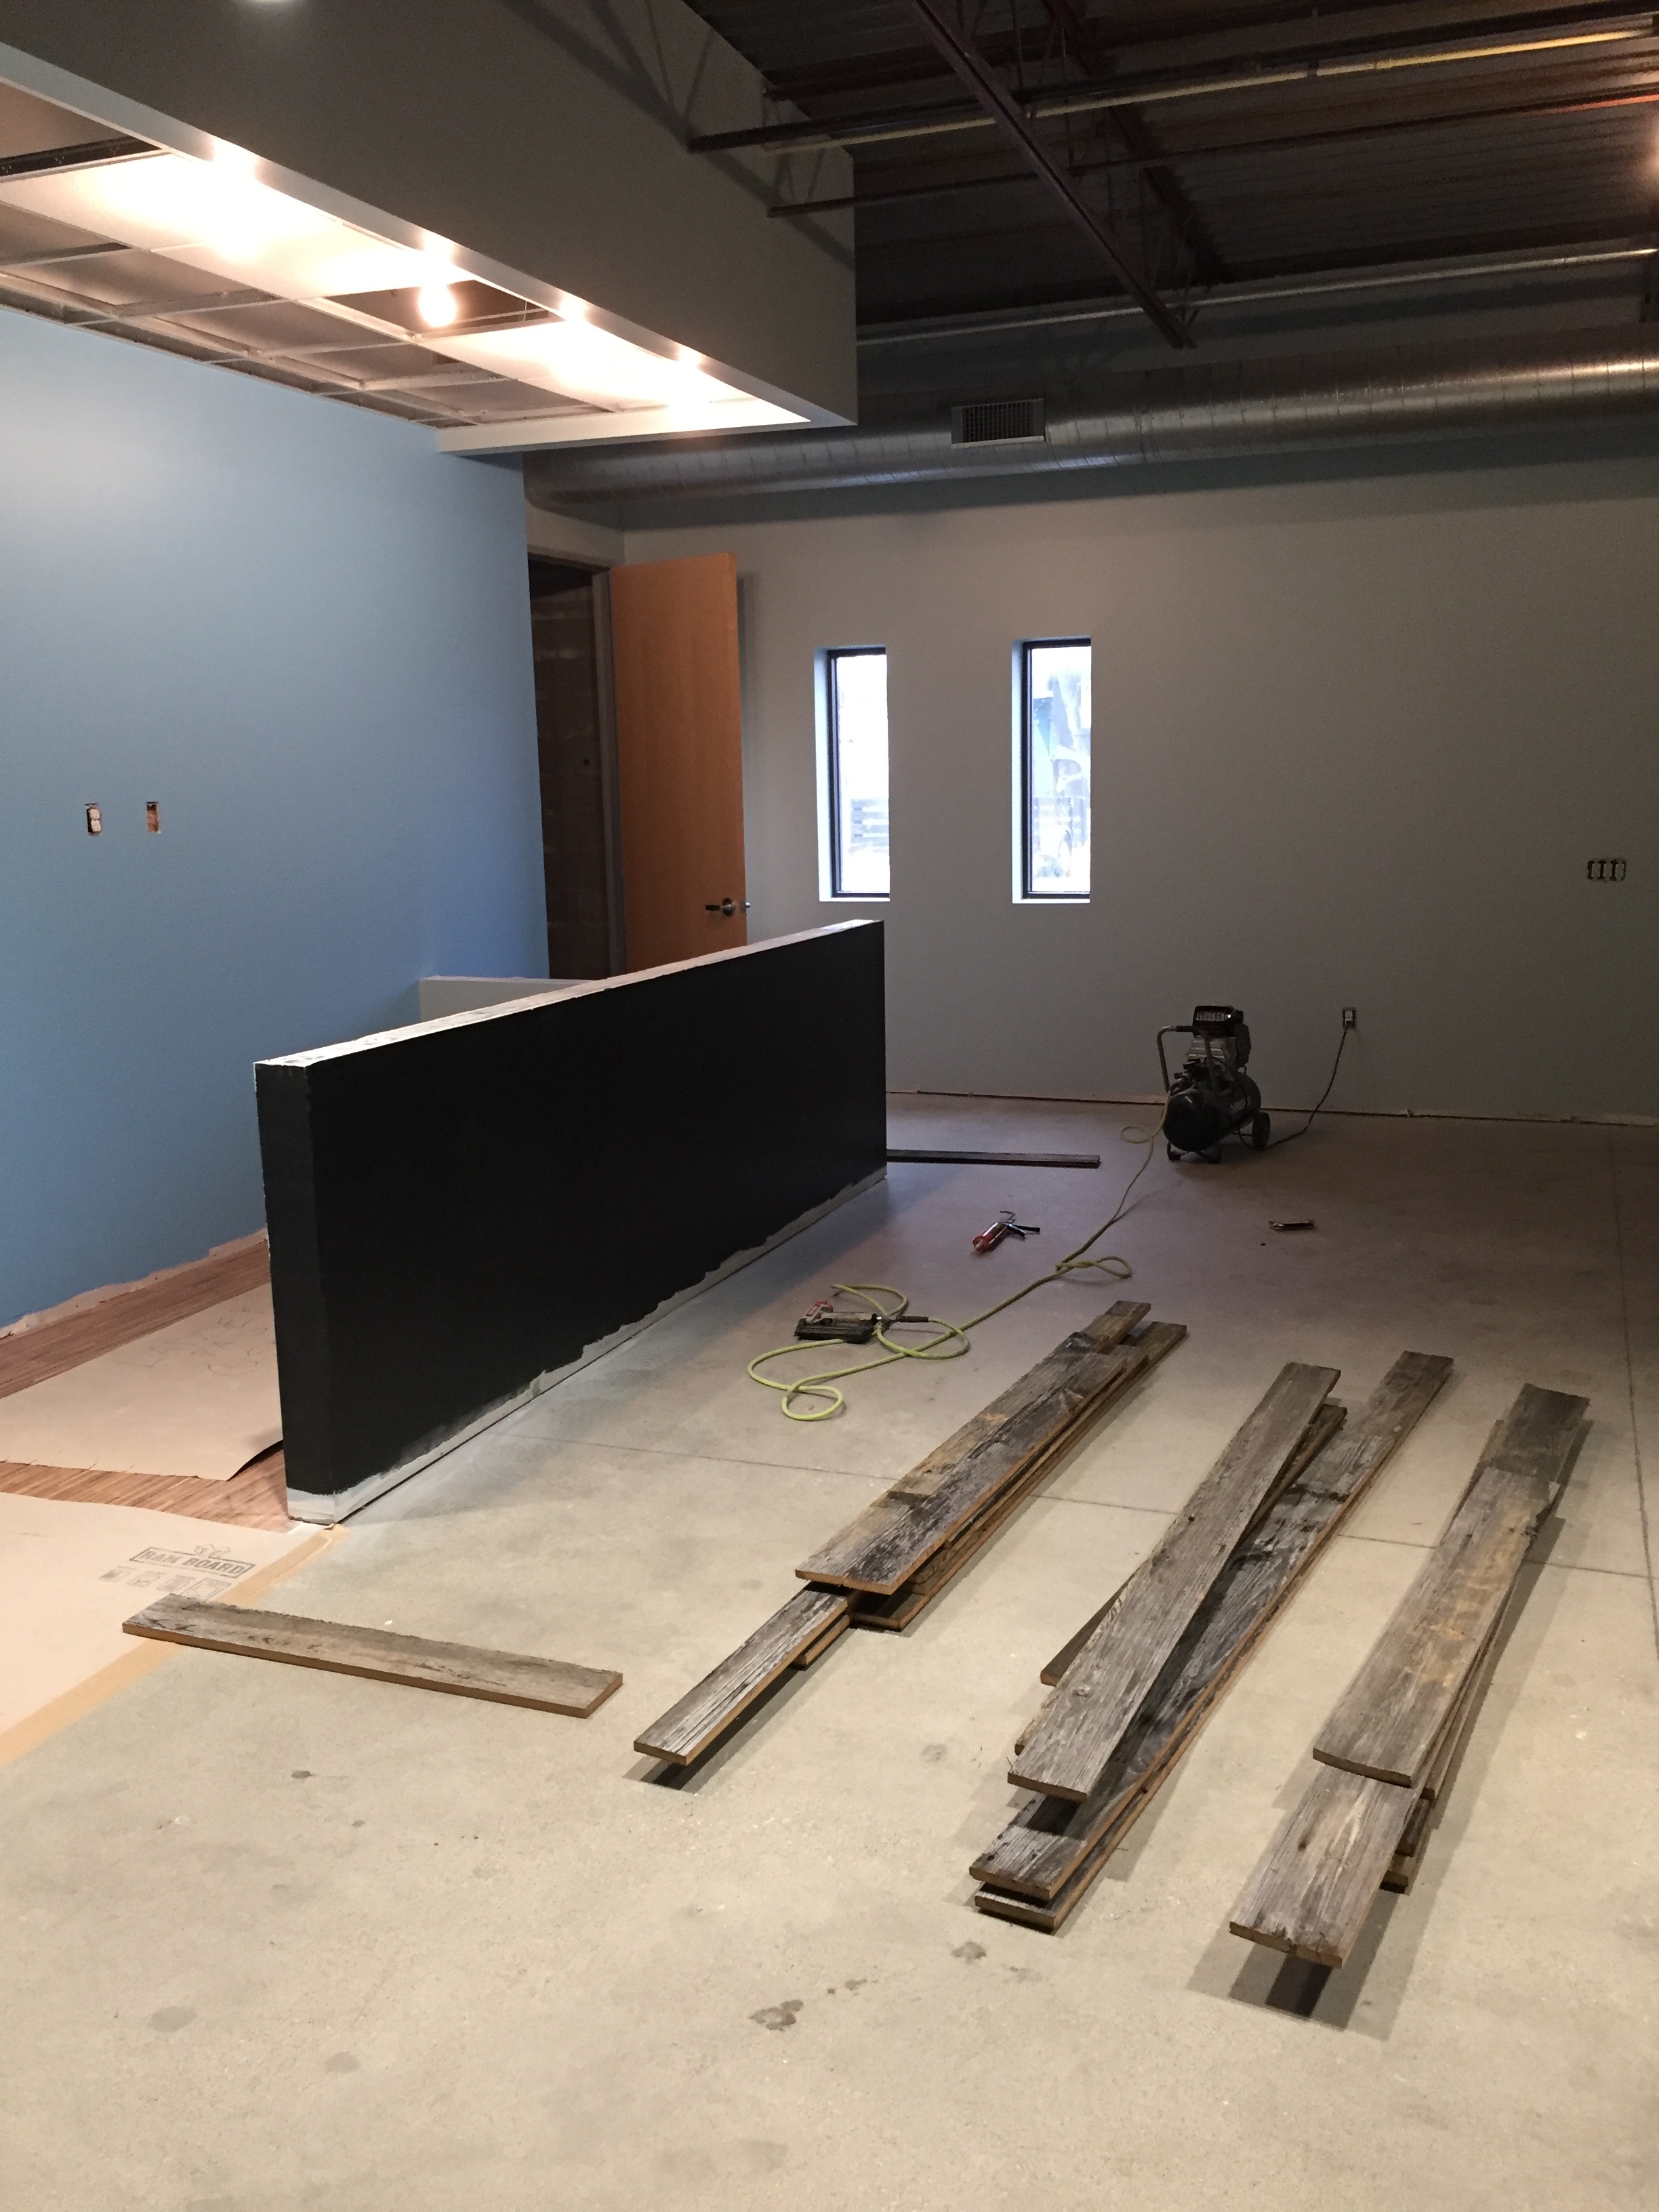
Wall is painted black. 4", 5", and 6" wood stacked and ready to attach.
How to Attach Barn Wood to the Wall
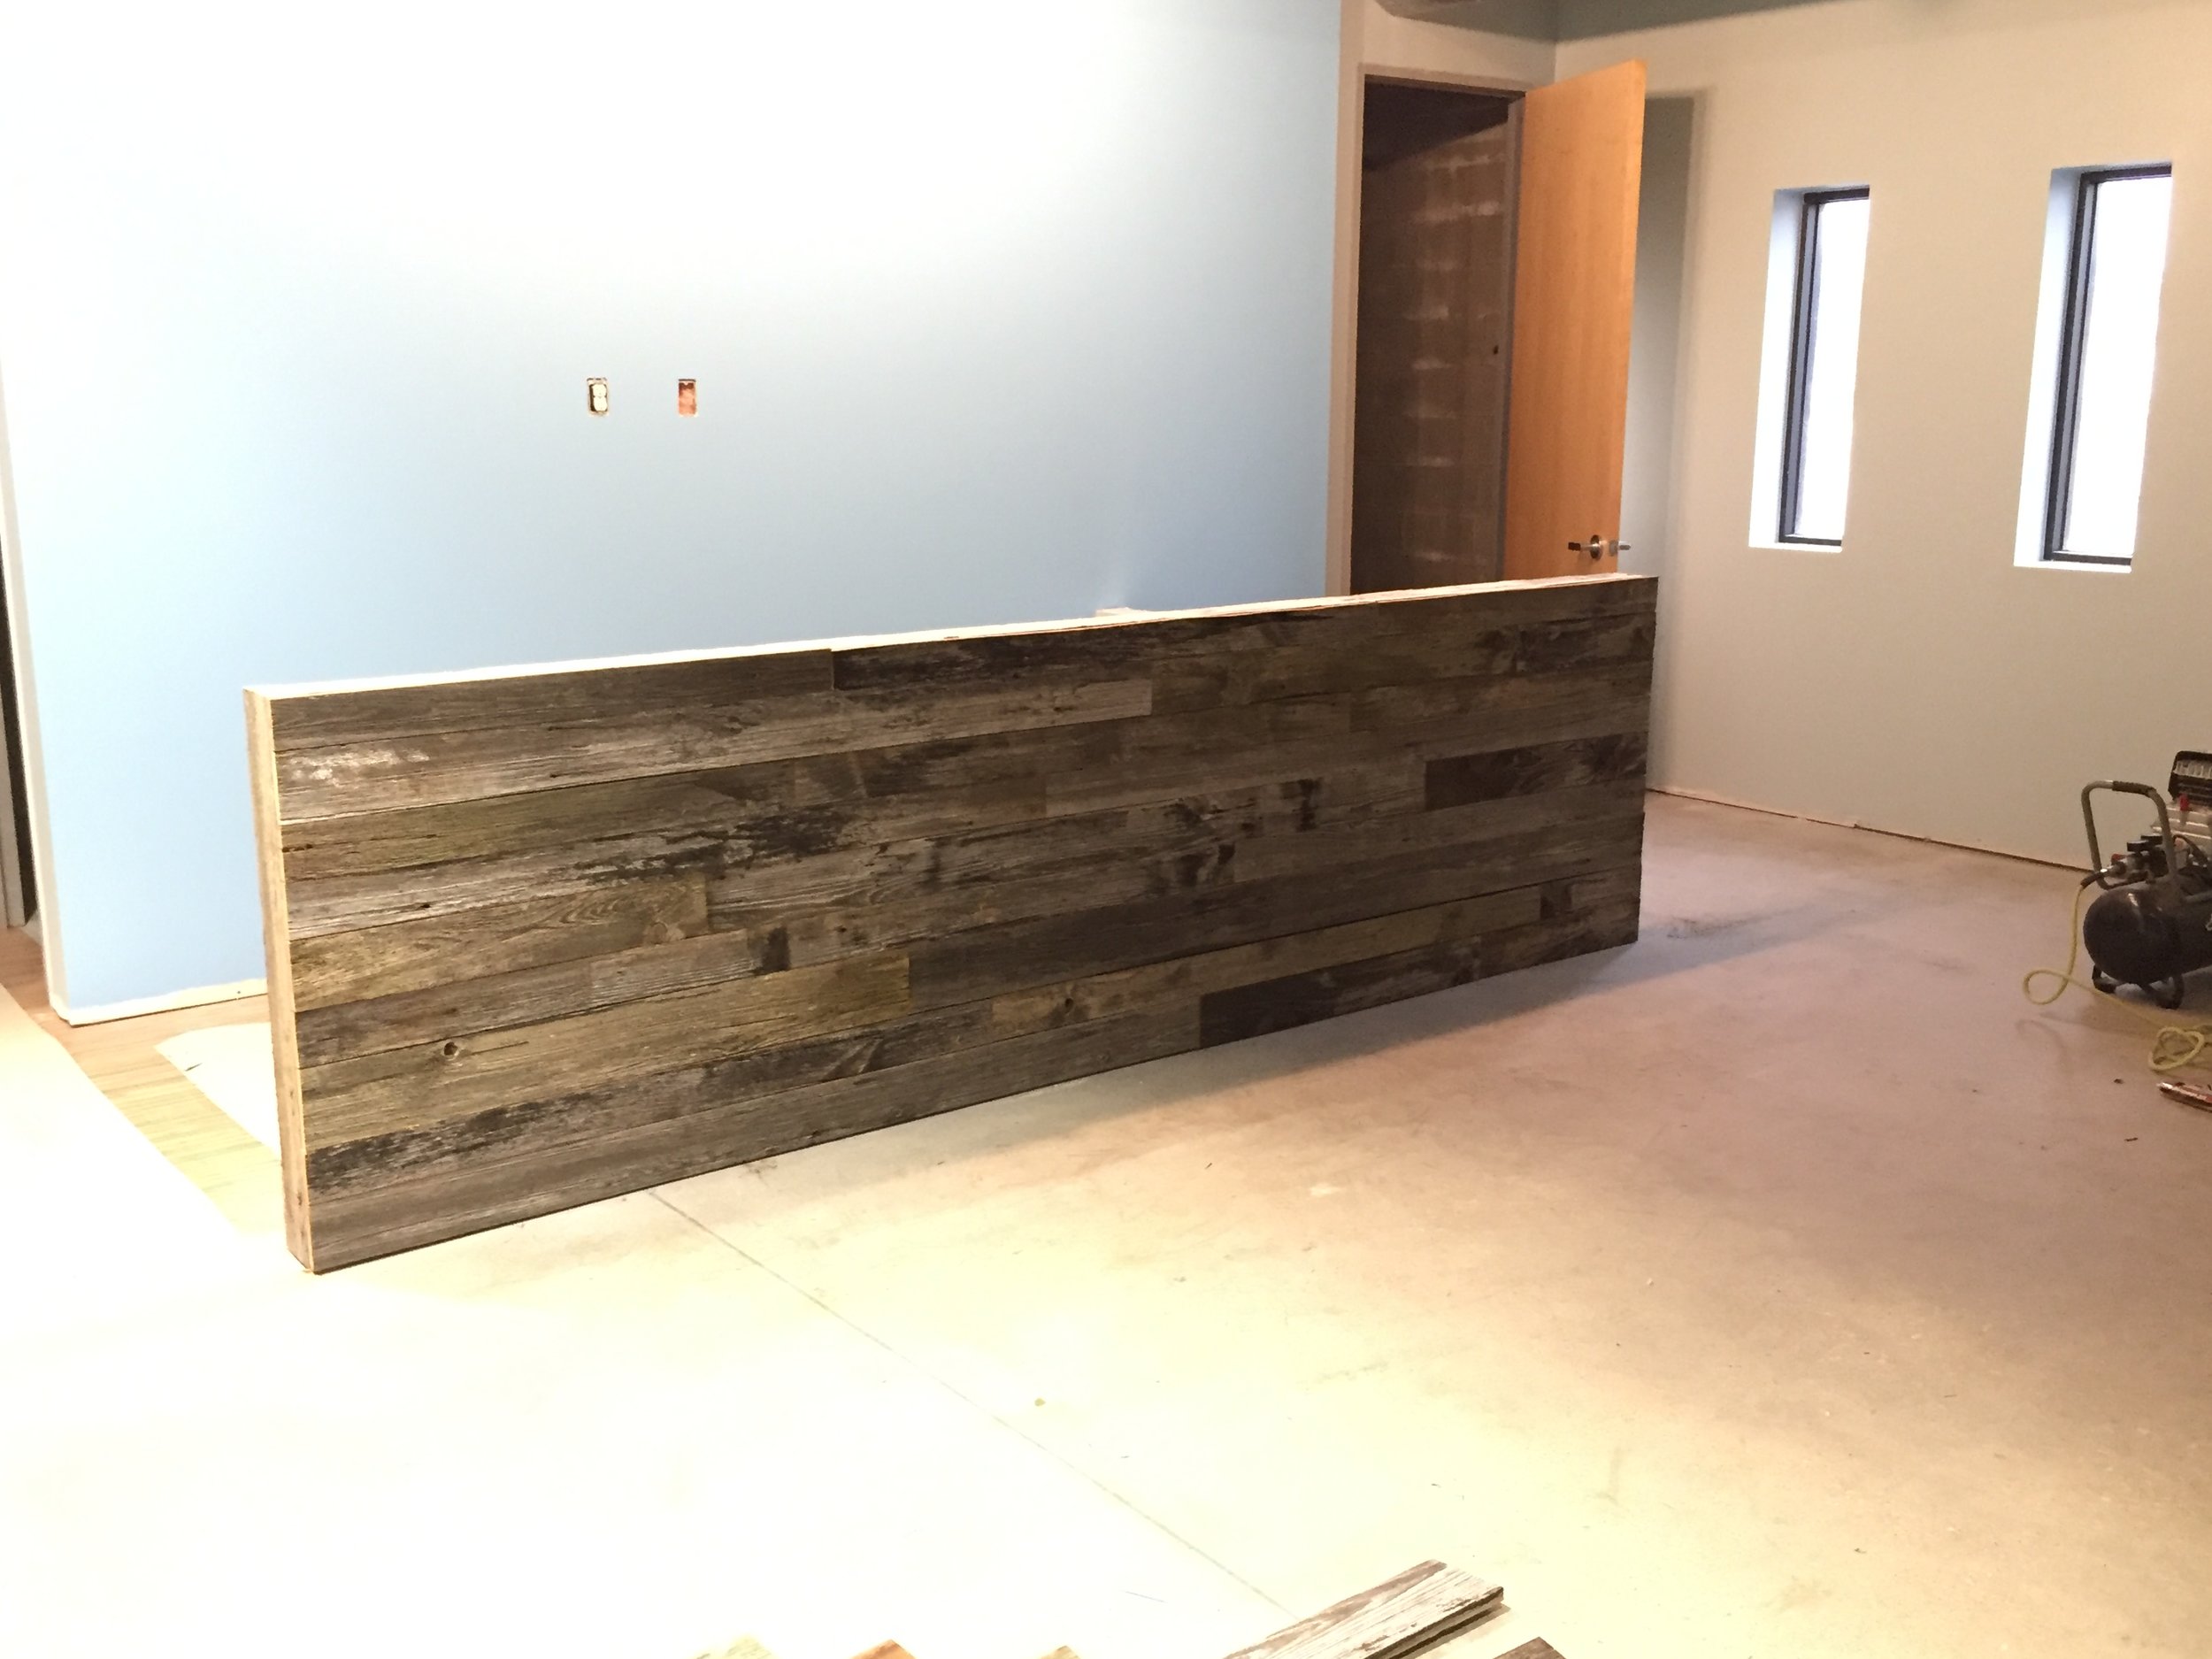
Since this wall is really a reception desk, we first put vertical pieces of barn wood on the edge, so that we would cover up the end grain of the piece with the wood on the front of the wall (this probably isn't necessary on all walls, but try to think ahead if there is multiple edges, where do you want the edge grain showing?).
To attach the wood, we use Liquid Nails - panel adhesive, and 2" nails in our brad nailer to hold to wood to the wall. The glue is what holds the wood to the wall, the nails hold the wood in place until the glue dries.
Place a quarter sized glob of glue on the back of each plank about 16" apart. Next shoot two nails about ever 10-12" in opposite angles. For example, the first pair of nails I might shot one at a downward angle and an upward angle, and then the next set is one at an angle to the left, and one at an angle to the right. This helps "lock" the board into place and minimizes bowing or the wood "popping" out from the wall overtime.
Finally stagger your joints and sizes of the wood. On this wall we started at the bottom, because the last row on top will be difficult to see once the counter top is on.
Pro Tip: if your wall has baseboard that will go over the barn wood, start at the top of your wall and let the gap or small piece end under your baseboard. Once your base is on, no one will ever know how it looks under there!
On this wall, the widths of the wood, starting from the bottom row, was 5" - 4" - 6" - 4" - 5" - 4" - 4" - 5" - trimmed row.
Varying the widths of the wood helps give a random pattern. The other tip to achieving a random look is to stagger the joints, similar to a wood floor. This is done by using different lengths of planks.
Pro Tip: Don't start every row from the same side. Alternate which side of the wall you start a row on to prevent one side of the wall having all short planks at the end. This makes staggering seems way easier!
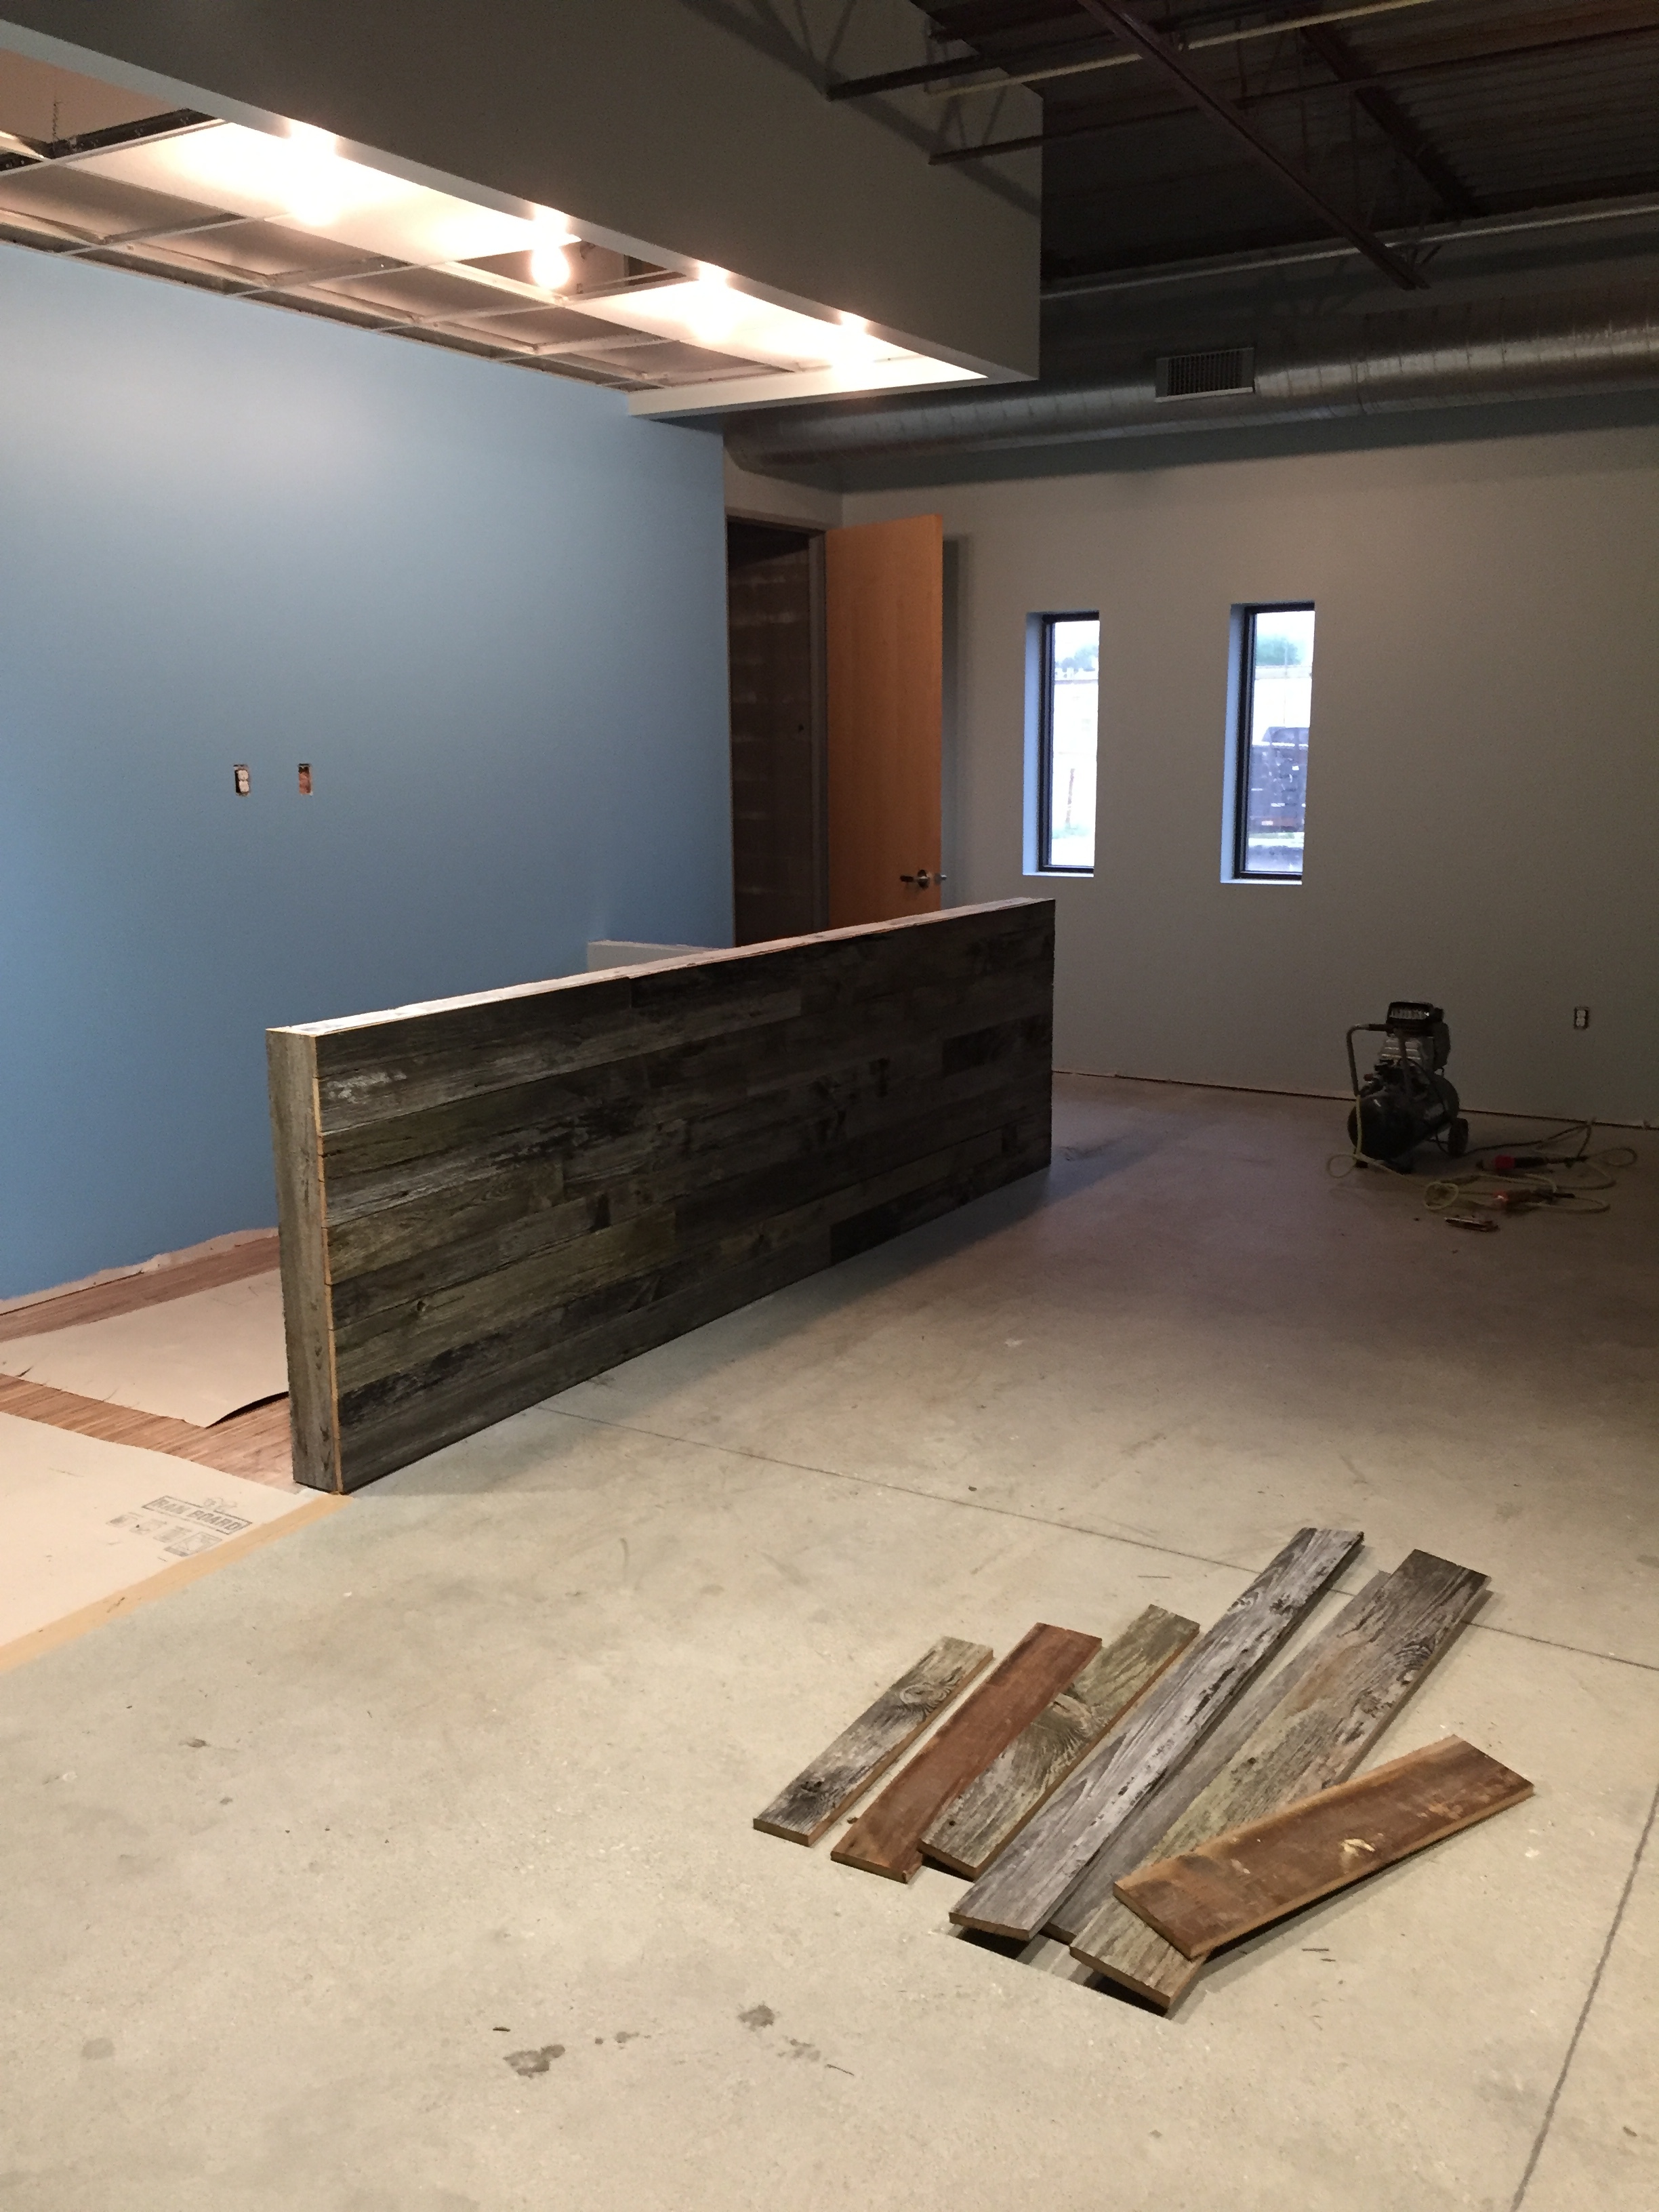
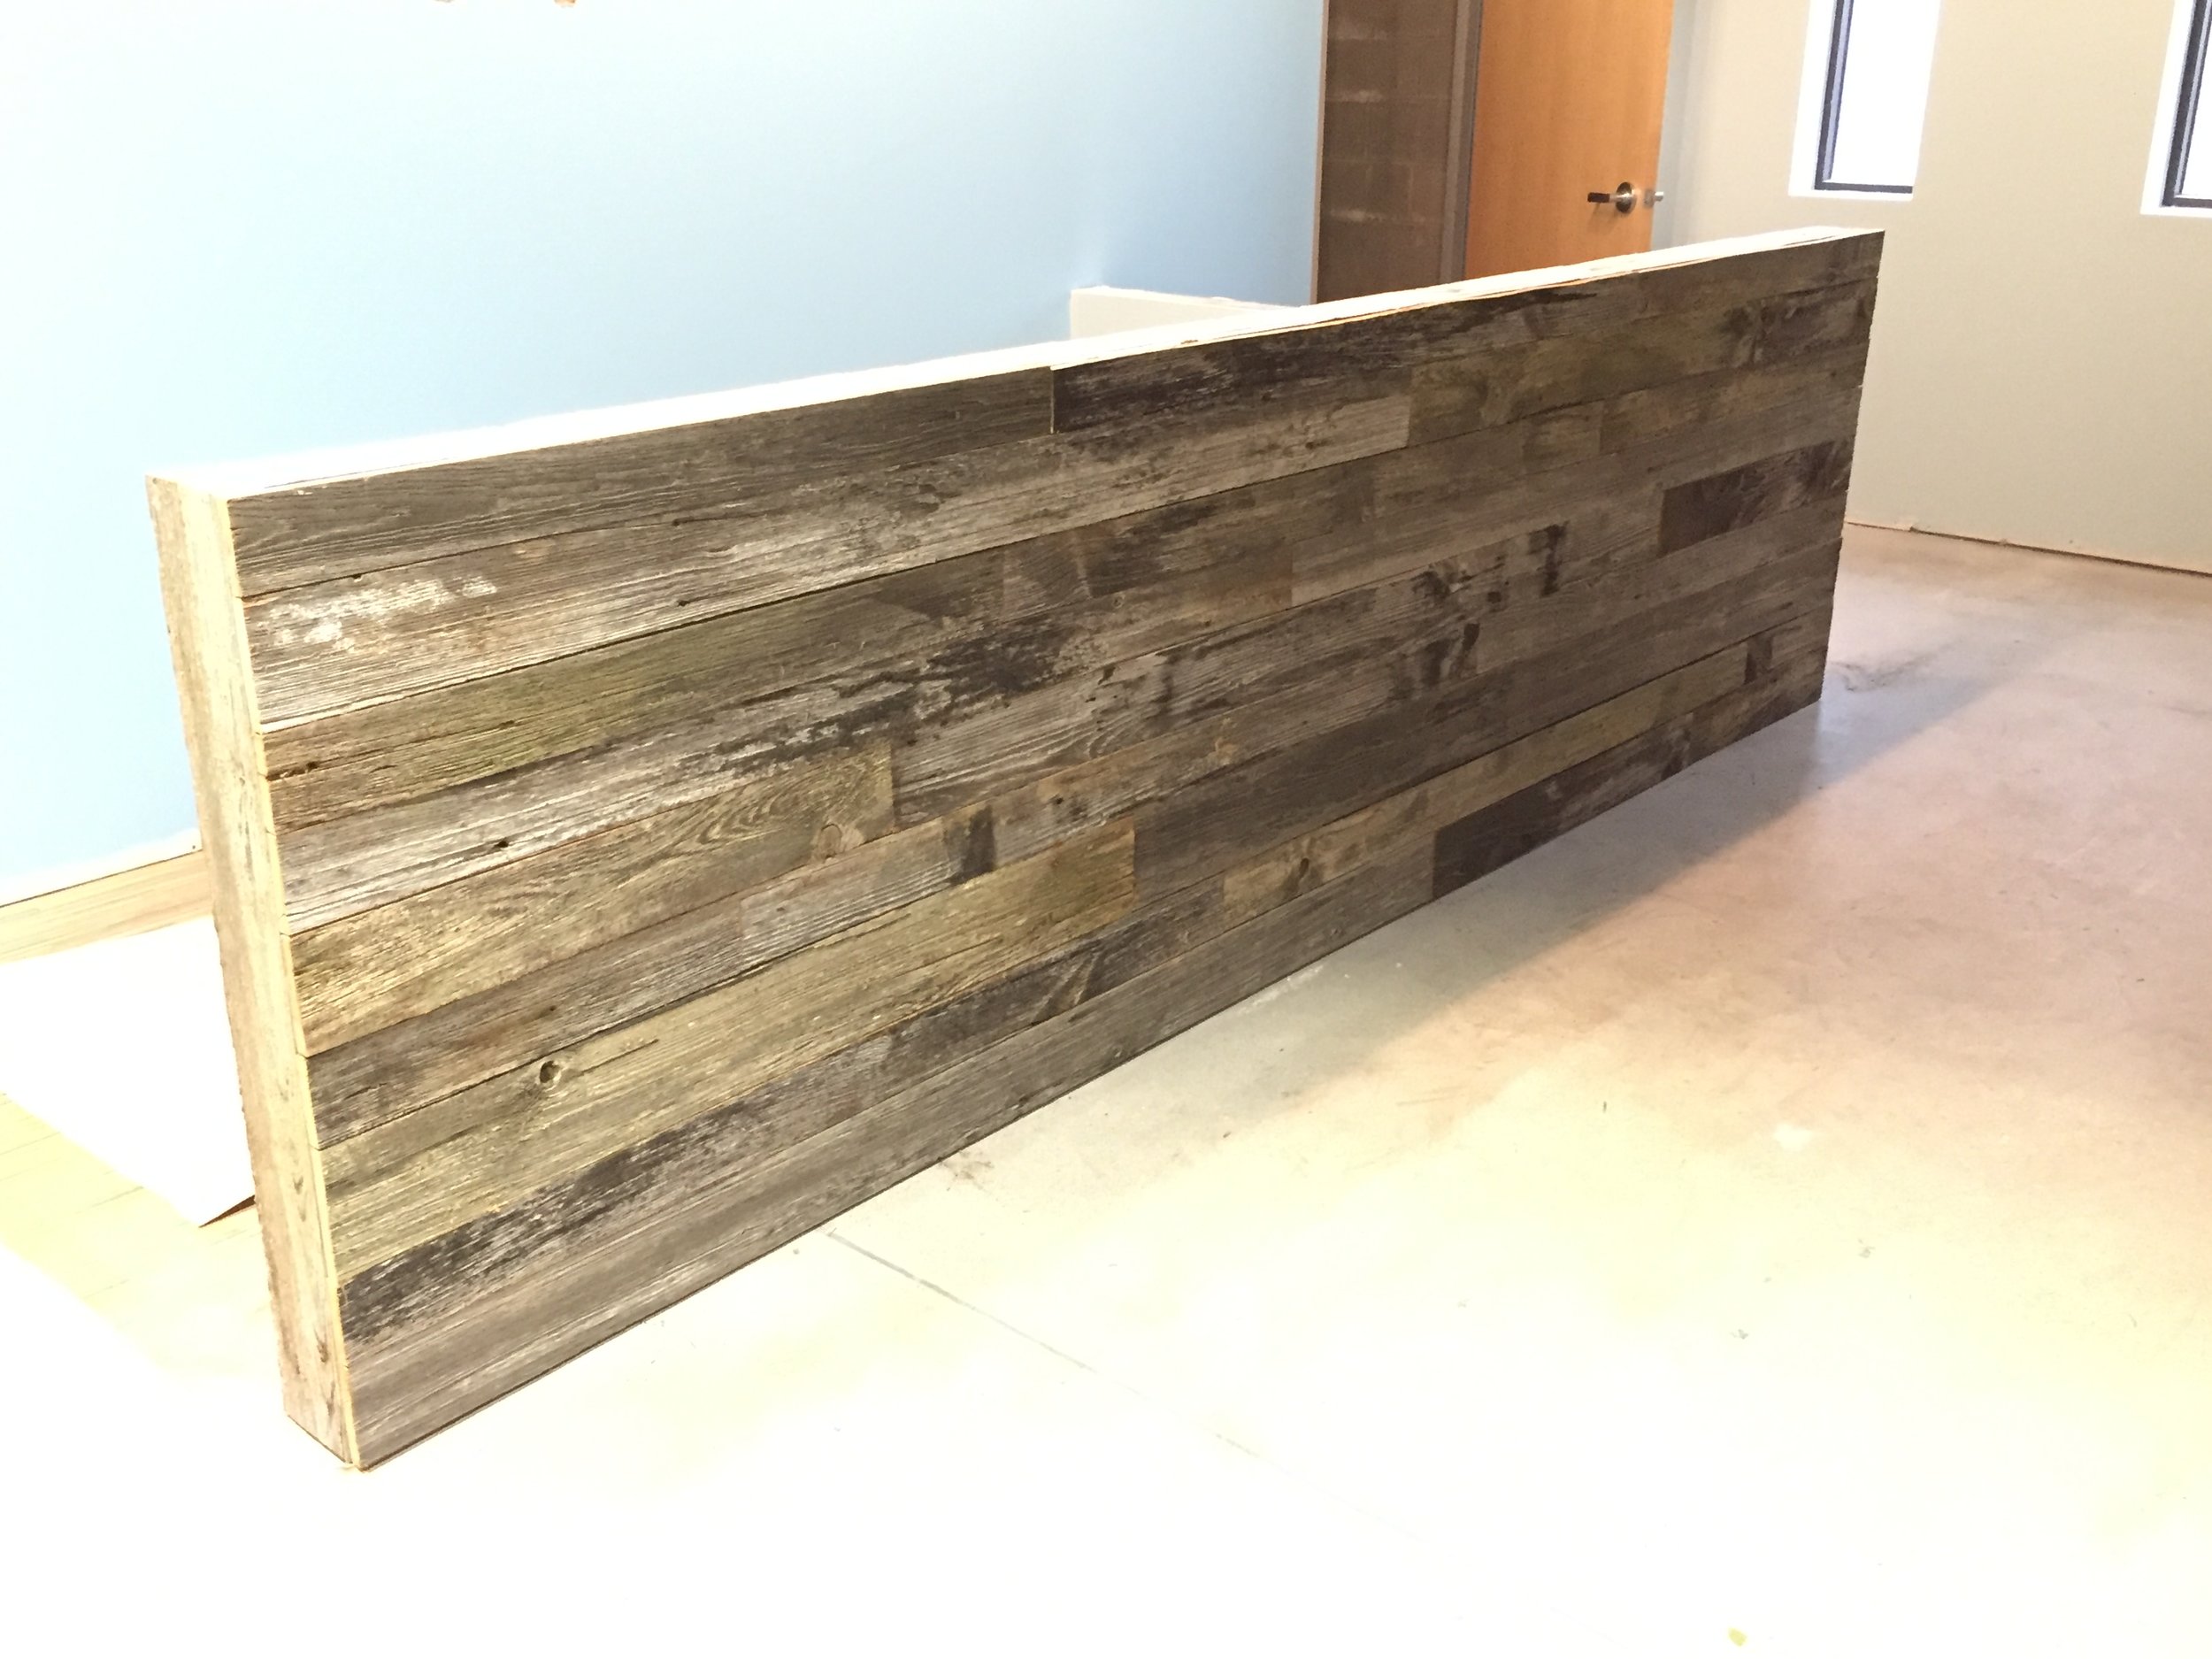
For the last row, trim the wide to fit, and you're done!
Here is a look at a barn wood wall in progress. The planks are run vertical vs. horizontal. The same steps were taken to complete this wall, but we started in a corner and worked our way out - this allowed us to have an original cut edge on the ouside corner to blend in the authetic look!
A reclaimed barn wood wall can really make a statement as a accent wall in a home or business. No matter what type of wood you use, spend time in the preparation, and putting the wood up will be simple and easy!