
How to Build a Faux Shiplap Wall
Adam Koons
Affiliate Disclosure: Thank you supporting us by visiting our site and posts. This website contains affiliate links that are ads recommended to you, that we can earn a small payout on. We only use Amazon Associates and Google Adsense. By clicking on these ads, making a purchase, or taking other action, we can earn a little extra money to fund future projects.
How We Installed a Shiplap Wall For Less Than $100
Popular TV shows on HGTV and the DIY Network have shown the versatility of looks that a shiplap wall can bring to a room. Often, a shiplap wall adds the character that a boring room needs, and can give it a modern farmhouse look, or even nautical theme.
A lot of people think shiplap is a special type of wood that is sourced from old buildings, but it is just the joinery on the planks. Shiplap is simply a rabbet cut the length of the plank that joins (overlaps) a rabbet cut on a separate plank. The planks can then be tight to one another or installed with a gap to achieve that rustic modern farmhouse look.
However, real shiplap can be expensive to purchase, and time consuming to make. Cutting rabbets the length of a wood board would either require a table saw set up with dado blades, or a router/shaper set to the correct size, depth and width. No matter the tool used, to make shiplap, you would have to run each board through the tool twice to create the joint on both sides of the wood.
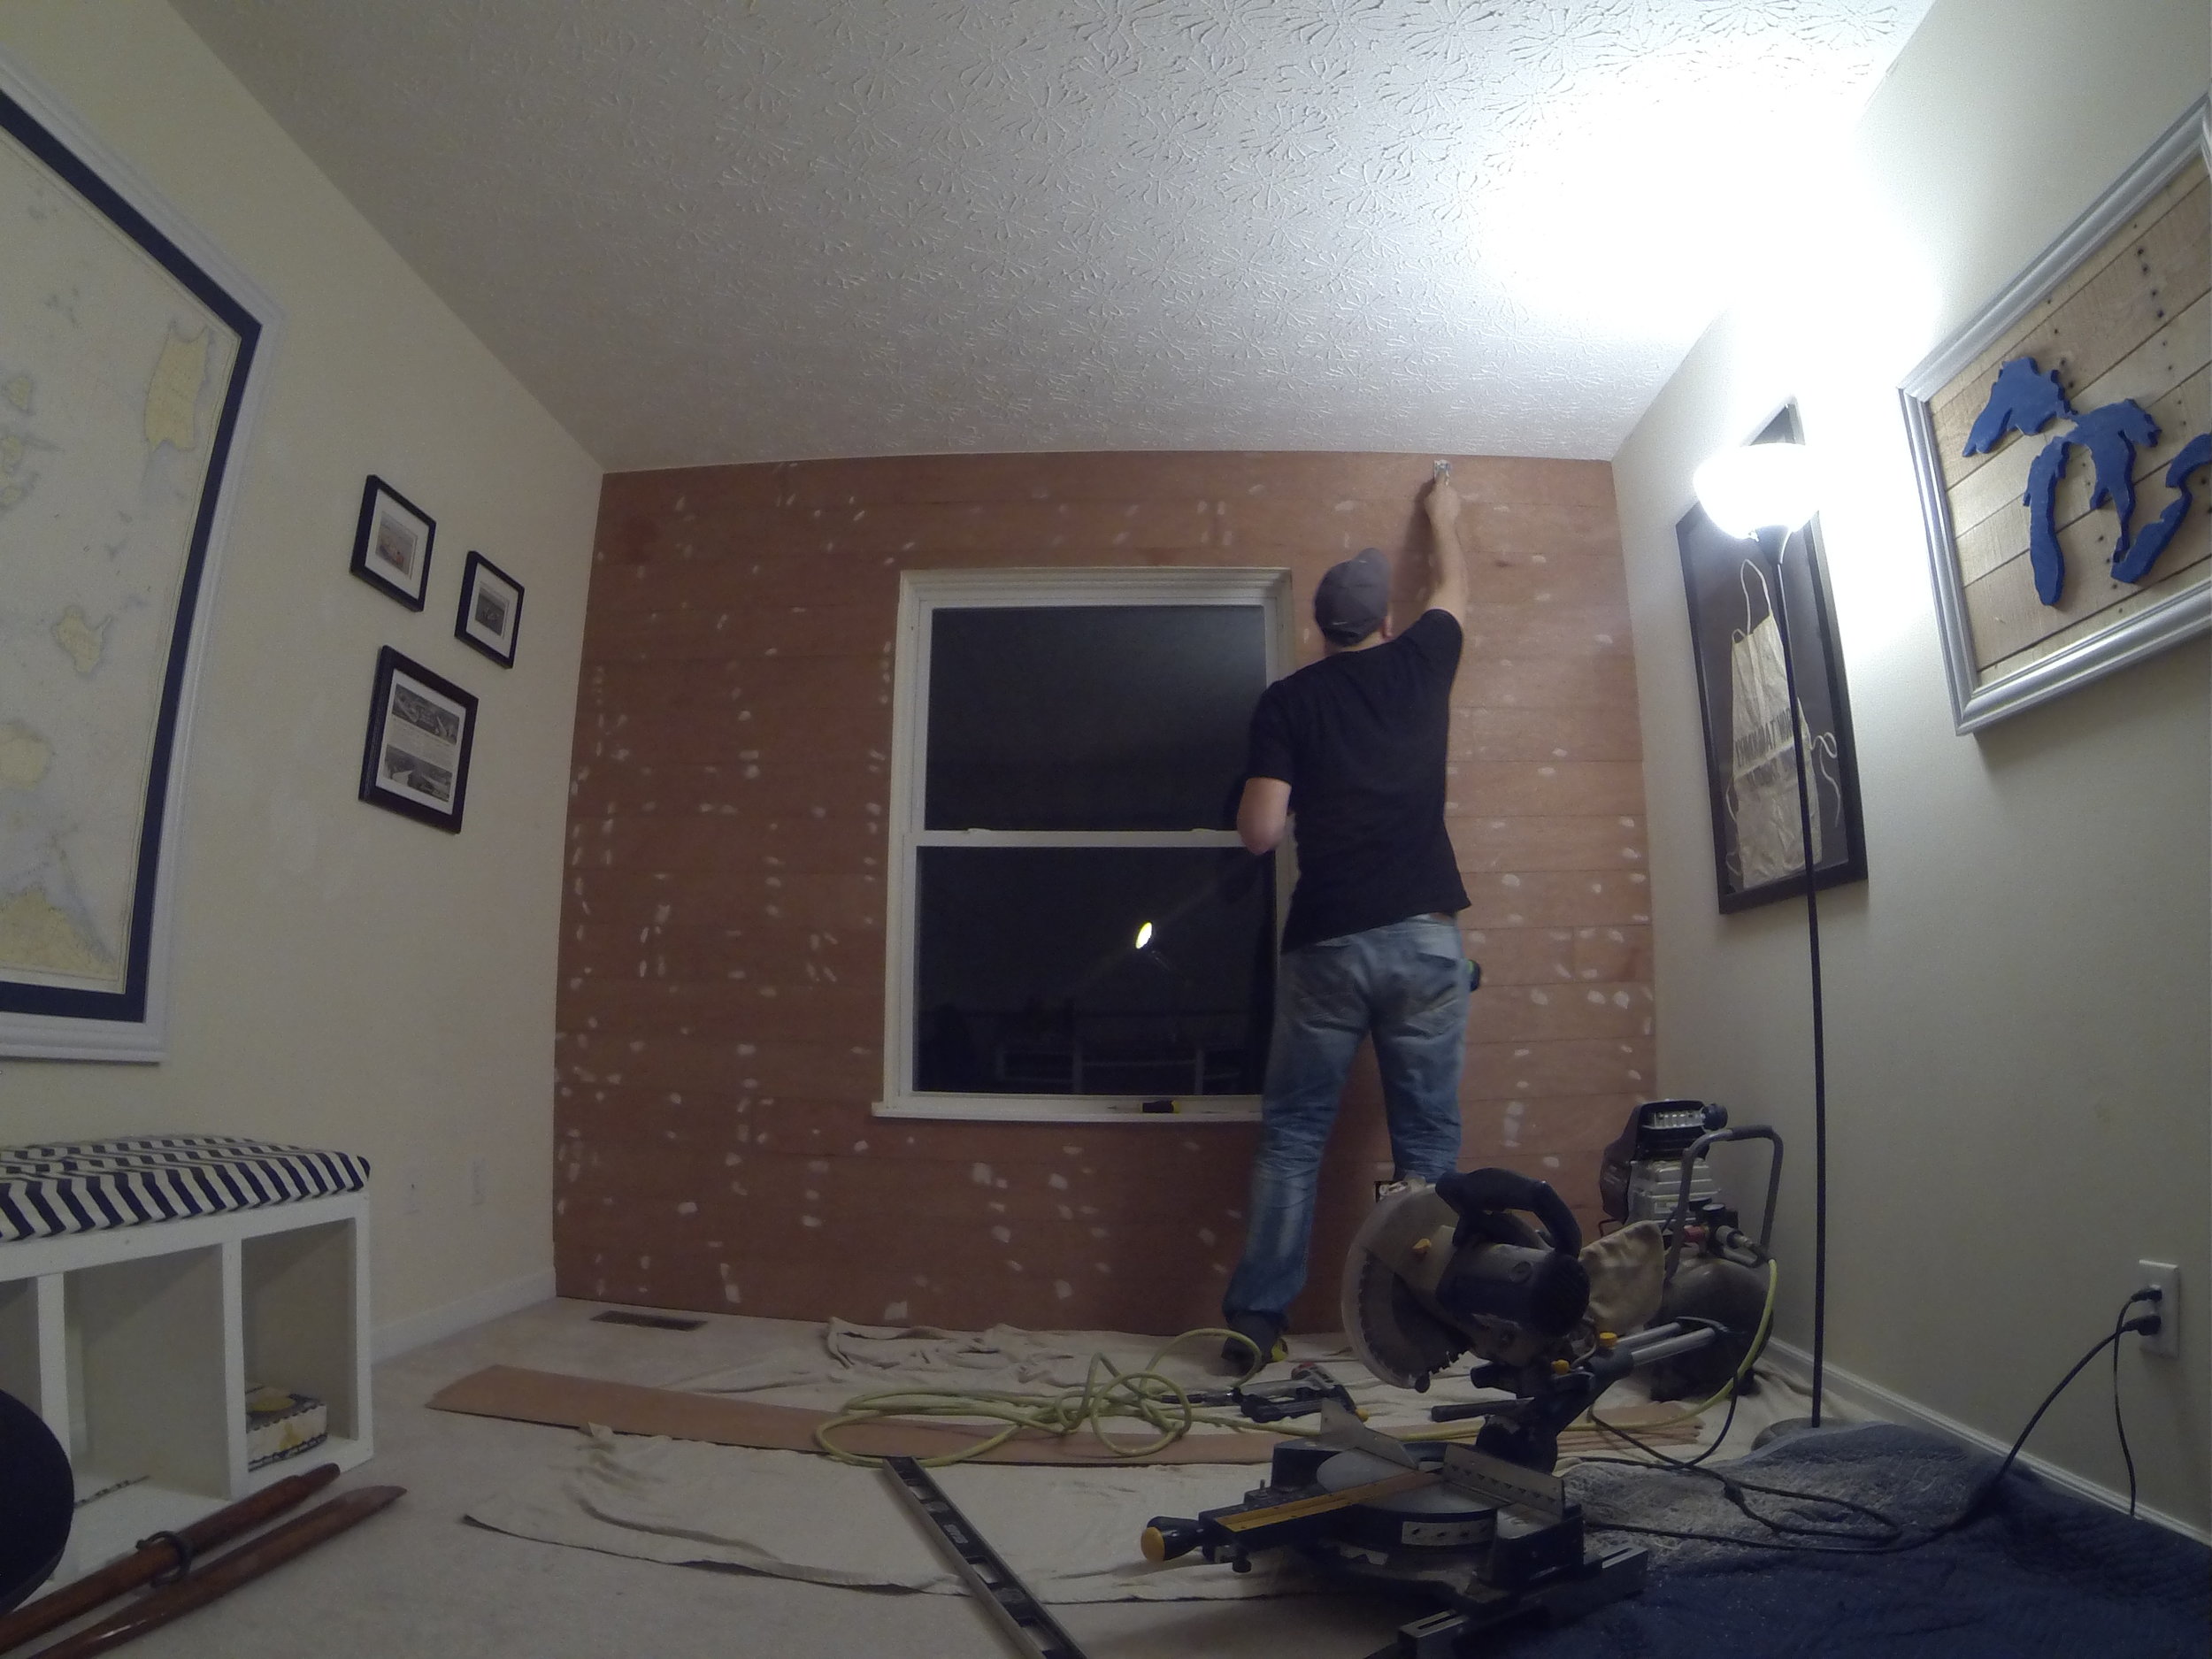
So here is the trick to getting the farmhouse shiplap look -the cheap and quick way: Use ¼” plywood cut to 6” strips.
How to Make a Shiplap Wall the Simple Way
First we purchased ¼” plywood from the local hardware store, which was about $12 a sheet. Next we cut the 4’x8’ sheet into 6” “planks” using a fence on a table saw. Tip: our planks were cut just slightly shy of 6” to account for the thickness of the saw blade. We place the saw blade on the inside of the 6” mark, which made our planks about 5 7/8”, and we got 8 total plank from a 4’x8’ sheet.
Once we had our planks all cut, we started attaching them to the wall. Start at the ceiling and work towards the floor. It is important to make sure the first row is level, or all the joints will be off level all the way down the wall.
Our ceiling is a little off level, and we started the first plan tight against the ceiling on the low side, and then had about an 1/8” gap on the high side of the room (this can be covered with caulk or crown in the future).

Shiplap Wall DIY - Make sure the first row is level!
To attach the shiplap to the wall, we prefer Liquid Nails Panel glue and 2” brad nails. The glue is what will end up holding the plank to the wall, the brad nail holds it in place. We dab a quarter size glob of glue about every 14-16” (roughly) and then shoot brad nails in opposite directions about ever 12-16”. By shooting the brad nails in opposite directions (one at an upward angle, and one at a downward angle) it holds well into the drywall, and you don’t have to hit the studs.
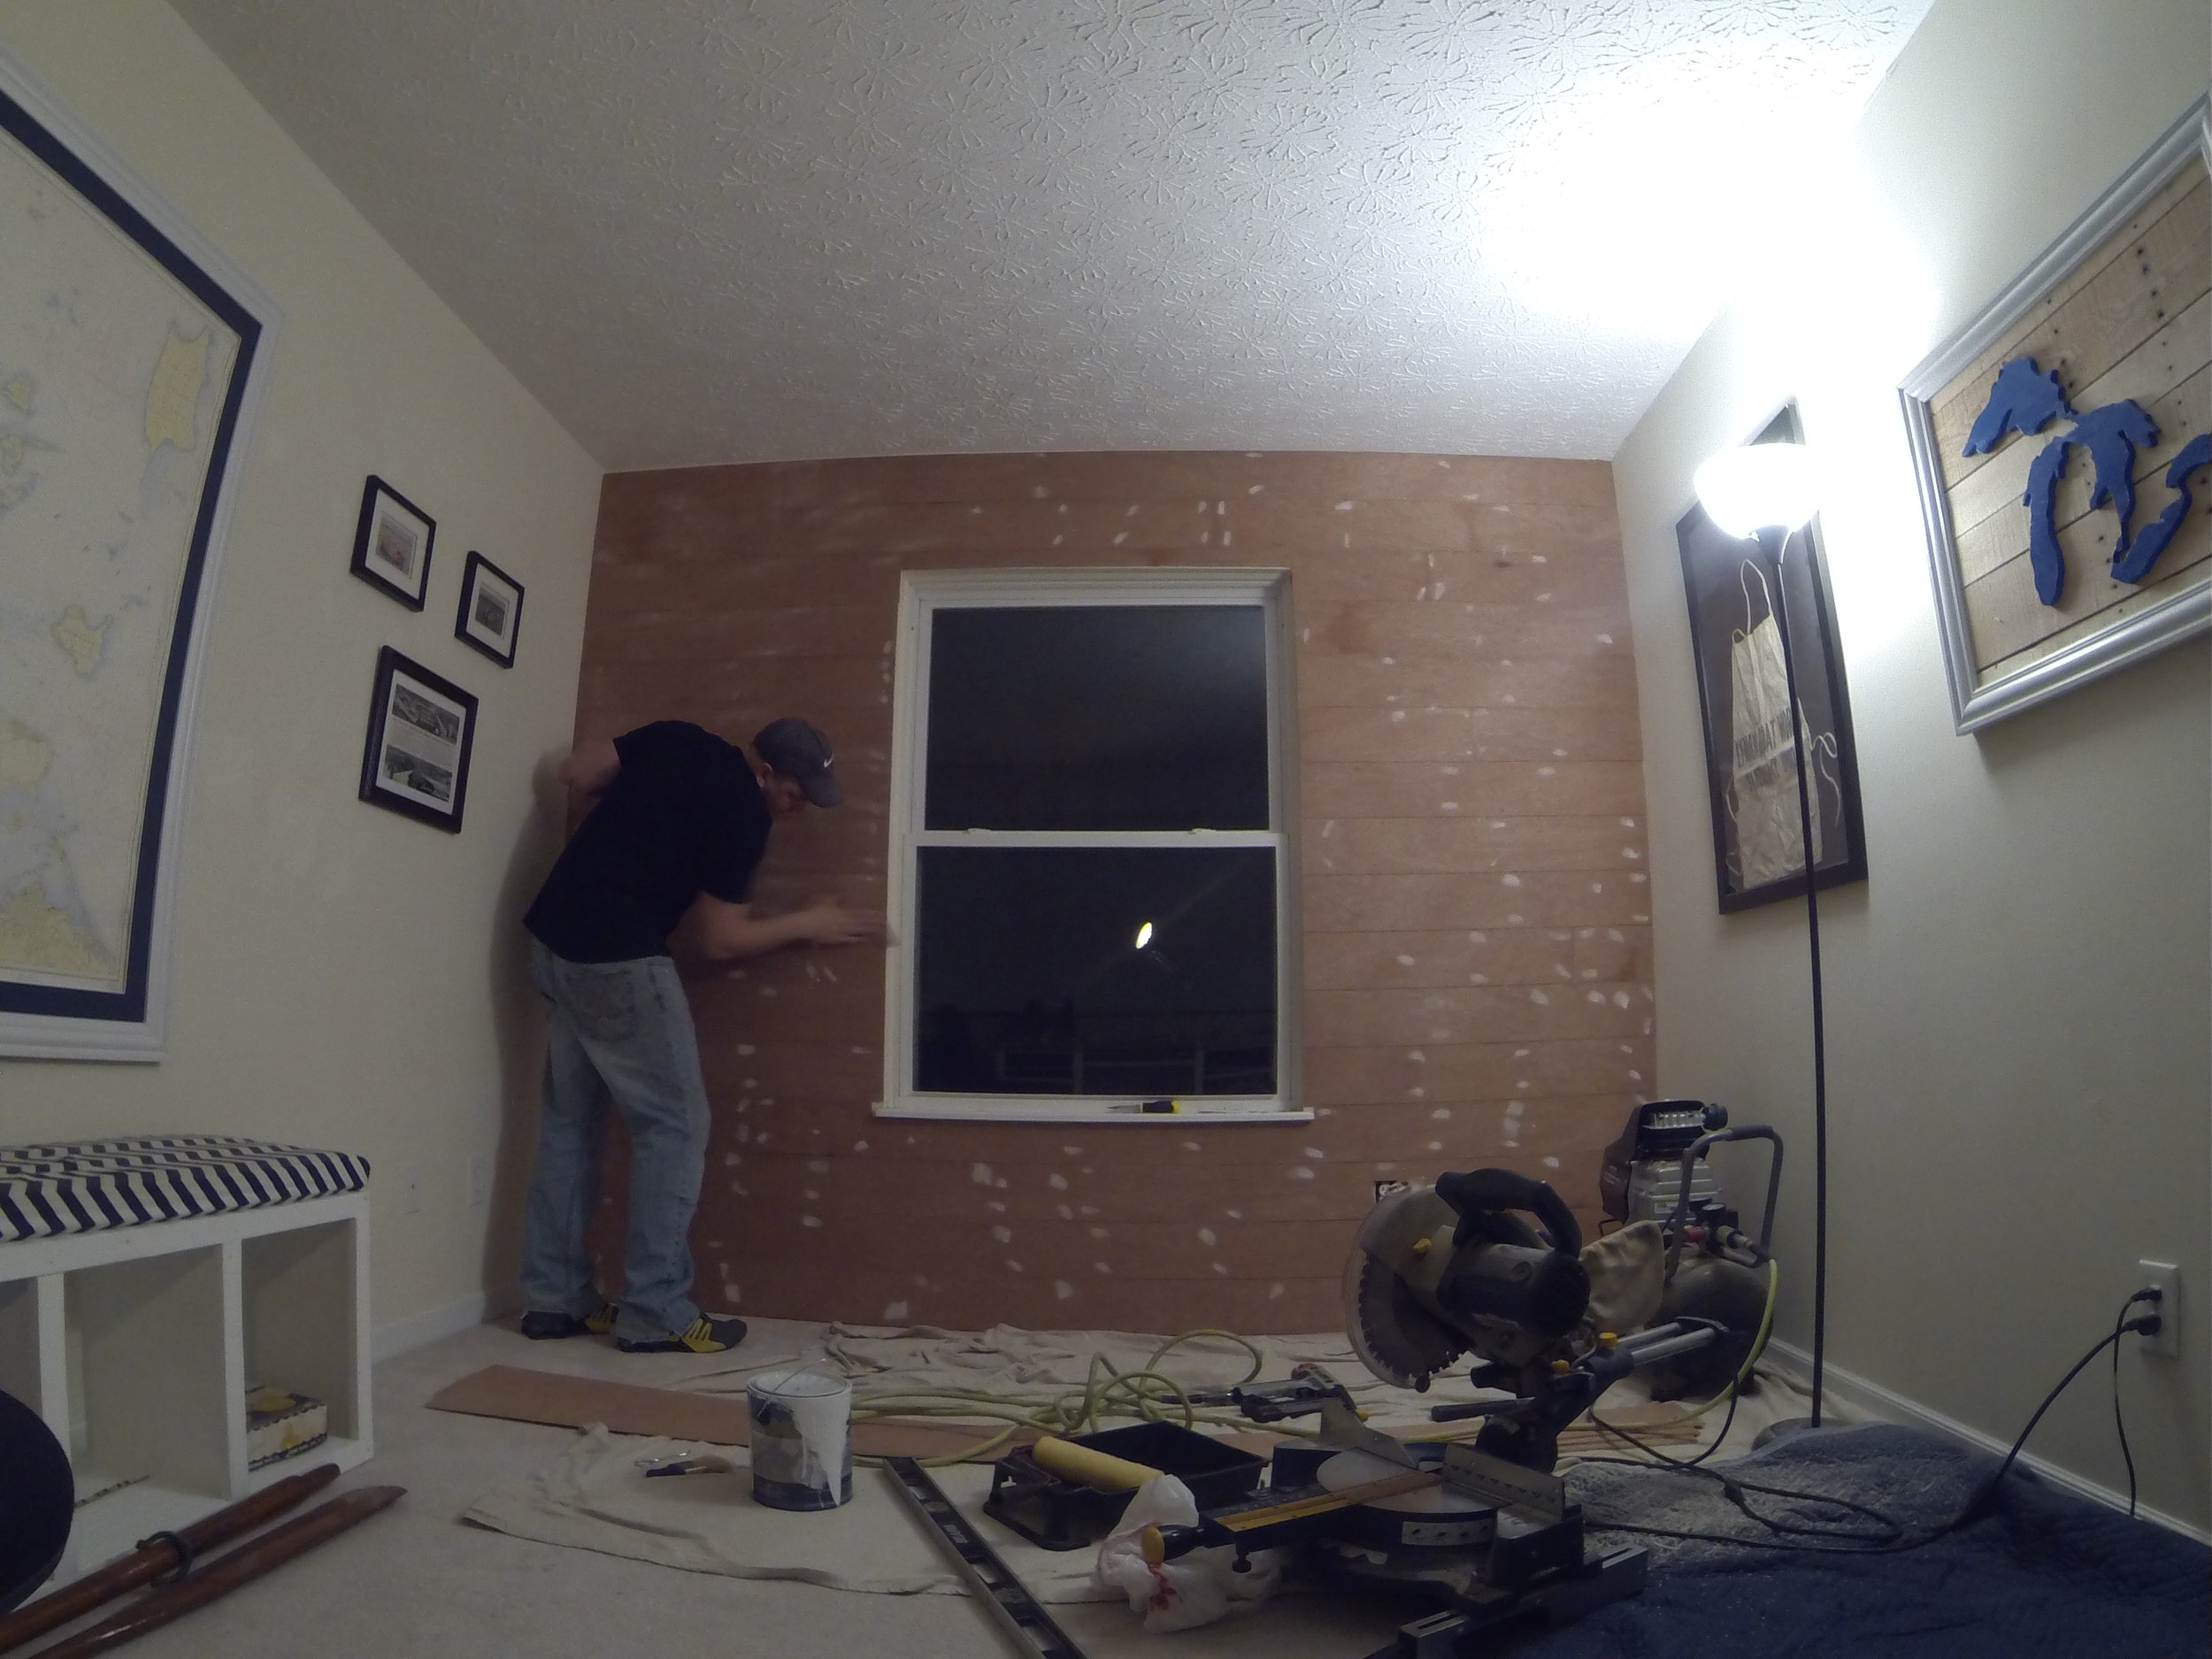
Next, to start the second row, we used a Nickle as our spacer between planks for the gap that will give the shiplap look! Since the first row was level, we used 3 Nickels as spacers and attached the next board. Wash. Rinse. Repeat. We recommend staggering your joints throughout the wall like a hardwood floor, for an authentic look.

Shiplap Wall How to - Staggering Seams
Once we got to the floor, we removed the baseboard, and attached the last plank to the wall. The baseboard was later installed over the shiplap to make it look like it was always there.
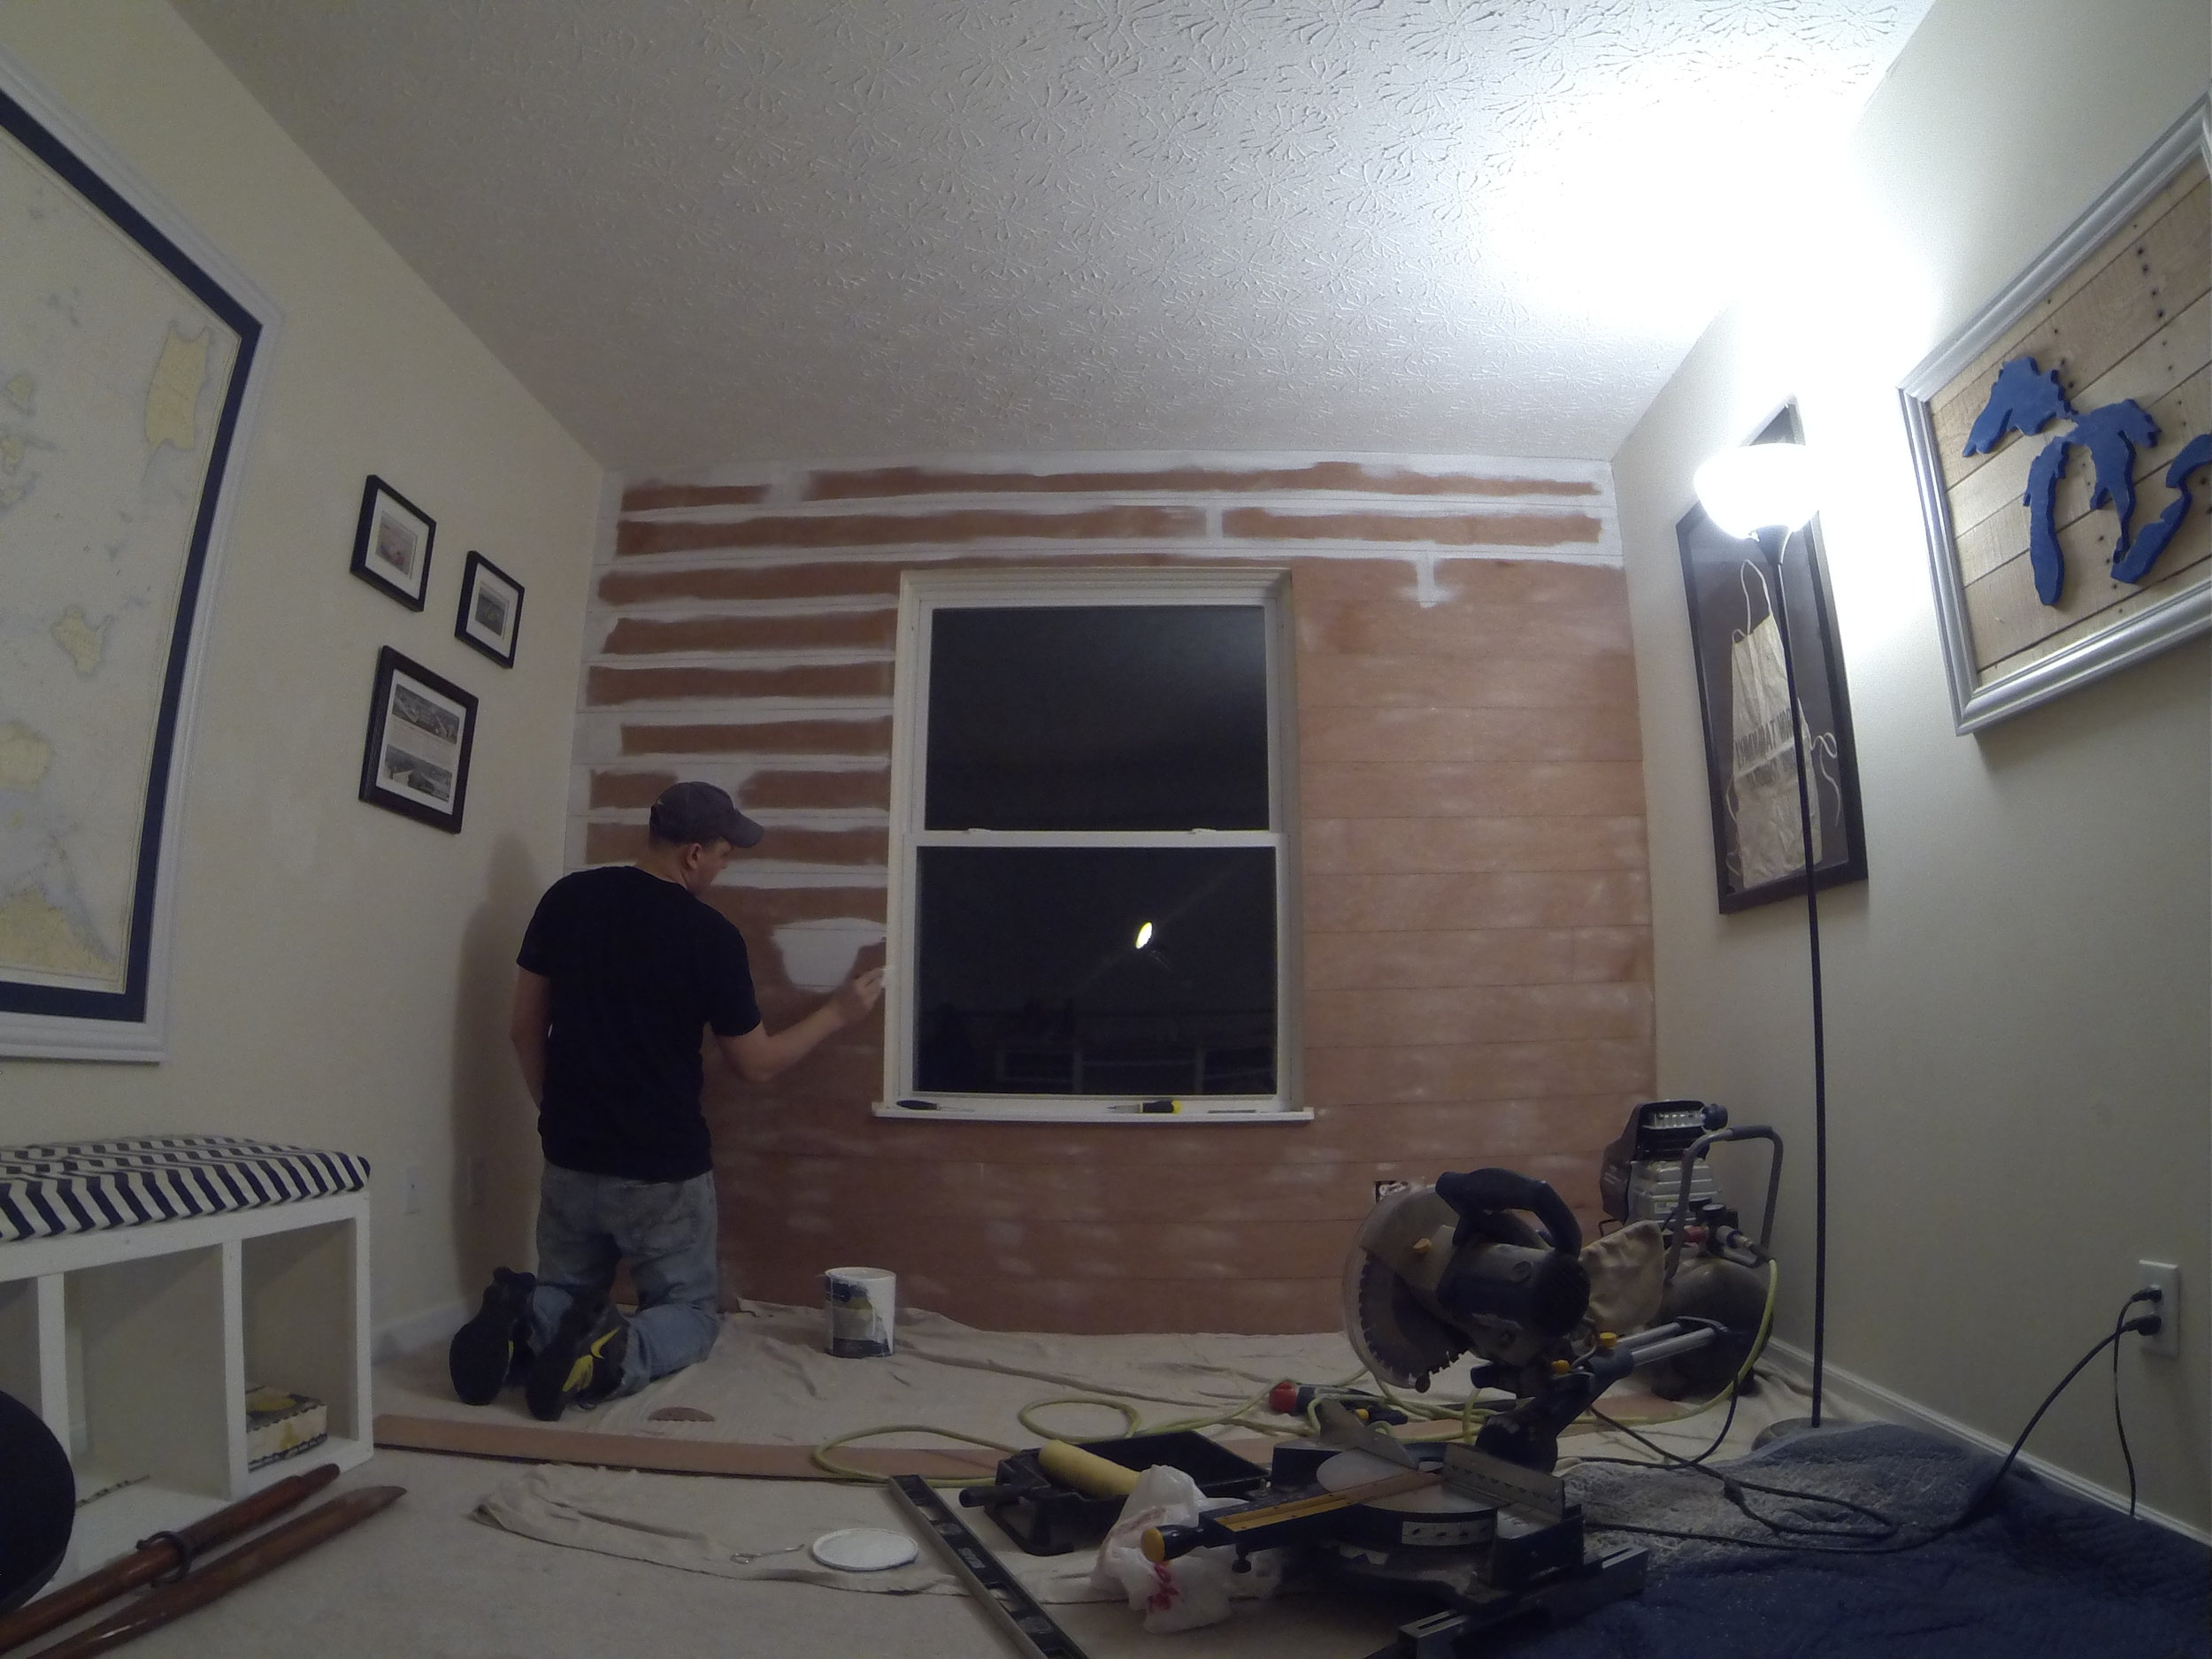
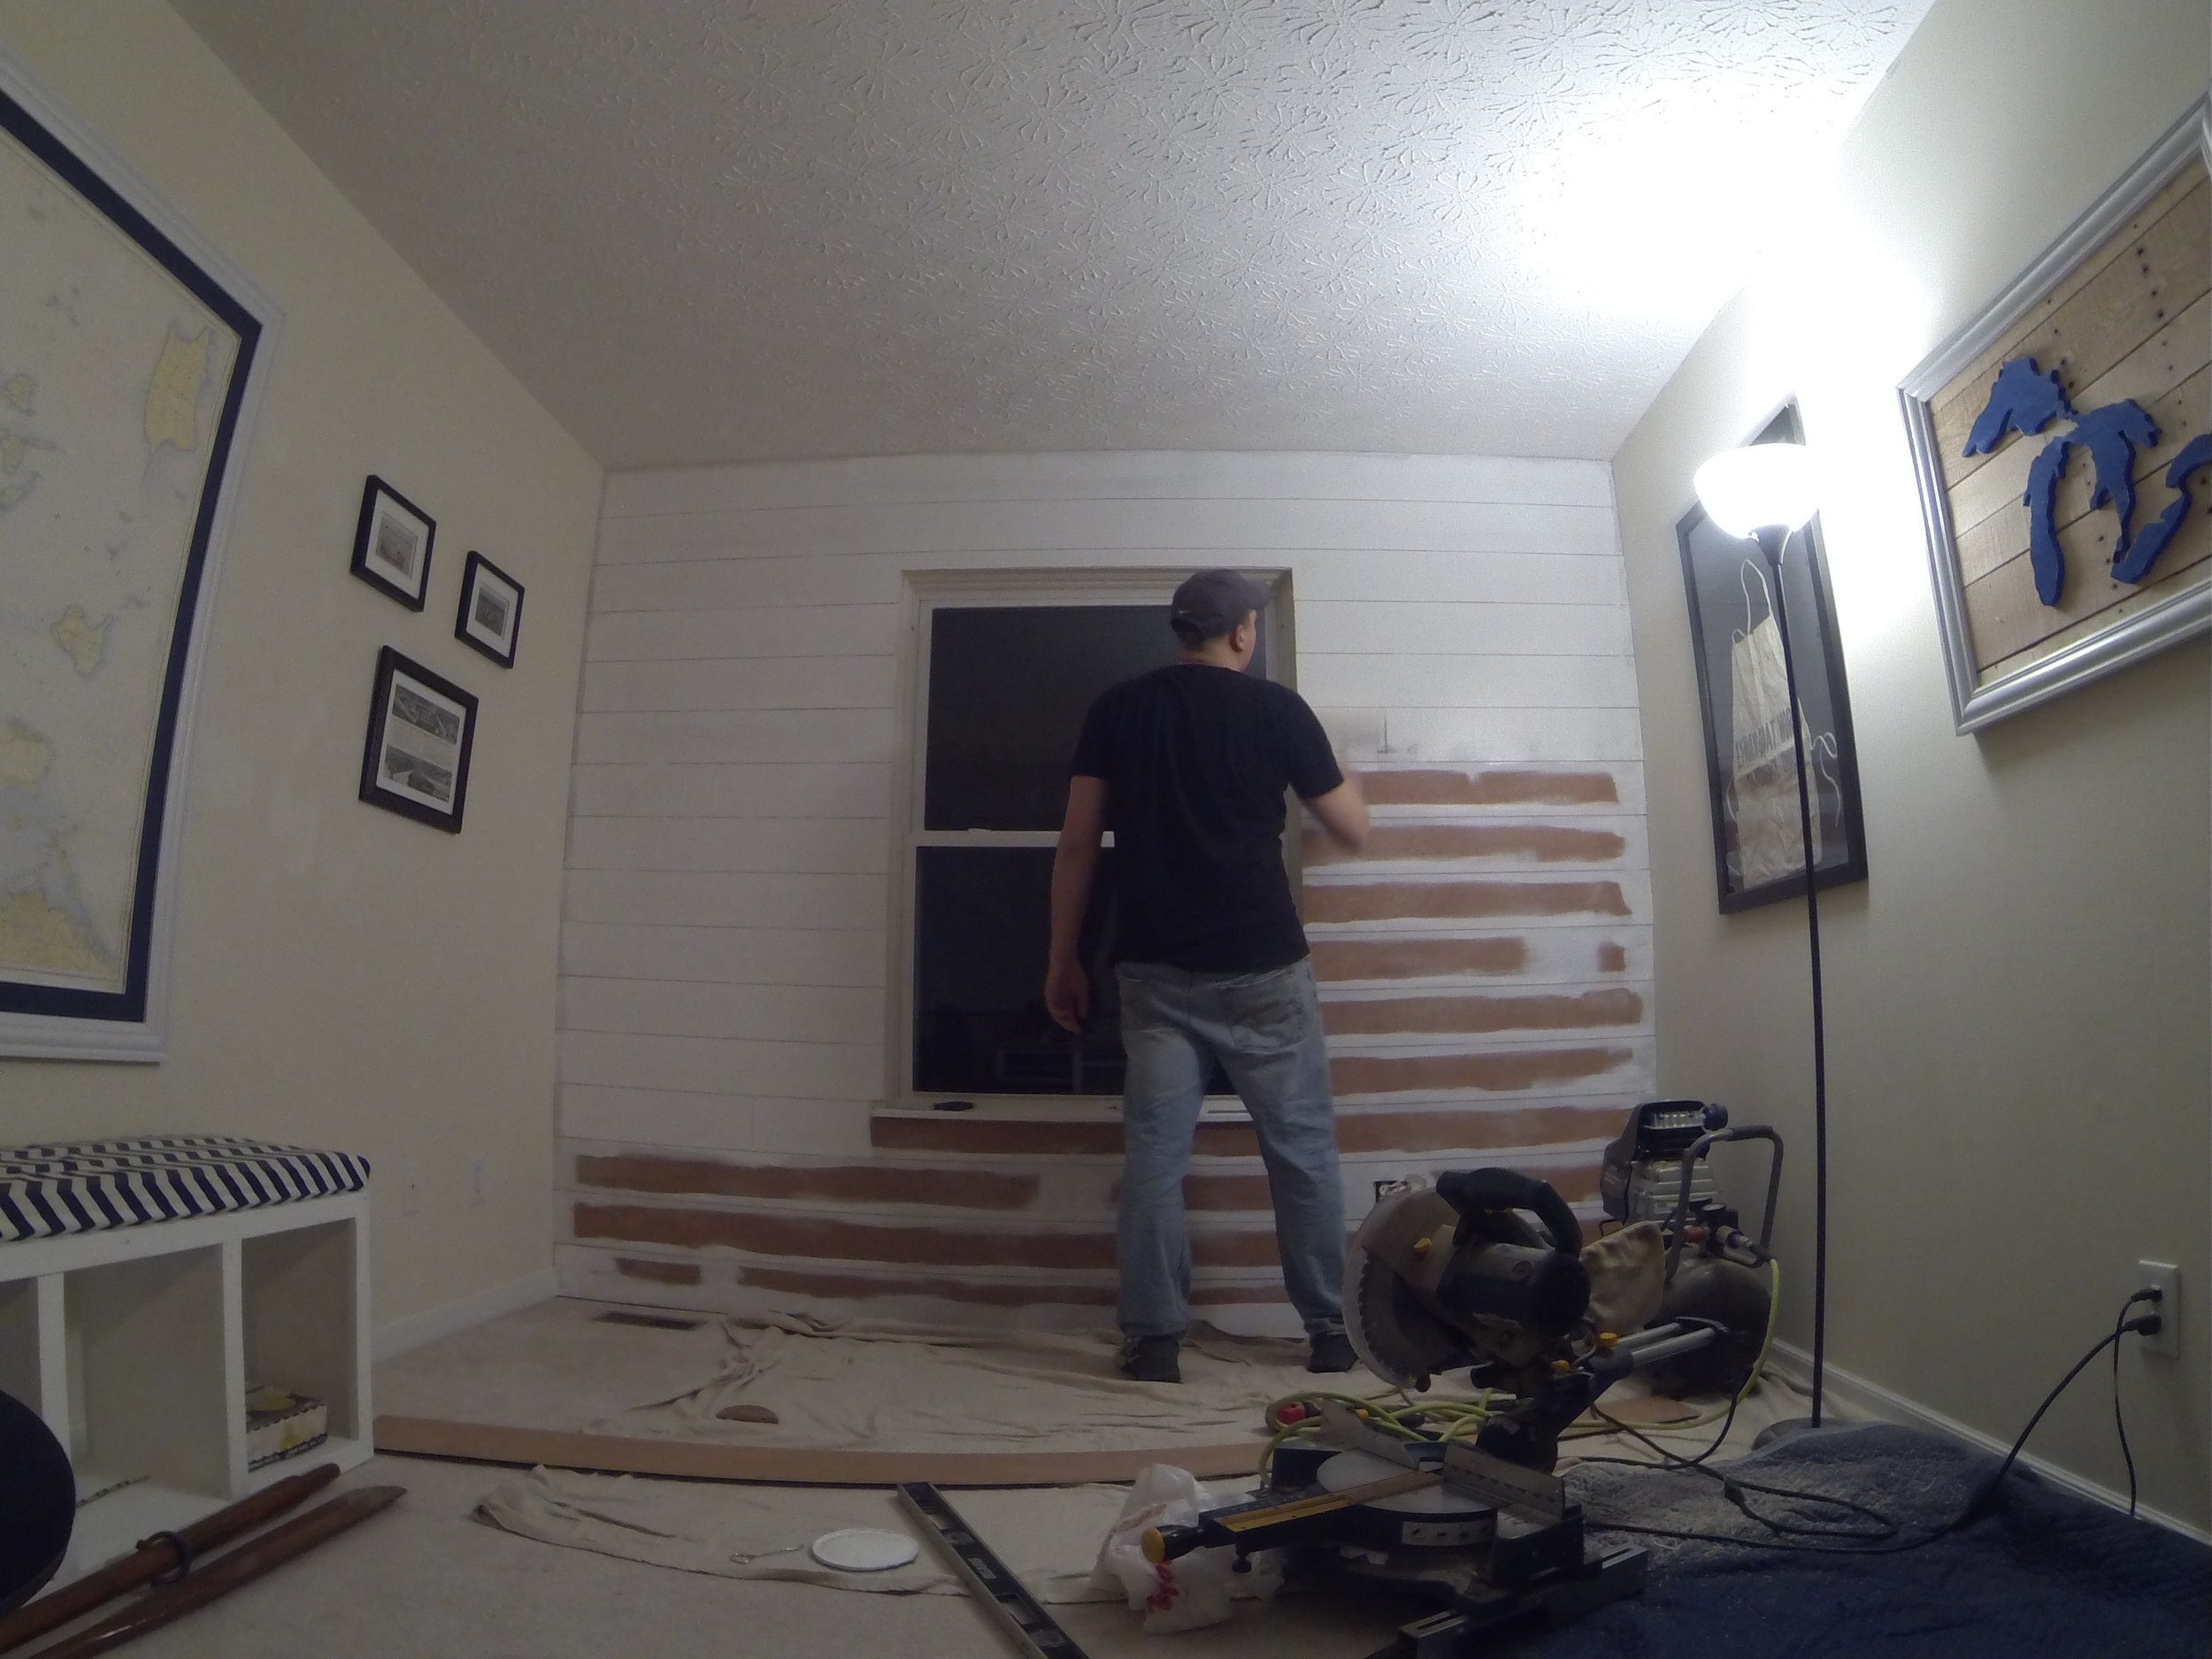
Finally, to finish the job, we filled in the nail holes with wood filer, to hide the nail heads (this is a judgement call – some walls look great with the nail holes exposed). After the putty dried, we sanded the filler with a sanding sponge to smooth it out.
Next we started painting. We used a paintbrush to “Cut-in” all the shiplap gaps, around the ceiling and in the corners of the walls. After that was complete, We used a 12” roller and rolled white paint over the entire thing. Two total coats were applied, and it turned out great – However if you want to minimize the grain showing through it might require a primer as coat one, and then sever coats after.
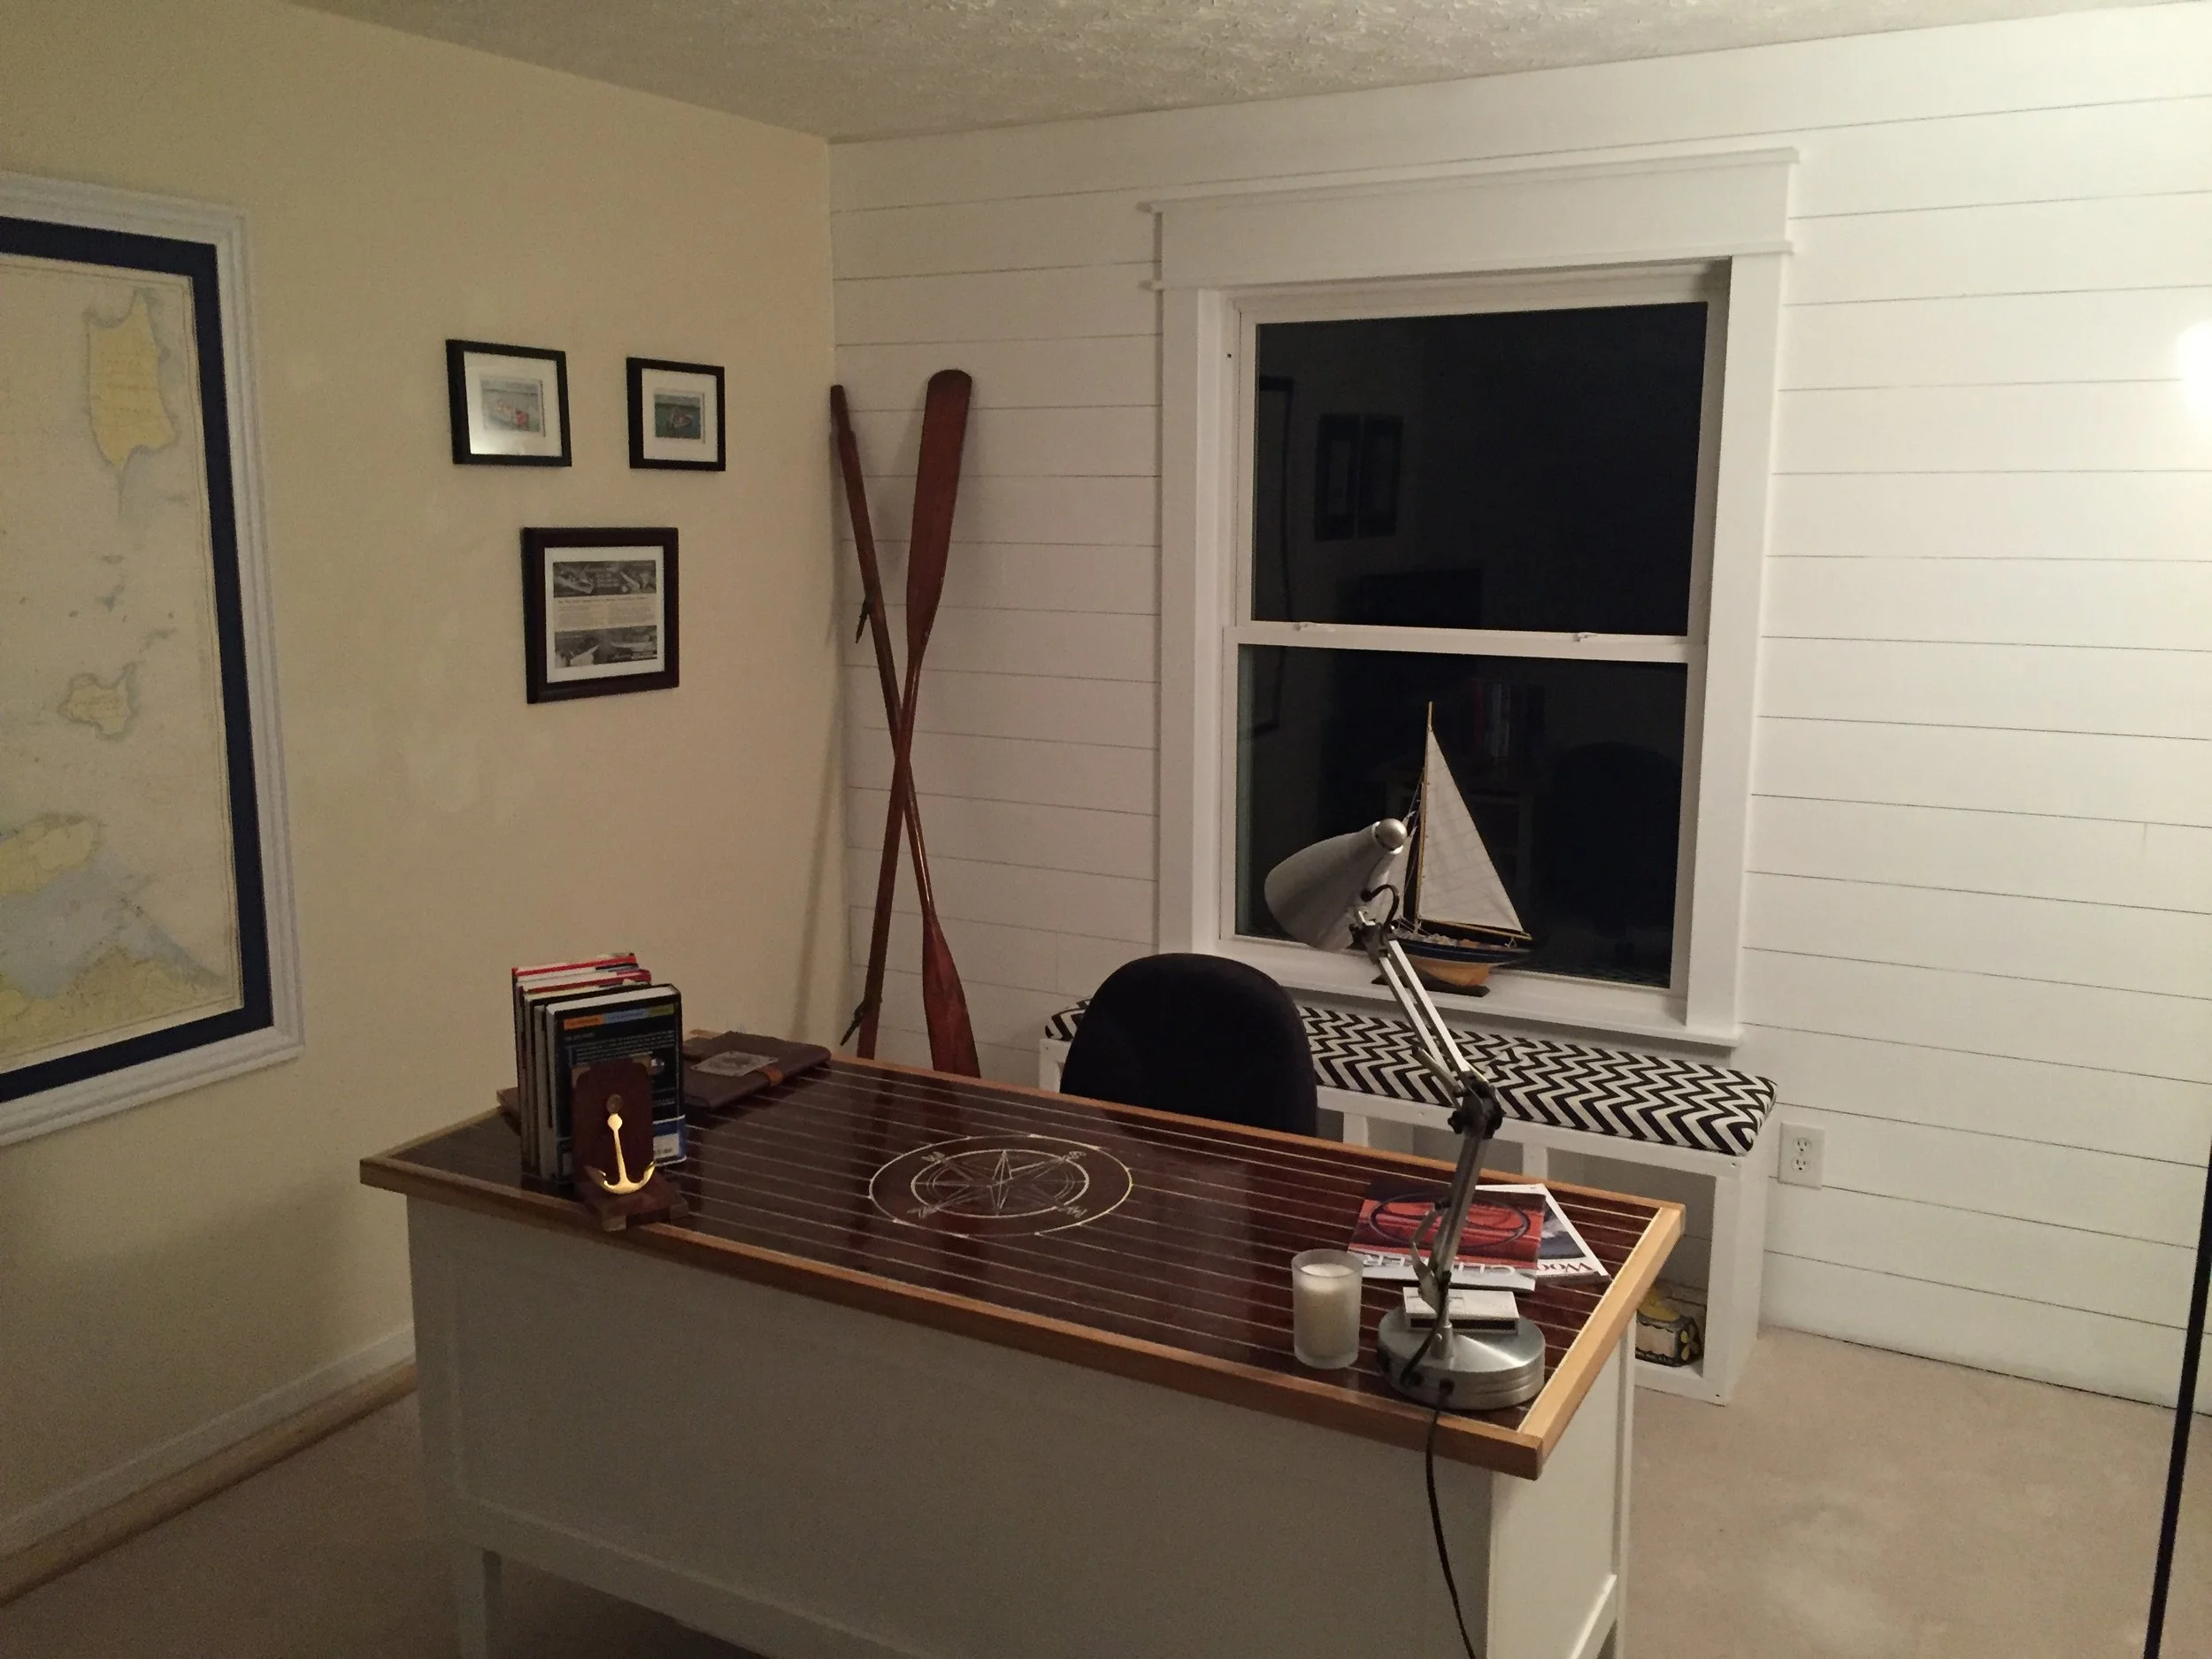
This entire project took a few evenings to complete and cost less than $100. It makes a statement in out loft, which we use for an office. I leaned toward the nautical shiplap look to complement the vintage wooden boat decor in the space. However, with a little searching on Pinterest, you can get more ideas than you could ever imagine.
Here's a time lapse of the entire project for you to enjoy!
Want a Shiplap Wall created in your home? Let us know!